Have you heard about the Scarborough Fair? Most probably have from the popular mid-century Simon + Garfunkel track.
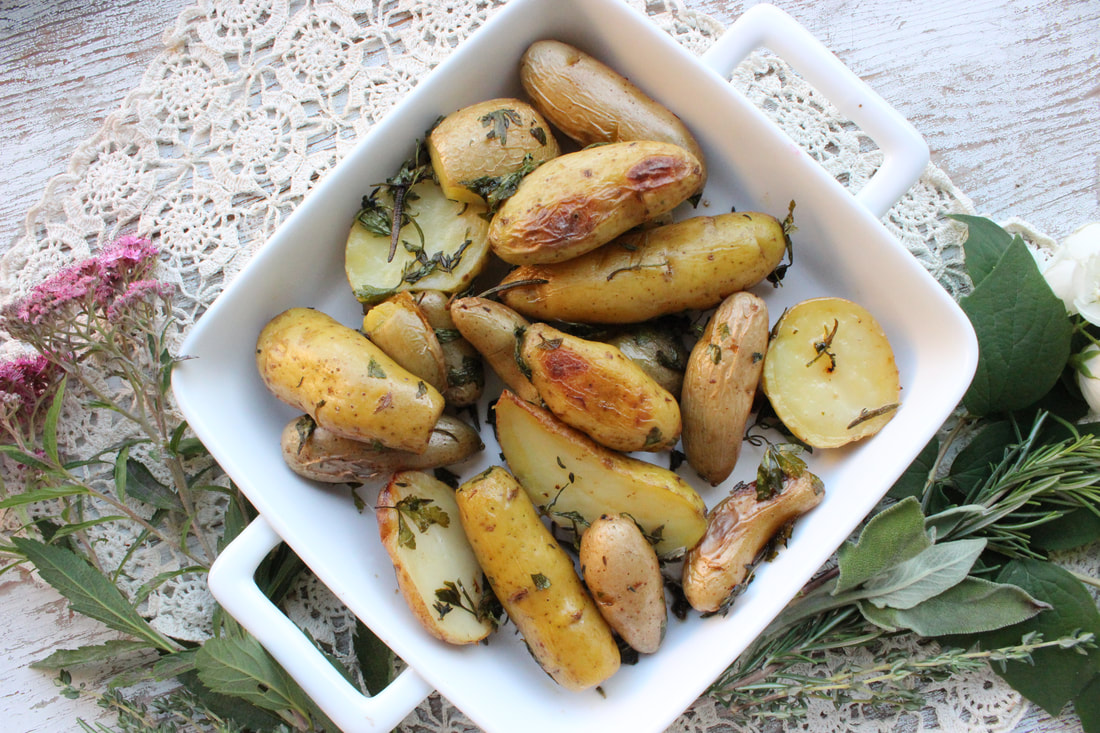
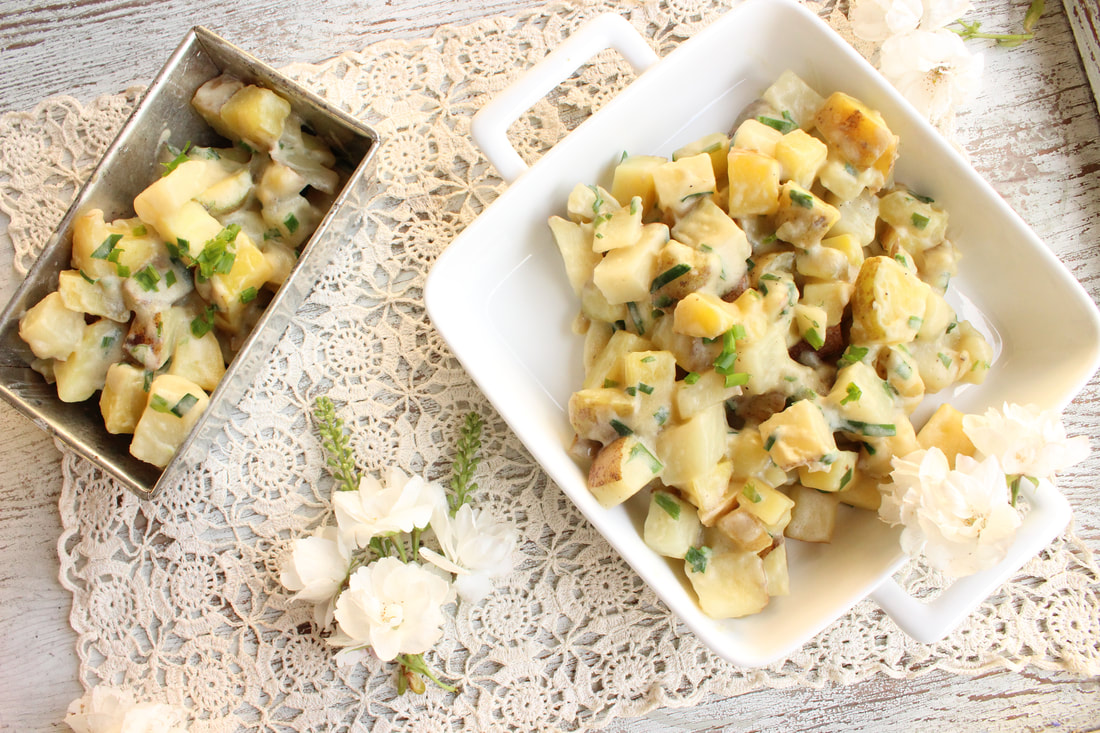
I actually made this recipe several years ago, and completely forgot this post this. I began spending much time in nature, admiring the vibrant green ferns and trees of late summer. I found this bright green 1960's dress all while continuously hearing The Scarborough Fair song, and discovering how to grow my own food. With the inspiration of all things green and herbal....I decided to make Scarborough Fair potatoes to ignite a sort of "medieval healing" vibe of consuming more herbs with the powerful potato. 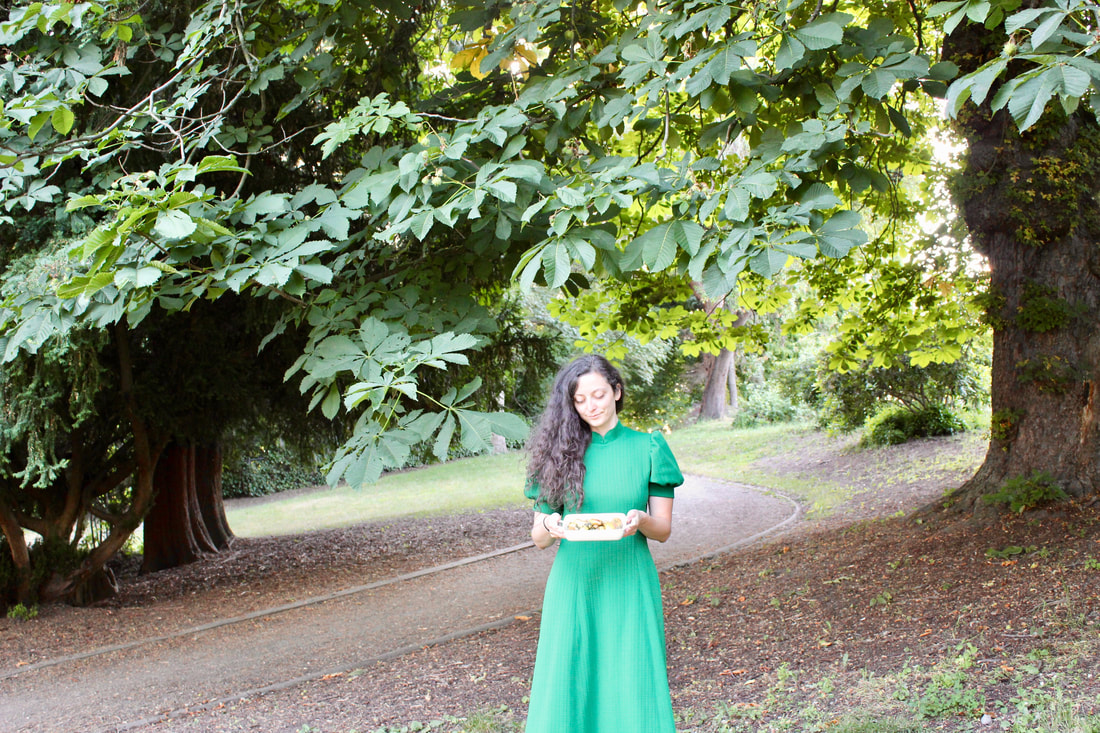
"Parsley, Sage, Rosemary and Thyme"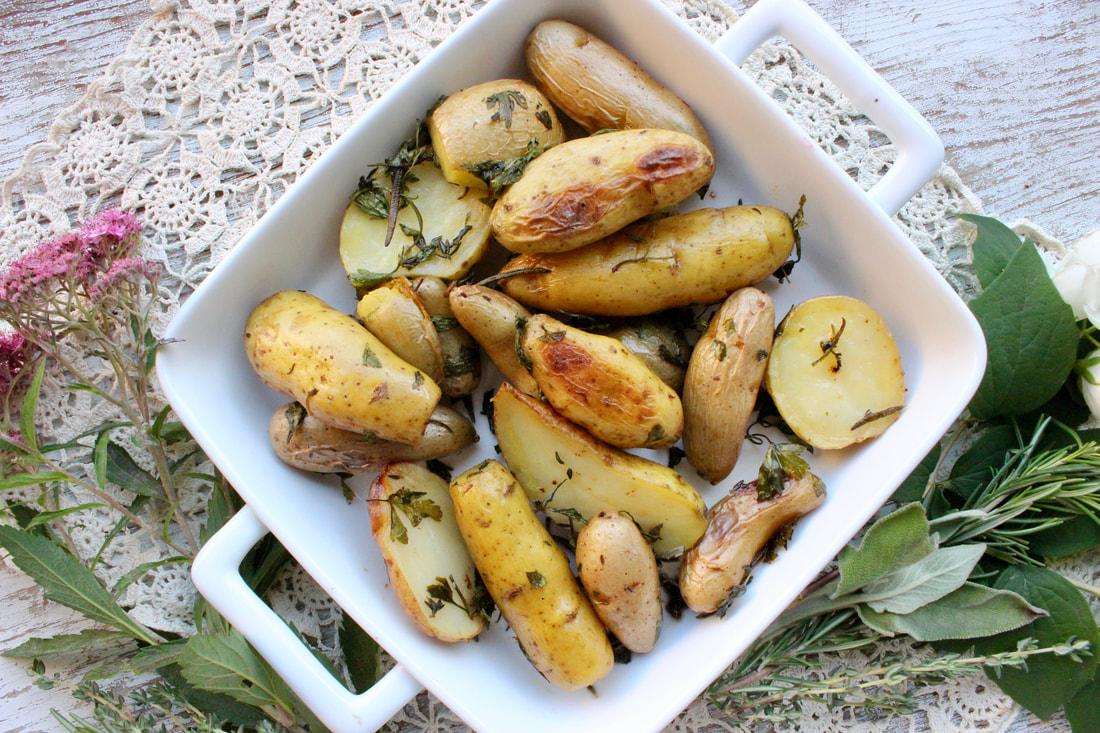
Life in 2021 is challenging, and it's going to become more challenging especially in the world of health. Americans have this "distaste" for potatoes, blaming it for being unhealthy, but fails to realize a culture who constantly deep fries potatoes removes all or any nutritious value from the food.
Potatoes are packed with fiber and the compounds: flavonoids, carotenoids and phenolic acids, which act as antioxidants in the body by neutralizing potentially harmful molecules known as free radicals. 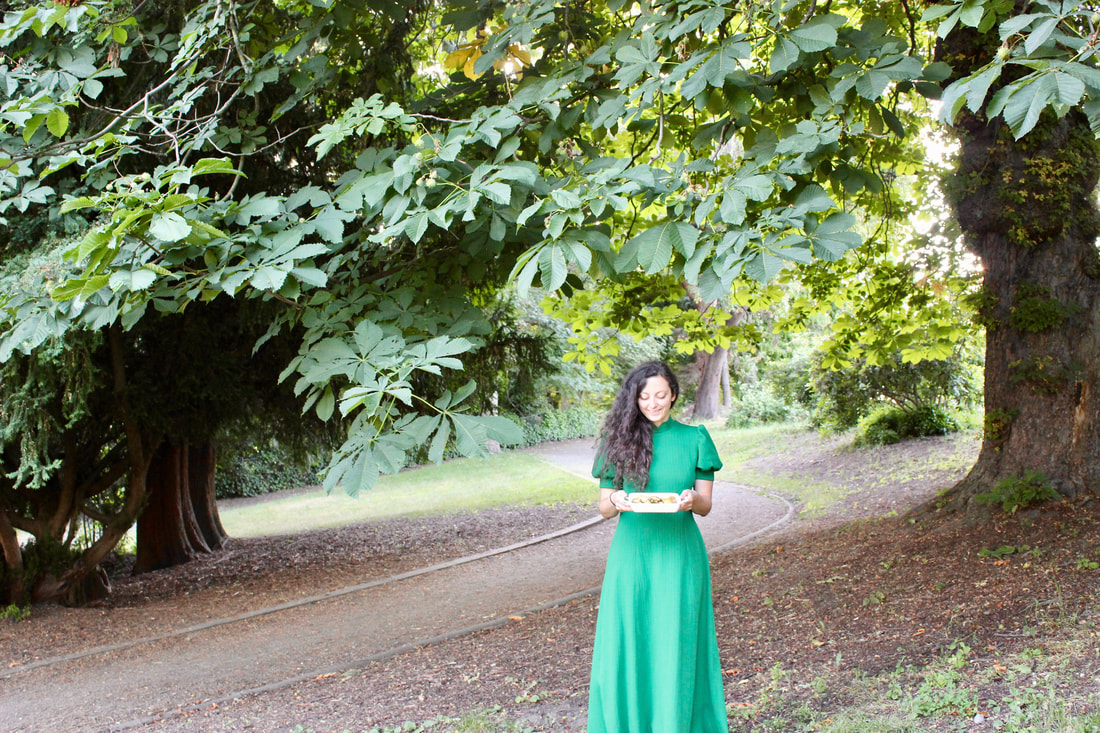
"Never underestimate the healing power of a quiet moment in a garden."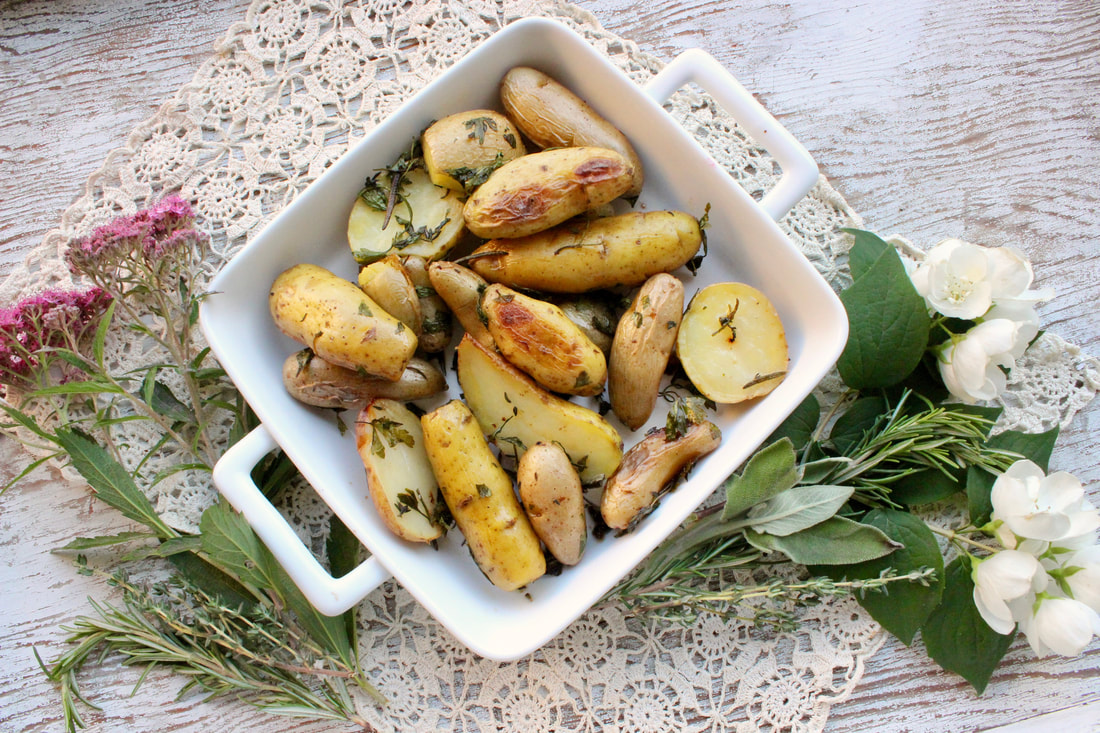
Many vintage dresses & items available for purchase on my Etsy shop, The Elizabethan Closet. For more vintage items, let's connect above on the Instagram account!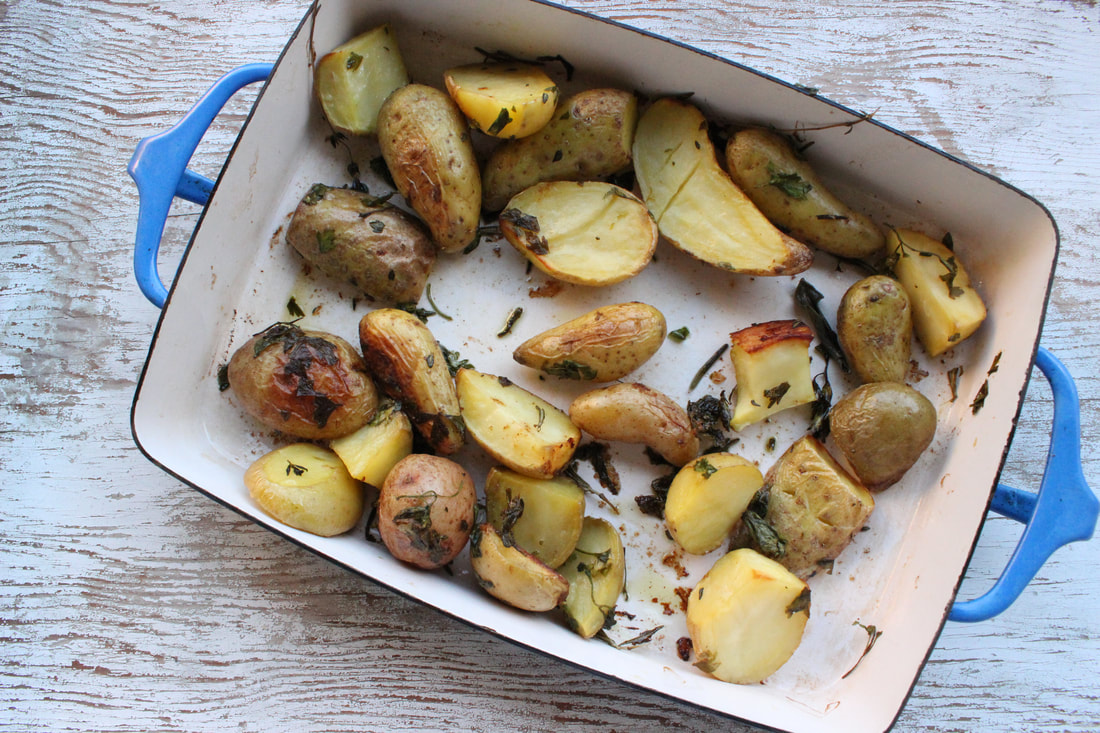
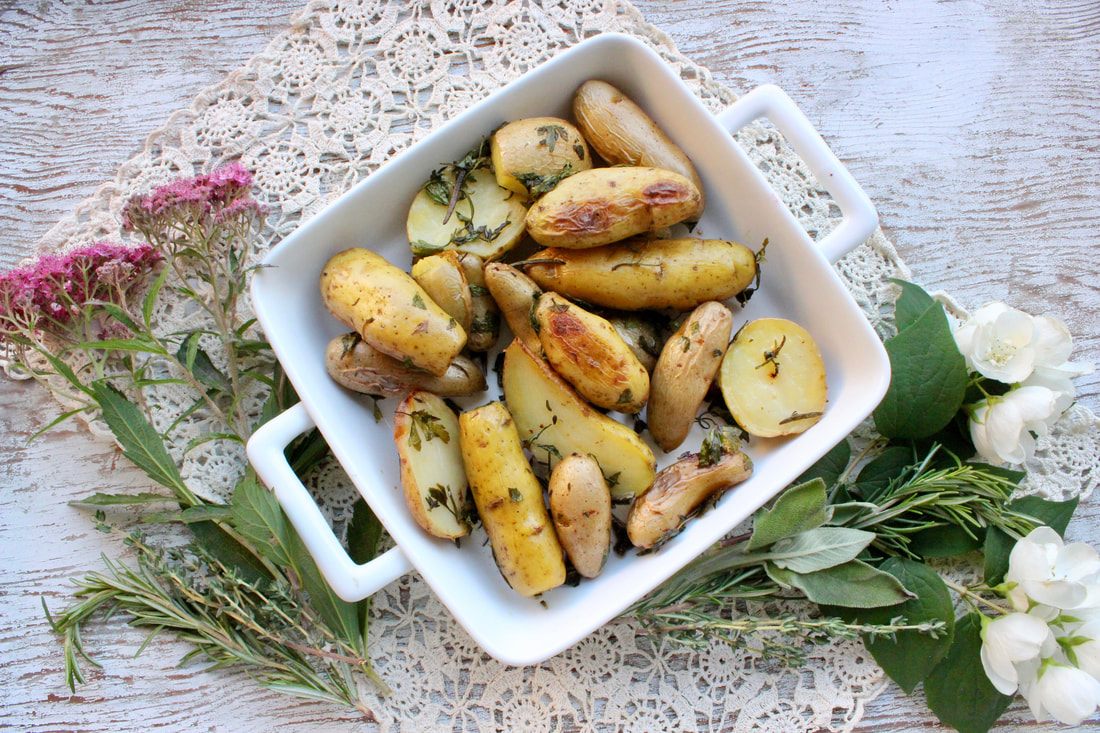
Scarborough Fair Potatoes
Total Time: 30-40 minutes Ingredients: 6 cups of fingerling potatoes, washed and halved (or white skinned potatoes) 3 tbsp olive oil 1/4 cup fresh parsley, chopped 1/2 tbsp fresh rosemary, chopped 2 sprigs thyme, leaves removed from stems salt to taste Topping 4 sage leaves 4 springs of thyme 1 stick rosemary Directions: Preheat oven to 400 degrees, and grease a baking sheet. Prep the potatoes and the herbs. In a mixing bowl, mix the potatoes, herbs, olive oil and salt. Since sage is a strong flavor, I put that herb on top, but if you like it, chop 1-2 leaves and mix it with the potatoes. Once mixed, spread on the greased baking sheet. Dab a little oil on your hands and rub it on top of the leaves/stalks of herbs and place the herbs on top of the potatoes. Bake for 30 minutes, or longer if needed. Remove from oven once edible and slightly crispy. Let's Connect! Check out my other potato-based recipes below!
116 Comments

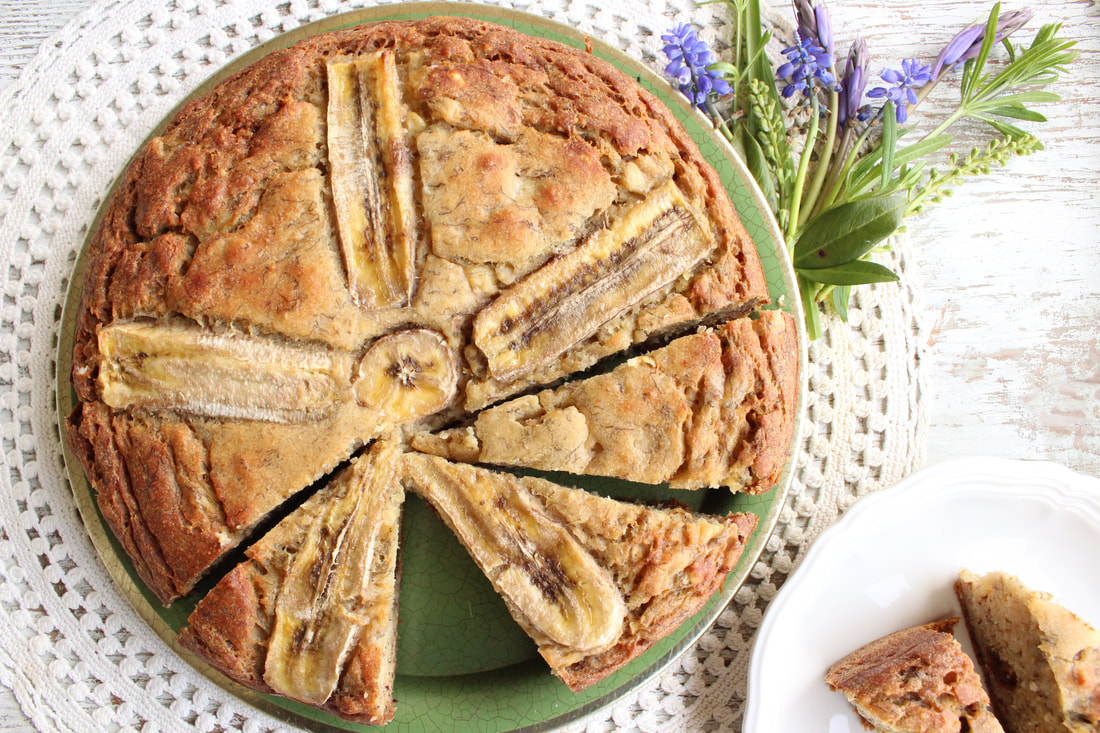
I found this beautiful hand-painted tulip Dutch/Scandinavian wooden plate that looked almost like a vintage bread board. With so many leftover bananas and coconut milk after hosting a Guided Fitness Smoothie and Yoga workshop, I decided to focus on altering a banana bread recipe to taste the best of summer flavors.
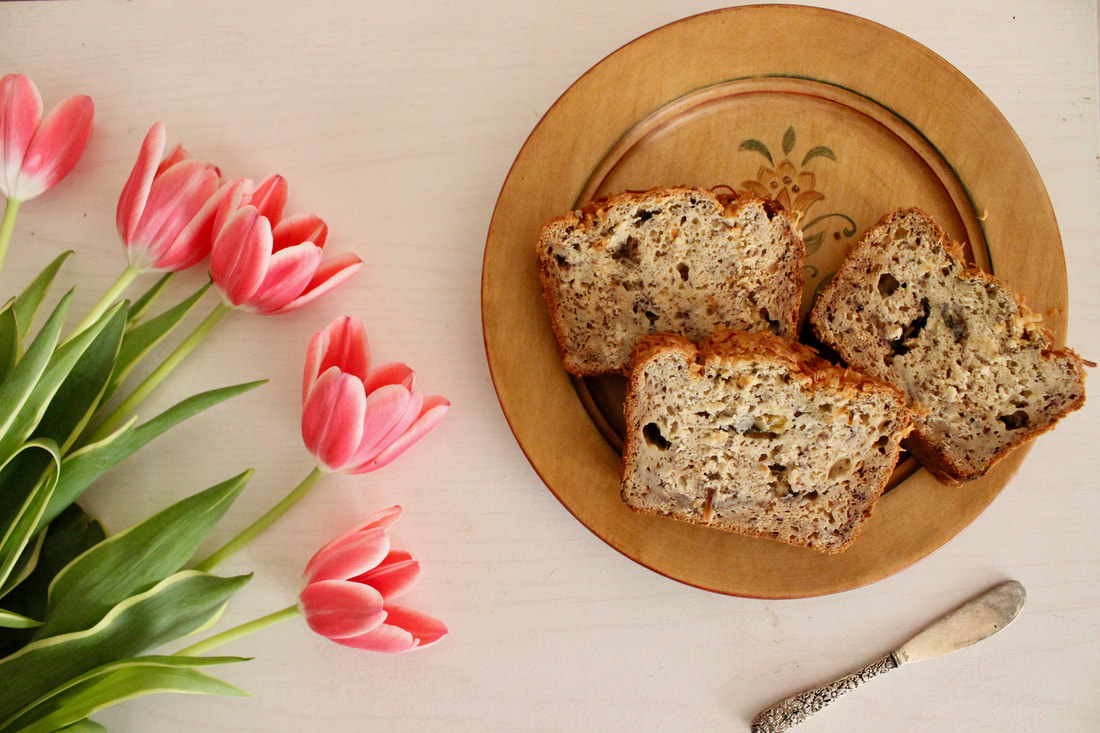
What makes this recipe unique that it does not have any refined sugar and uses coconut milk instead of any oil, which both sugar and oil is common in banana bread.
Please note I do not make my breads overly sweet so you may need to increase the maple syrup if you want this extra-sweet. I prefer the naturally-sweet version, so hope you enjoy! 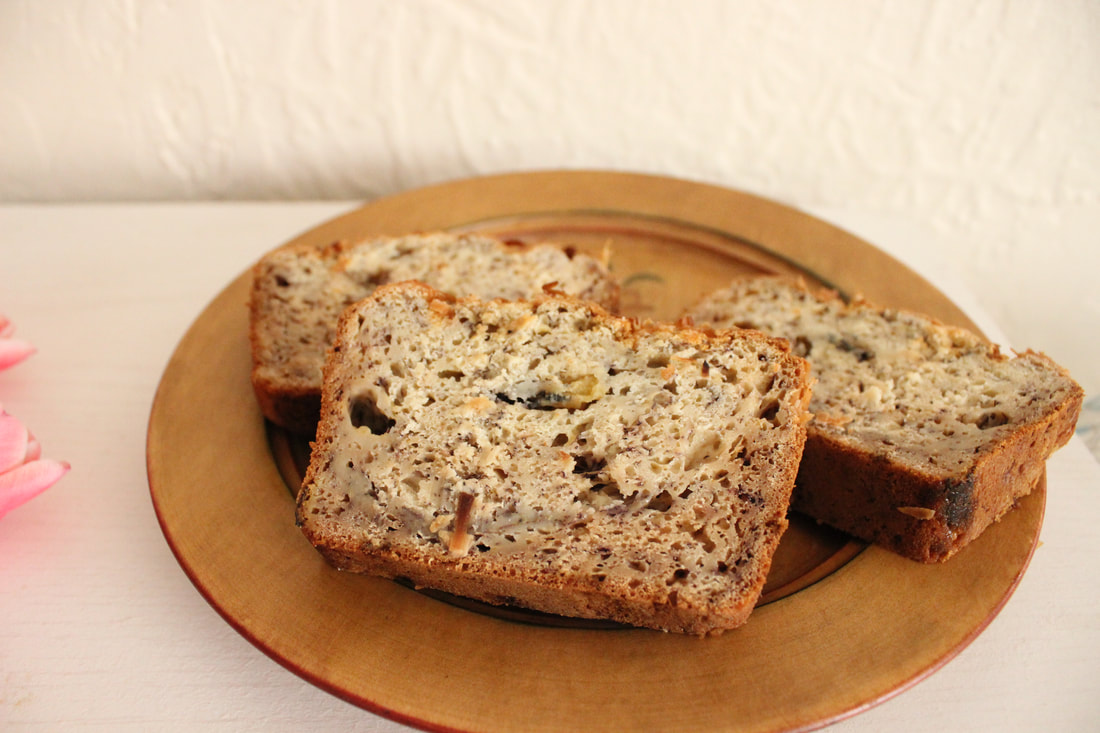

This wooden hand-painted plate and many other vintage items available for purchase on my Etsy shop, The Elizabethan Closet. For more vintage items, let's connect above on the Instagram account!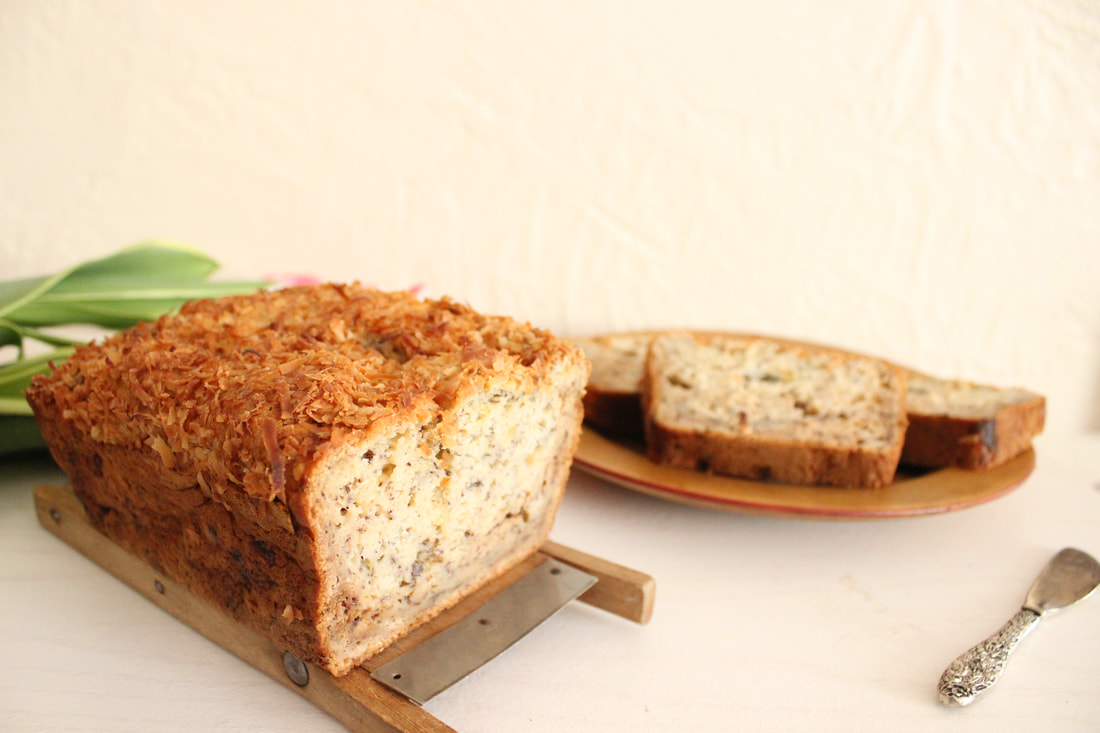
Vegan Coconut Banana Bread
Prep Time: 5 minutes Bake Time: 40-45 minutes Makes 1 Loaf Ingredients: 2 cups of pastry flour 1 tsp baking powder 1/2 tsp baking soda 1/4 tsp salt 4 ripe bananas, mashed 1/4 cup maple syrup 1/2 cup coconut milk (recommend thick milk like Arroy D) 1 tsp vanilla topping: 1/4 cup coconut shreds Preheat oven to 350 degrees. In a bowl, mash the bananas and then add the vanilla, coconut milk and maple syrup. Mix the dry ingredients together in a separate bowl (or at least in a sifter). Gradually add the dry ingredients into the wet and fold until a dough forms. Grease a 9x5 bread pan. Pour the batter evenly into the pan, and use a spatula to smooth the top. Add the coconut shreds, pressing down slightly so it sticks to the dough. Bake for around 45 minutes or until fragrant and using the "poke test" by piercing the center of the dough with a fork or knife. When it comes out clean, the banana bread is done. Let's Connect! Enjoy my other banana recipes below!
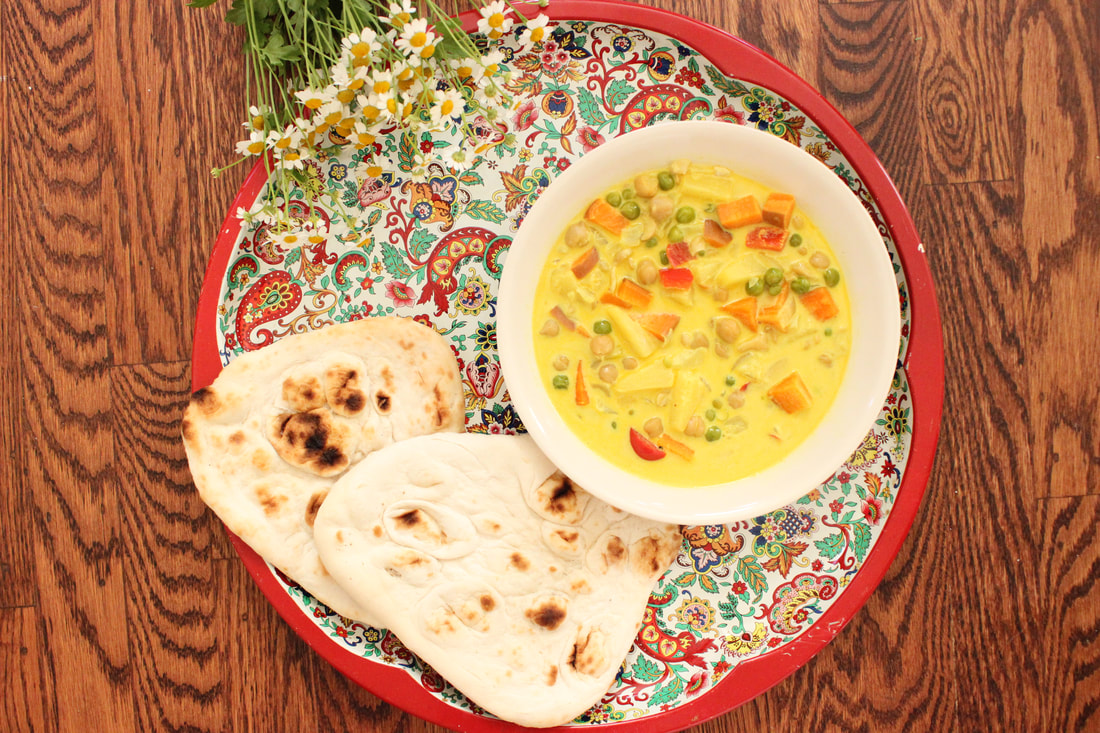
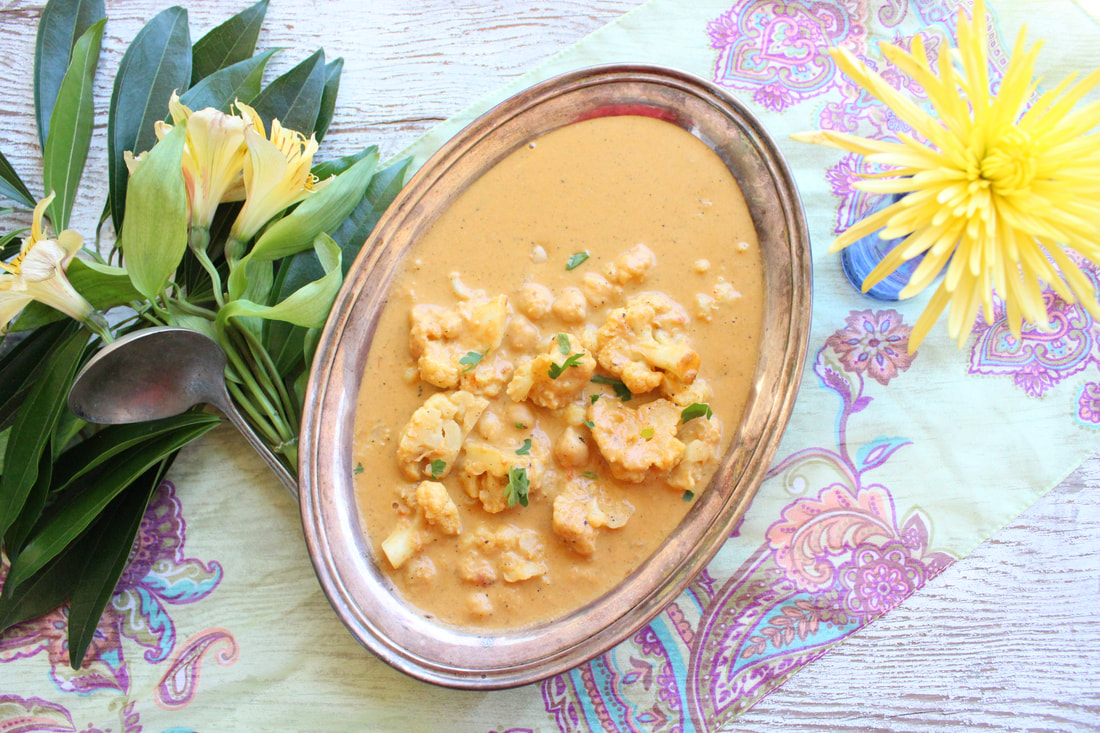
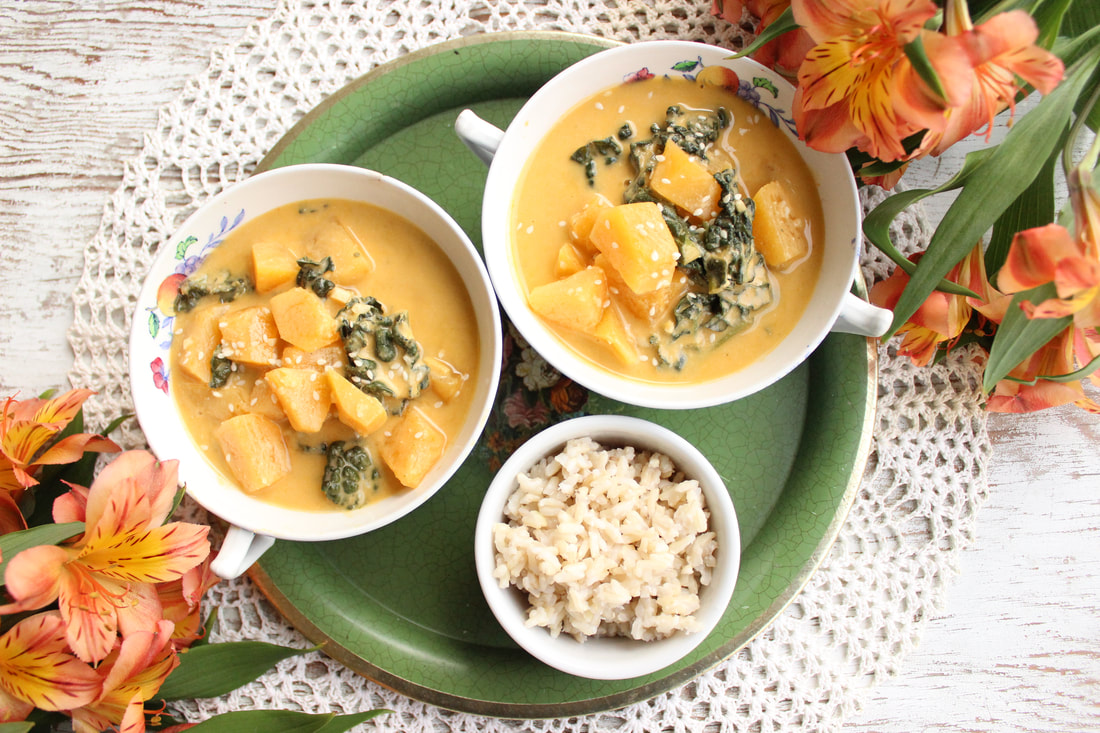
Ready to try a curry that is inspired by summer? Try this pineapple Indian-spiced curry for a different type of curry that includes a bit of sweetness this summer.
I love this curry with naan, but you can also serve it over rice. 
I had so much pineapple that I had to figure out what to do with it. I also recently obtained a lovely vintage paisley tray and exotic tablecloth that inspired a curry touched with sweetness and exotic spices that aides in our immune function and overall wellbeing.
This is an excellent and easy meal that is ready in about 30 minutes. I hope you enjoy a different type of curry! 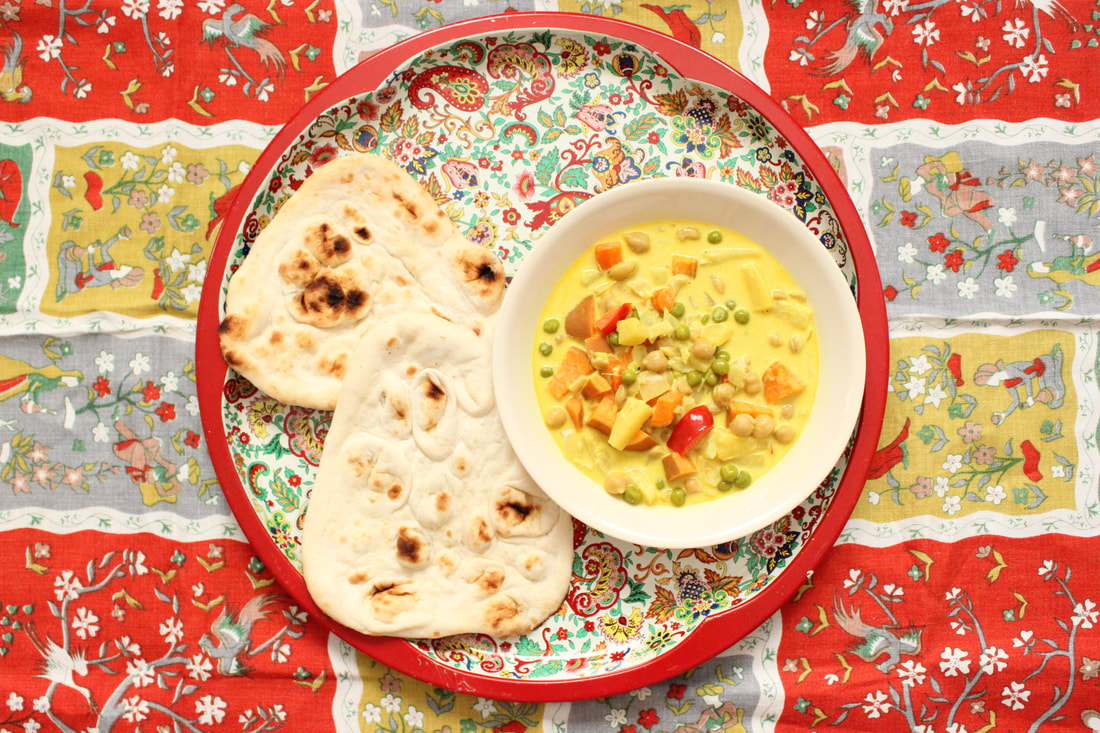
This MCM tablecloth is available for purchase, please contact me. For more vintage items, let's connect above on the Instagram account!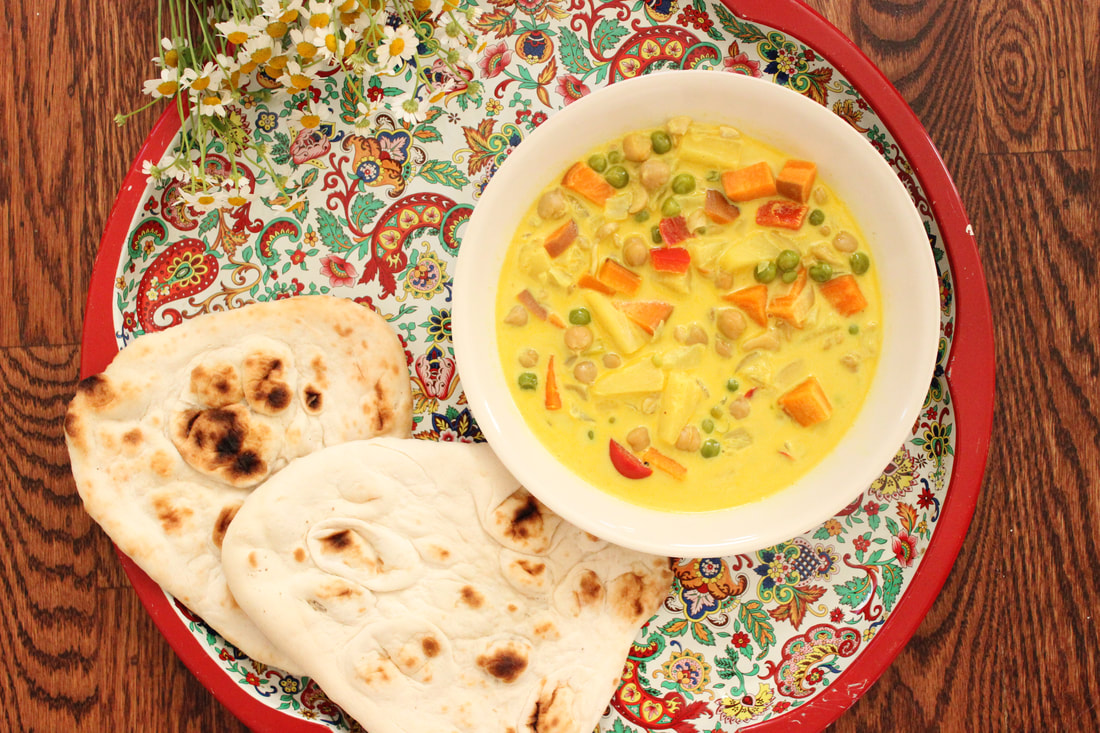
Vegan Pineapple Curry
Time: 30 minutes Serves 4 Ingredients: 32 oz coconut milk (4 cups or two cans) 2 tbsp olive oil 5 garlic cloves, minced 1 onion, diced 1 carrot, diced 1 large sweet potato diced 2 cups pineapple, cubed (fresh or frozen) 1.5 cups peas, fresh or frozen 1 can chickpeas, drained and washed 1/2 cup raw cashews 1 tsp fresh ginger, minced 1 tbsp curry 1 tsp turmeric 1/2 tsp cumin 1/4 tsp coriander 1/8 tsp cinnamon pinch of nutmeg salt + pepper to taste Directions: Prep the vegetables. In a large pot, saute the garlic, ginger and onion for 3-5 minutes. Add the carrot + sweet potato and saute for an addition 3-5 minutes. Add the pineapple and sauté for another 2-3 minutes, especially if frozen it's important to saute to release the juices. Add the spices and mix until well combined. Add the coconut milk and peas, and simmer on low until fragrant and the sweet potatoes are thoroughly cooked. In the 2-3 minutes of cooking, add the cashews and chickpeas. Mix well and remove from heat once done. Serve warm with rice or naan. Let's Connect! Enjoy my other Indian-inspired recipes below!
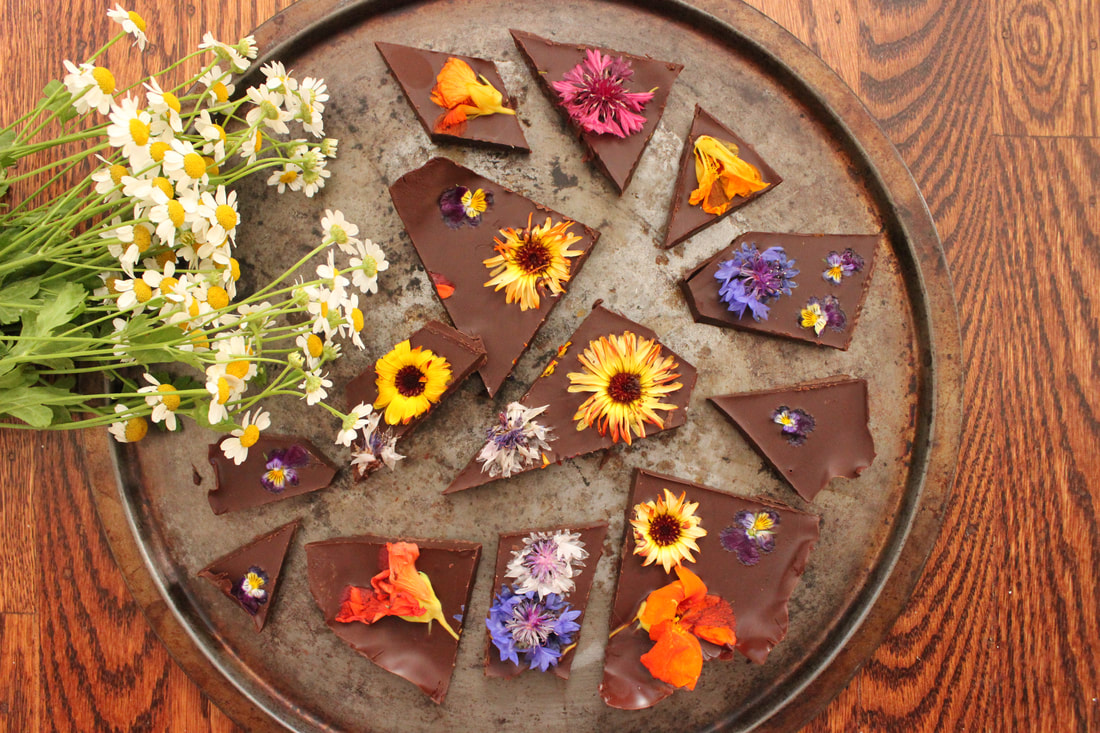
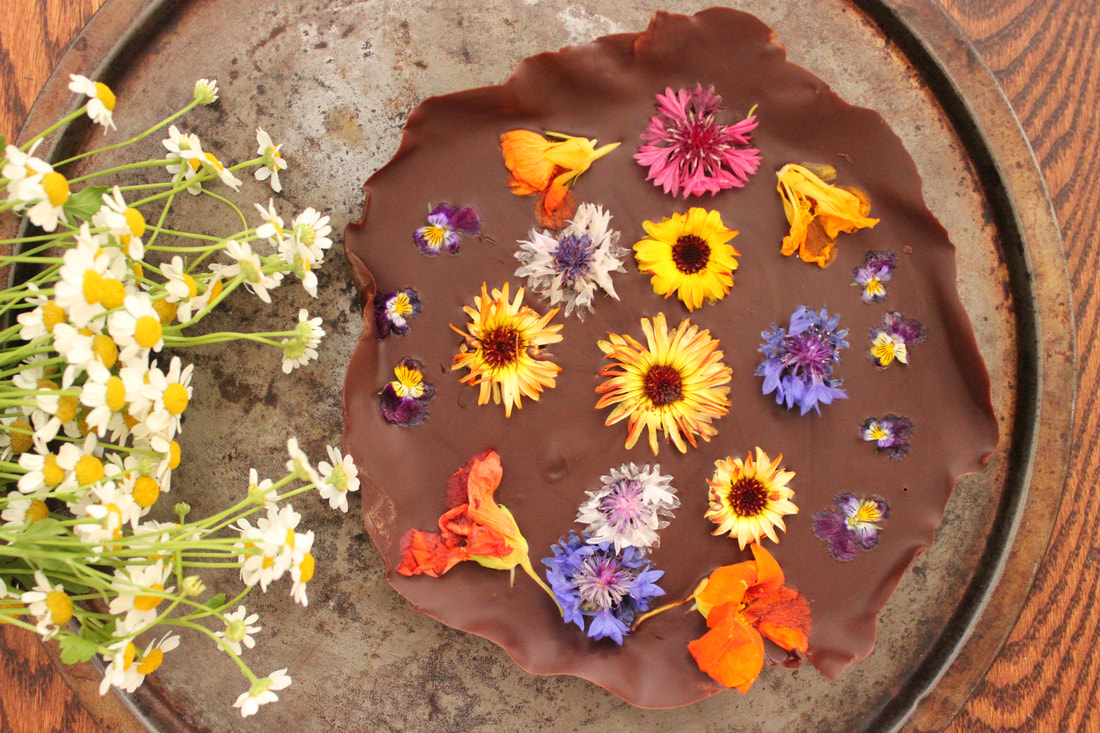
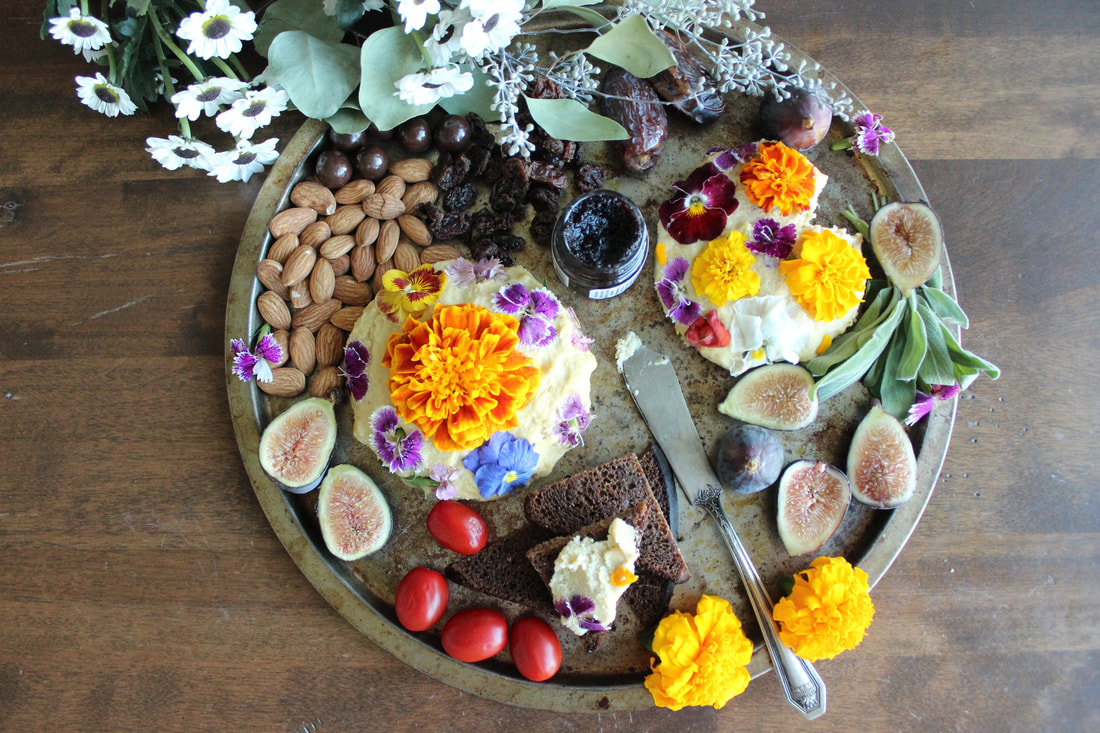
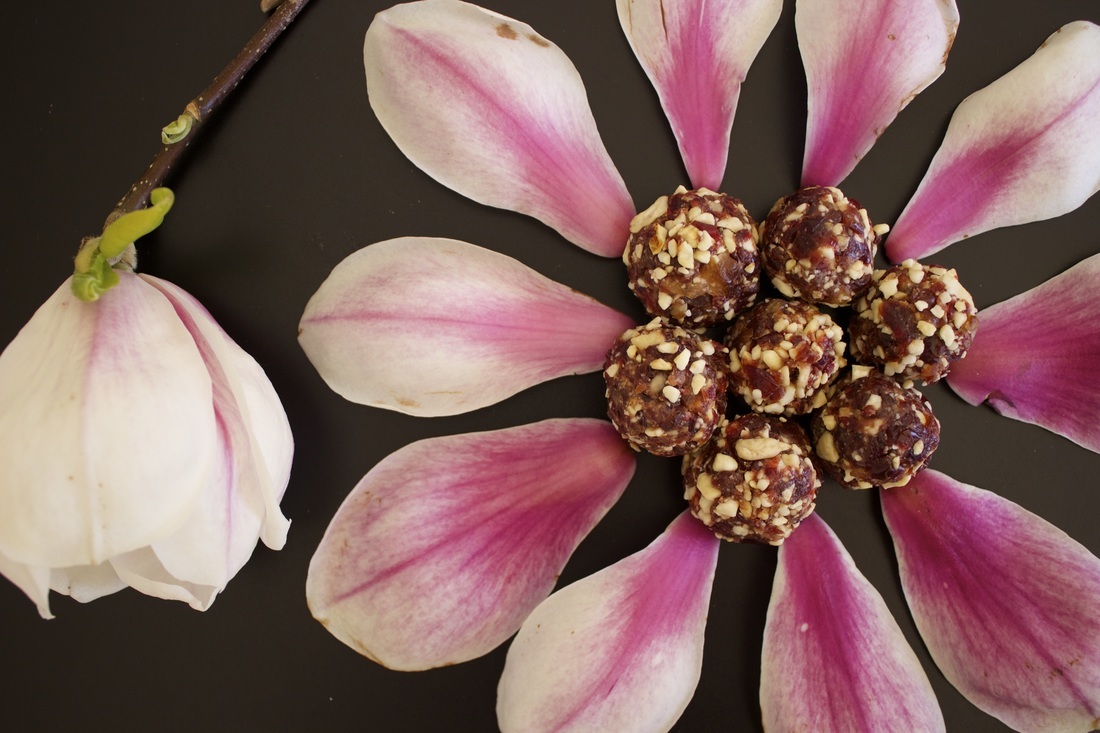
Have you ever wondered what to do with edible flowers? There are so many options, but using them in chocolate bark is a quick-and-easy dessert that makes a perfect treat for picnics and parties.
If you want to make this vegan, be sure to use dark chocolate or a vegan-brand chocolate that does not use any milk products.
“If we could see the miracle of a single flower clearly our whole life would change.” – Buddha
How to Make Edible Flower Chocolate Bark
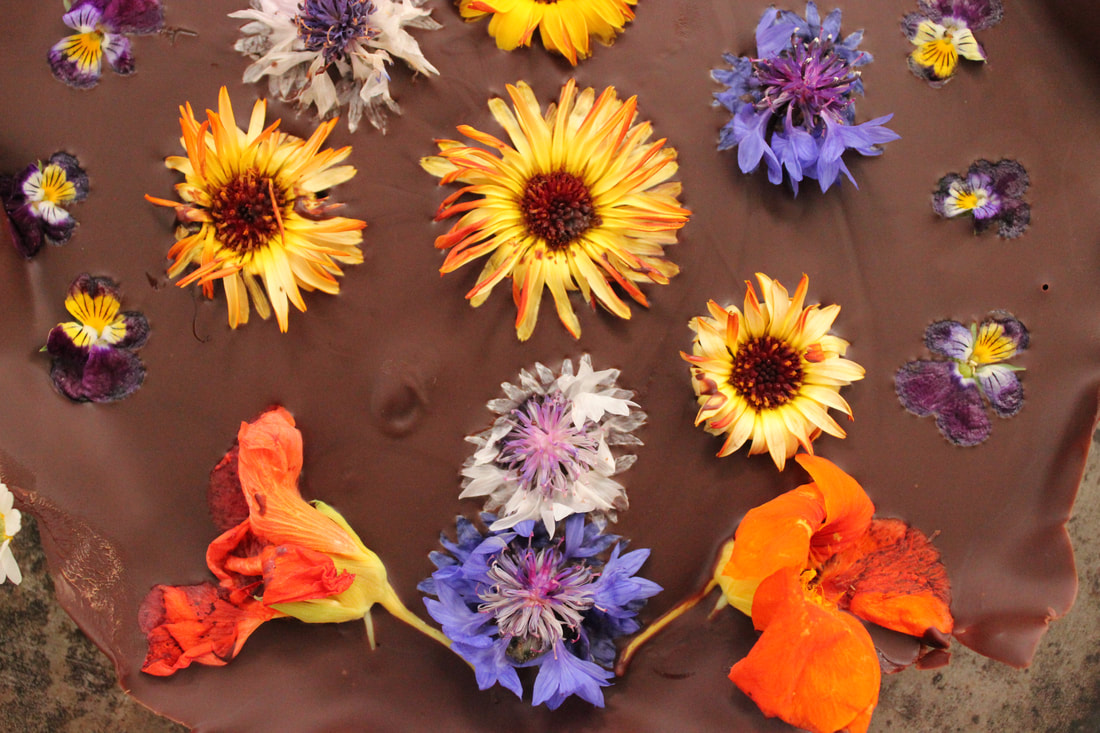
Prep Time 10 minutes + Cooling Time Ingredients: 1 bag 10-11 oz of chocolate chips edible flowers Directions: 1. If you don't have a double broiler, place some water in a small pot and then place a bowl on top that you are able to pick up from the pot. Use a towel or oven mit to do this! 2. Line a pan (I used a 9-inch pie pan) with parchment paper 3. Bring the water to a simmer and then place the bowl on top. 4. Pour the chocolate chips into the bowl and use a spoon to help mix the chocolate once it melts. You may need to release steam from the pot, so at times lift the edge to release the steam. 5. Once its completely melted, pour onto the parchment paper. Use a spatula to scrape the sides of the bowl and layer the chocolate evenly on the paper. I chose to make mine a thicker layer. 6. Immediately begin adding the flowers to the chocolate in a pattern of your choice. Don't press too hard because if you do, it'll push the flowers under the chocolate. 7. Place in the refrigerator to harden, which may take one or more hours. 8. Once hardened, use a knife to cut abstract shapes of your liking. Let's Connect! Check out my other flower recipes!
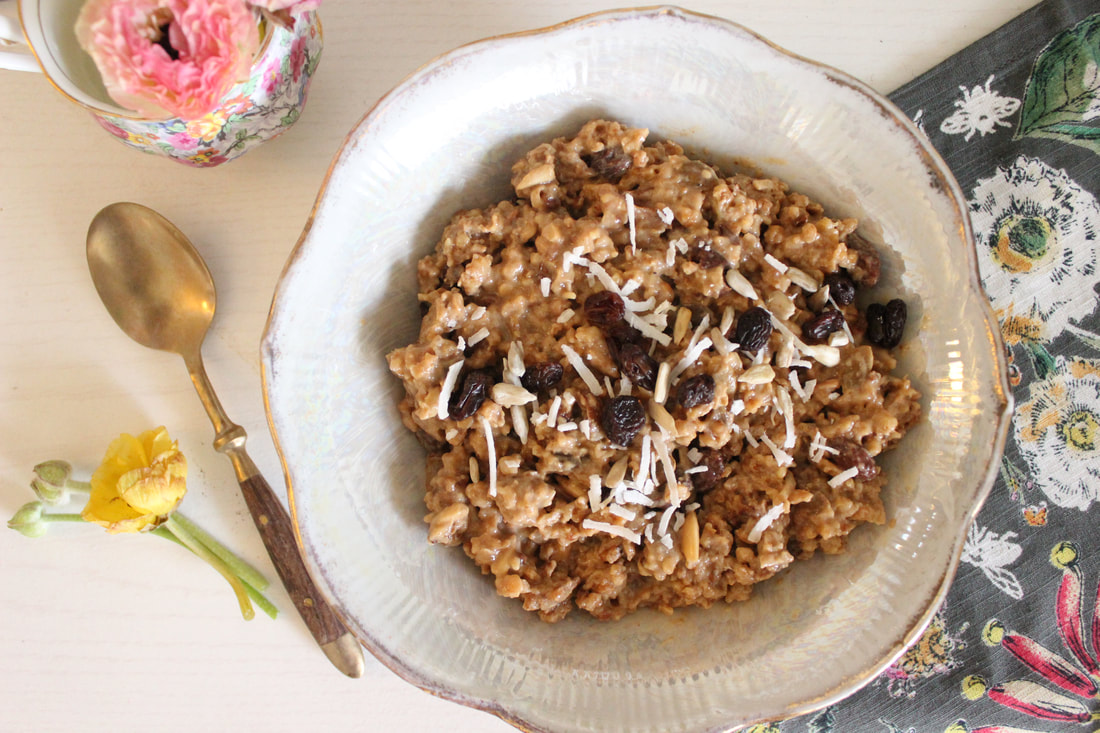
Does it feel too hot to cook your morning oatmeal these days? It's been SO hot in Seattle, over 100 degrees, which is something we are not used to in this town. The crock pot is an excellent way to prepare food without adding additional heat into the house during the summer months.
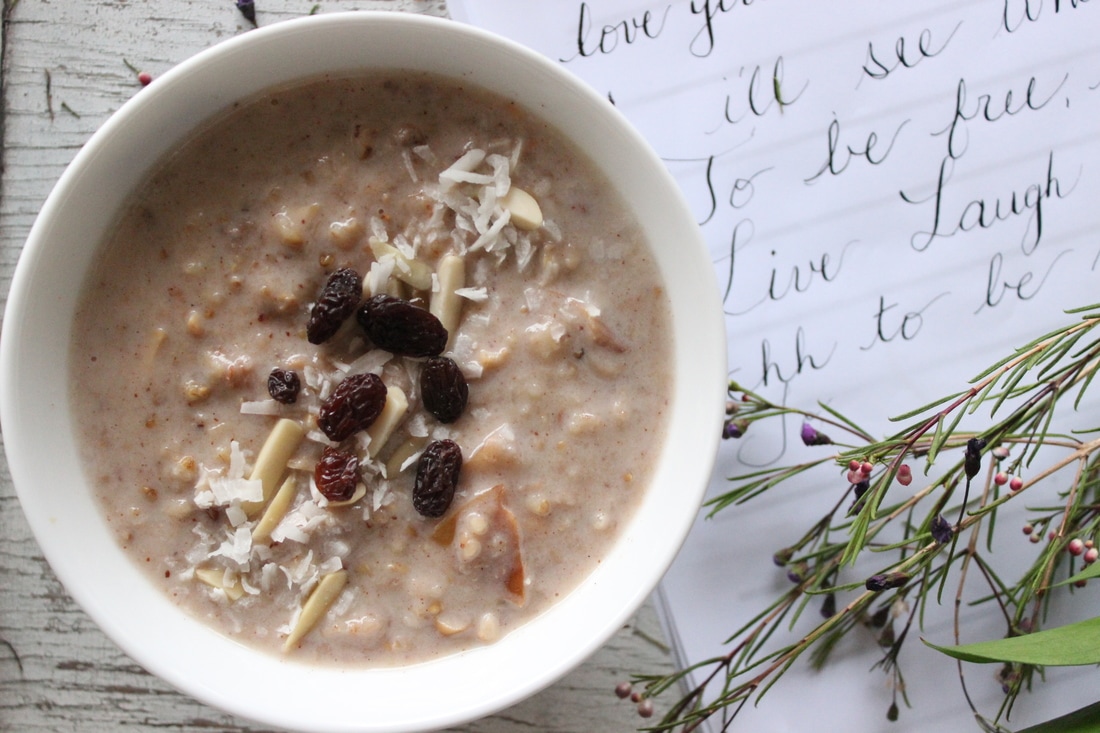
This oatmeal is.like a deconstructed trail mix bar. Oats, nuts, seeds, and sweetness - it is an excellent way to boost your morning with healthy carbs and proteins. 
If you like bird food, or feeling like your still eating your favorite protein bar on a backcountry trail, this oatmeal is for you!
For a carbohydrate, steel cut oats are packed with fiber and protein. They are also a great source of Vitamin B complex and iron, and aides in immune function. 
Dairy-Free Slow Cooker Trail Mix Steel Cut Oatmeal
Setting: 10 Hour Setting Serves 6-8 Ingredients: 1.5 cups steel cut oats 5 1/2 cups of nondairy milk 1/4 cup maple syrup 1 tbsp coconut oil 1/3 cup almonds, chopped 1/3 cup pumpkin seeds 1/3 cup sunflower seeds 1/3 cup coconut shreds 1/2 cup raisins 1/4 cup flax seed or flax meal 1 apple, diced 1 tsp cinnamon 1/2 tsp nutmeg 1 tsp vanilla pinch of salt Directions: Dice the apple. Pour and mix all of the ingredients well into the crock pot. Once combined, place the lid on top. Place on the 10 hour setting and cook for around 6-8 hours, or until done to your liking (even up to 10 hours). If your crock pot has a low setting, cook on low. If the oatmeal gets too thick, add more milk to make it smoother. Let's Connect! Enjoy my other oatmeal recipes below!
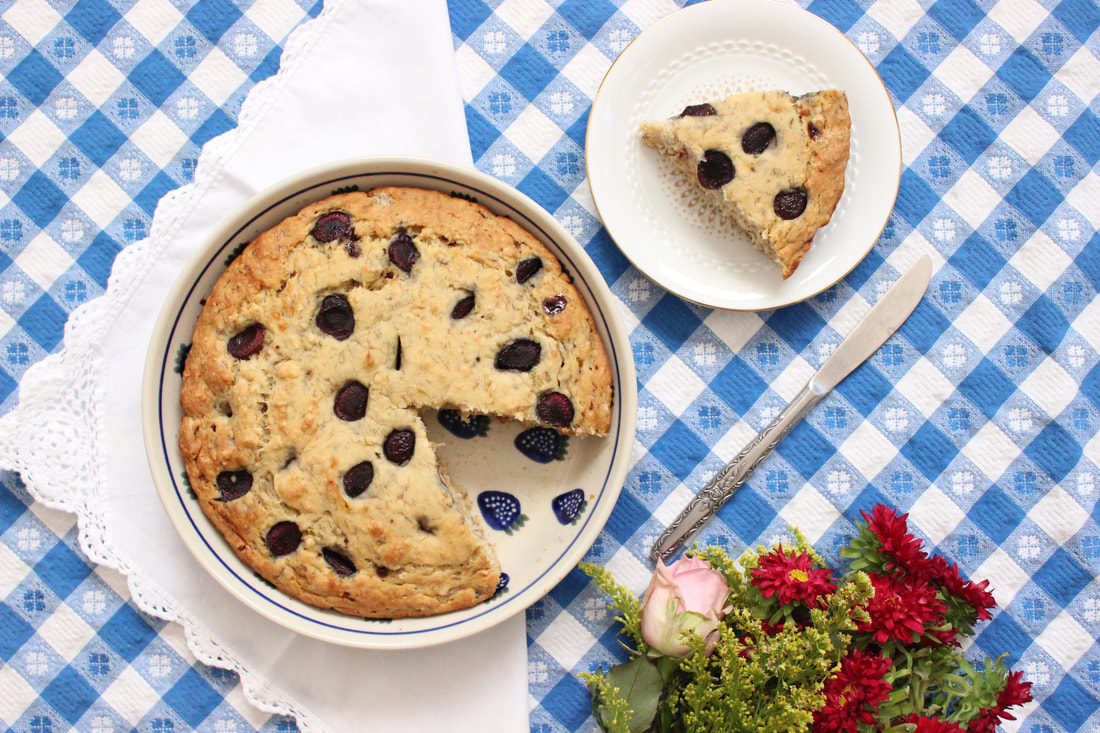
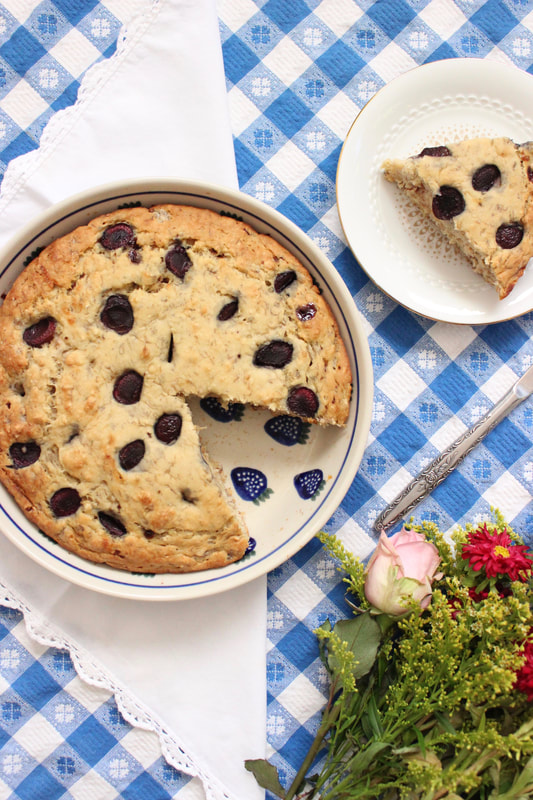
I am a sucker for old linens. In fact, my nickname should be the linen lady. I don't know why but I just love old table linens. These mid-century gingham tablecloths remind me of the good old summer picnic days where grandma would pull out her linens to inspire whatever season or holiday was near.
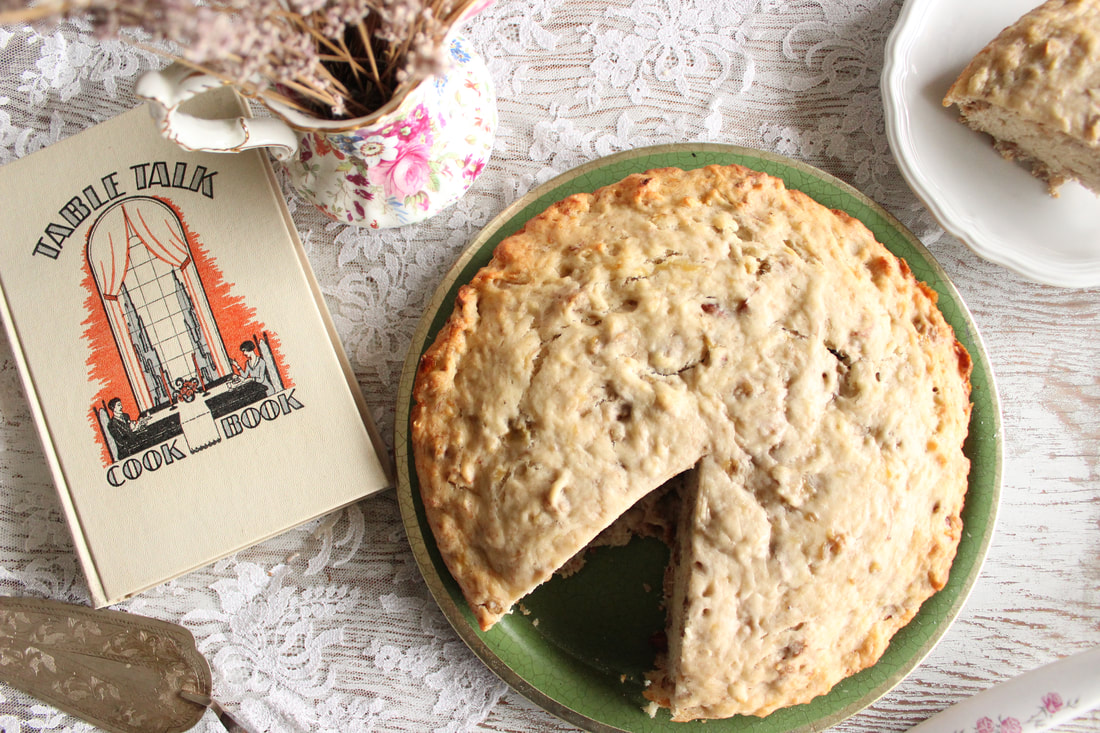
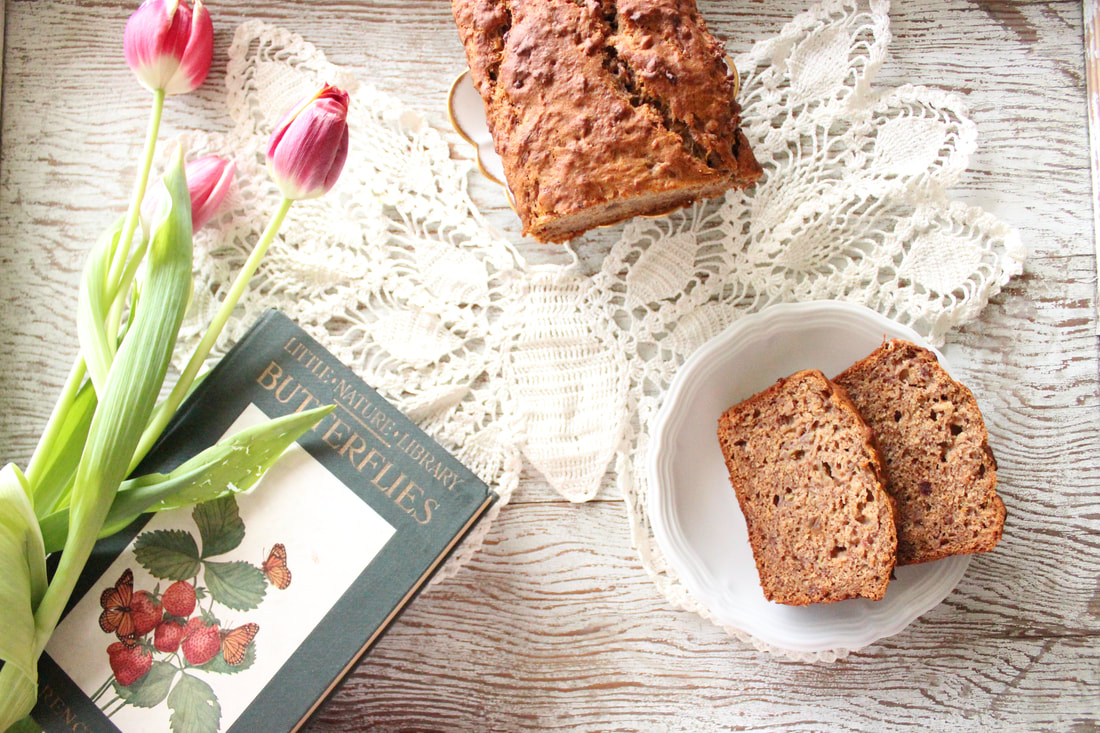
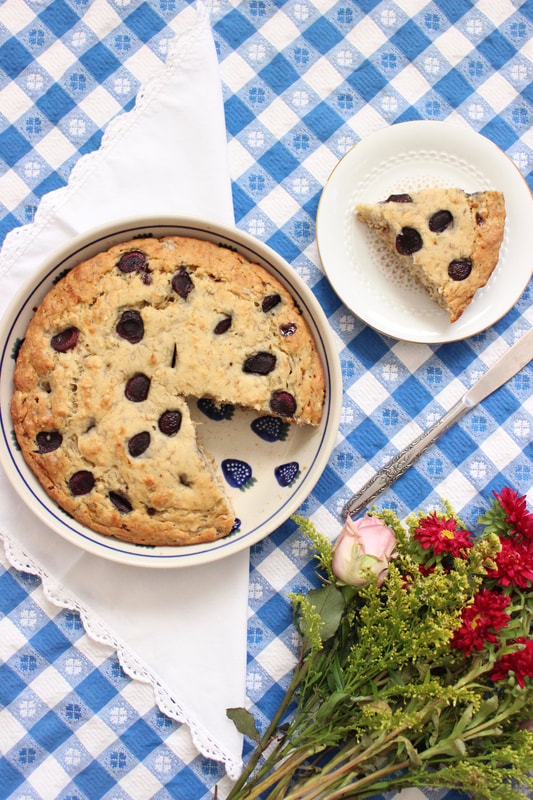
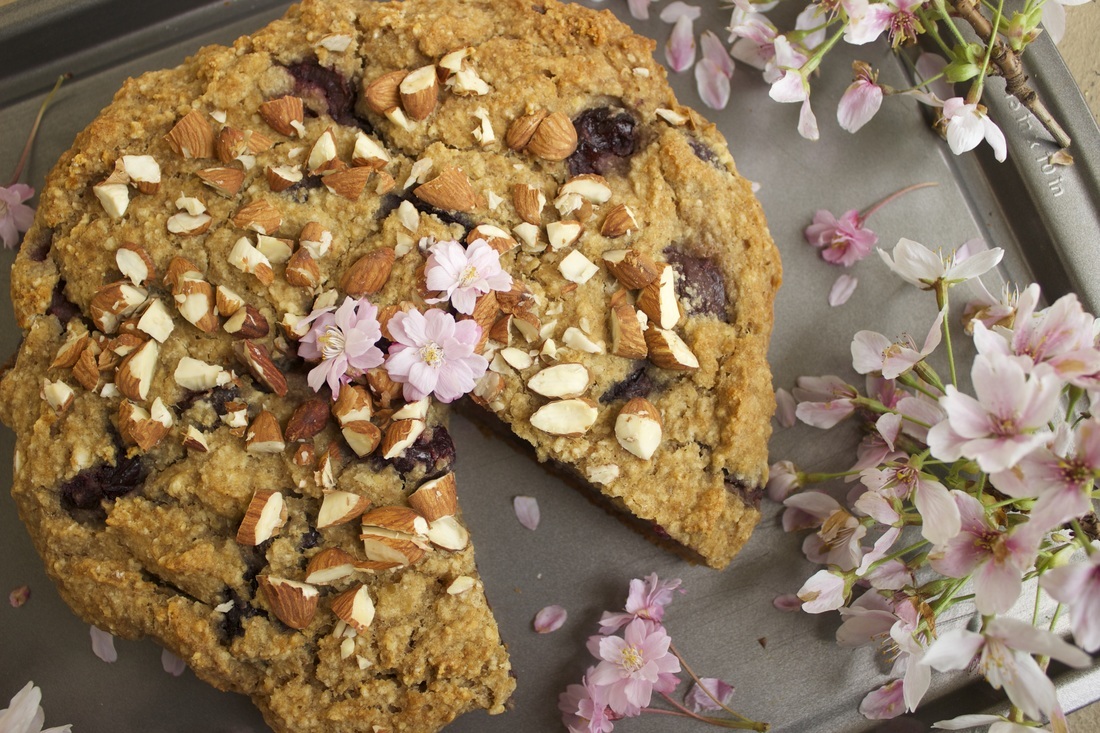
This late mid century round checkered tablecloth inspired me to do something with seasonal fruit that boasts the lovely picnic vibes. After a leftover smoothie event, I had about 29 bananas and a cup full of cherries that needed to be used, so wha-lah inspiration for a brand new recipe that is more naturally sweet. 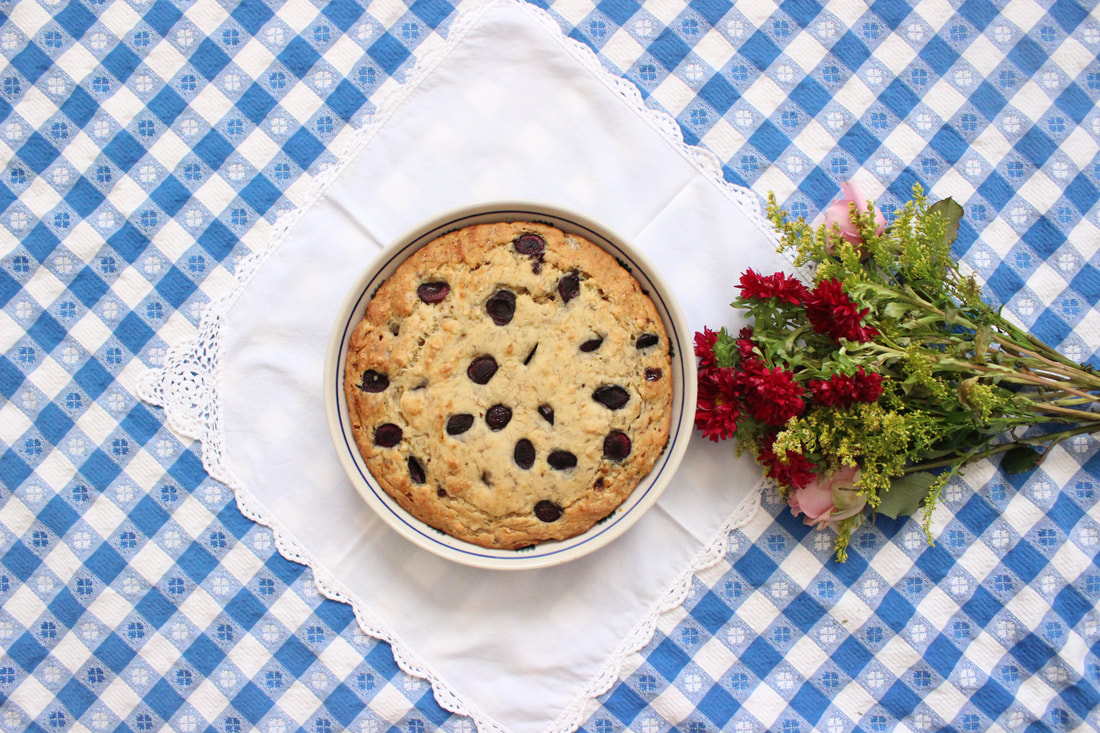
Since I don't like to waste food, I decided to check my cabinets and noticed only 1/4 cup of chocolate chips were left. Why not combine cherries and chocolate into banana bread?
I love tablecloths. I love chocolate. I love fruit. It's as if love is the true inspiration for this recipe. 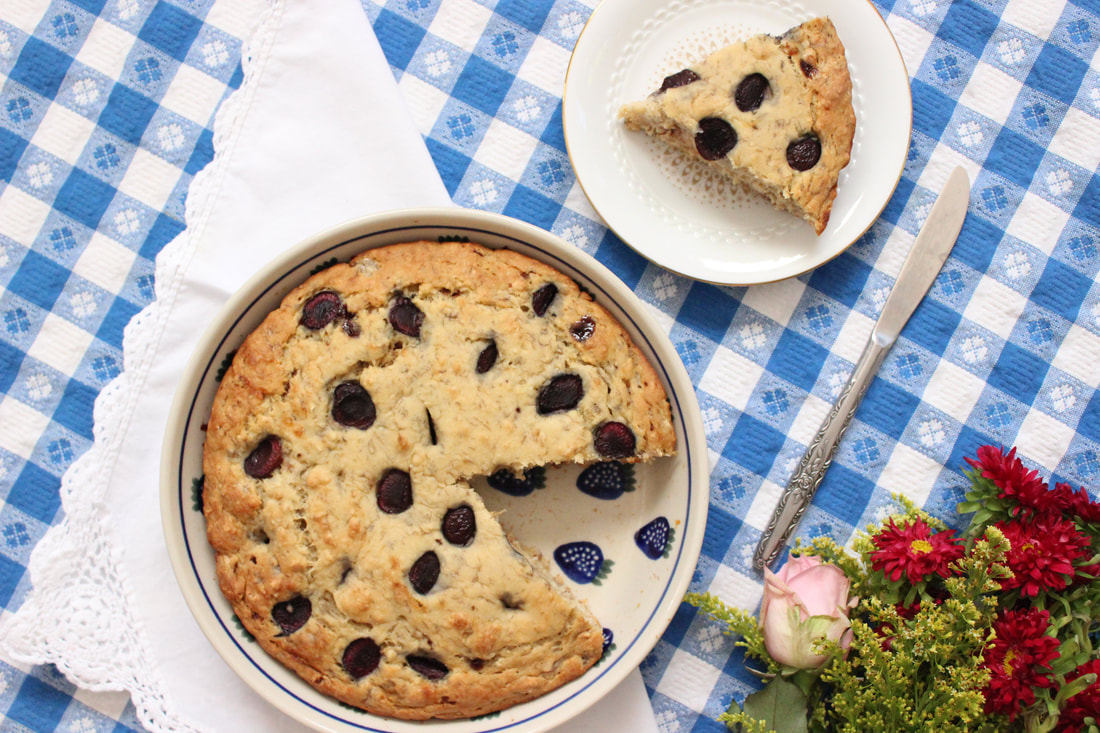
"Cherries are the luckiest of all fruit. They are never far from the one they love."
This MCM tablecloth and many other vintage items available for purchase on my Etsy shop, The Elizabethan Closet. For more vintage items, let's connect above on the Instagram account!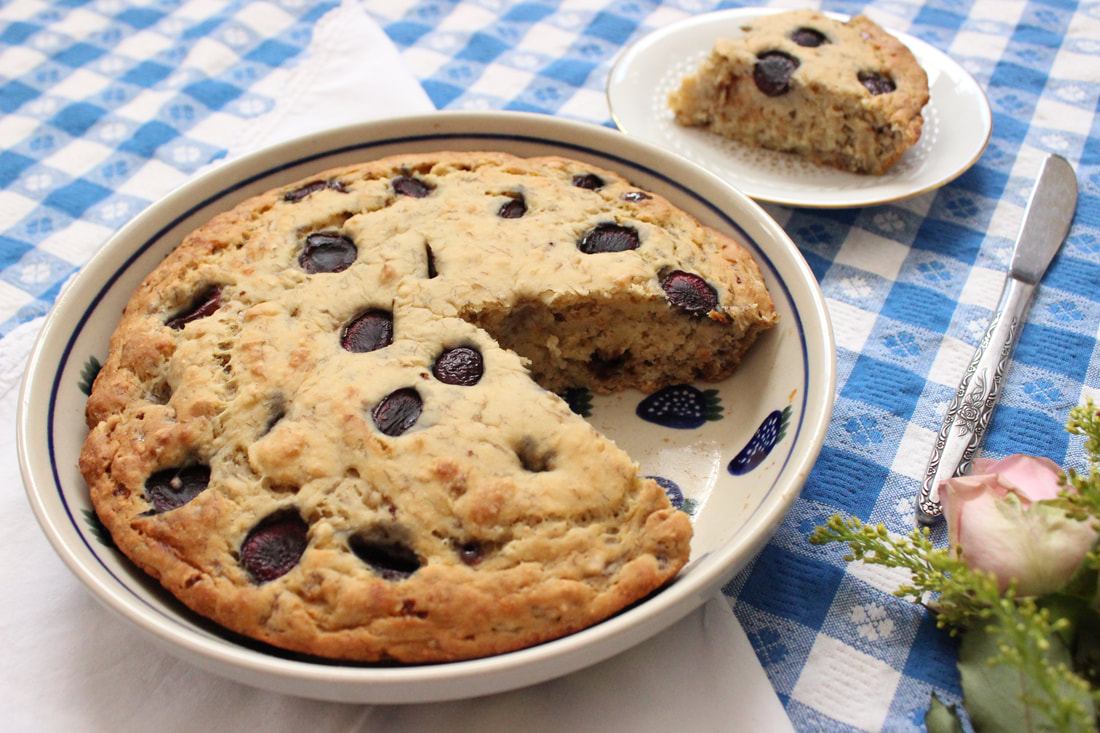
Dairy-Free Cherry Chocolate Chip Banana Bread
Prep Time: 5 minutes Bake Time: 32-40 minutes Ingredients: 2 cups pastry flour 1 tsp baking soda 1tsp baking powder 3 large ripe bananas, mashed 1/3 cup maple syrup 1 cup non dairy milk 1 tsp vanilla 1/3 - 1/2 heap cup cherries, halved 1/4 cup chocolate chips Directions: Preheat oven to 350 degrees. In a bowl, mash the bananas and mix together the bananas, milk, syrup and vanilla until well combined. Next, add in the flour, baking soda and powder powder and fold until you form a well-combined dough. Fold in the chocolate chips (add up to 1/2 cup for a sweeter bread). Next, spray a bread pan or an 8 or 9 inch round pie pan. Add the dough and spread evenly into the pan. Halve or pit the cherries. Add the cherries into the top of the dough. Press them slightly into the dough to be visible, but to have the cherries in the center or bottom, press cherries firmly into the dough and use the spatula to cover the holes. Bake for 32-40 minutes. Use the poke test by inserting a knife into the center of the pan. If the knife comes out clean that indicates the bread is cooked through. Let's Connect! Discover more banana and cherry recipes below!

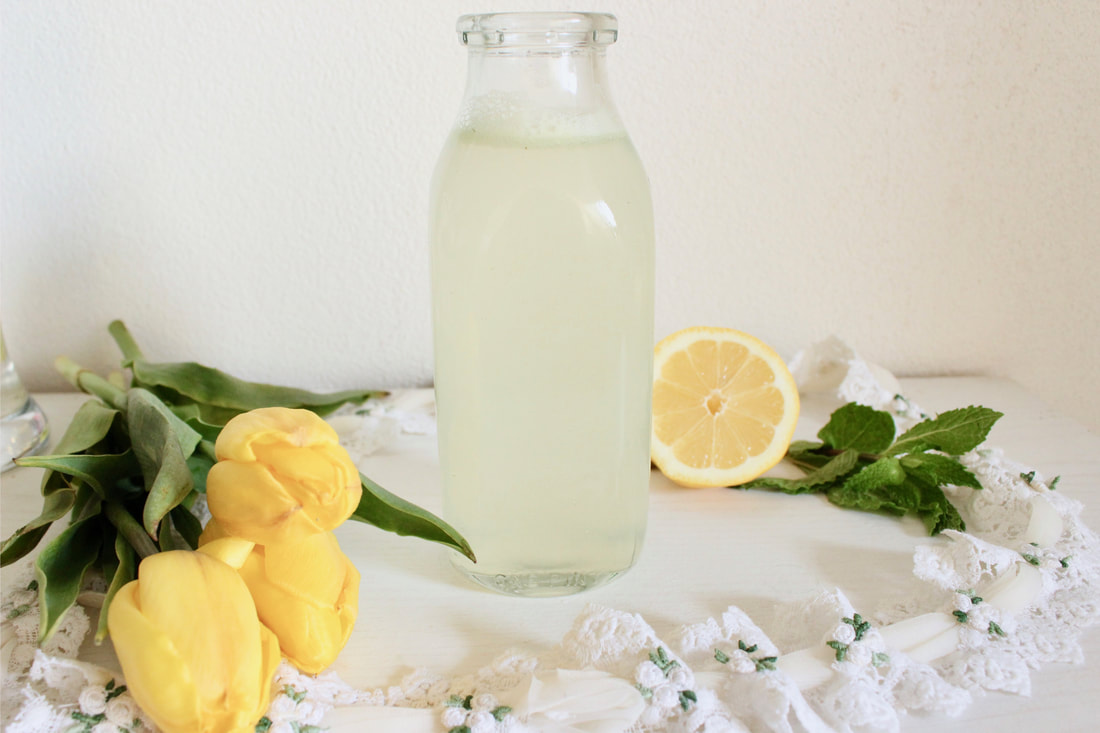
Summer is here, and time to stay cool and refreshed. I found this lovely vintage 70's lemon tray by Keswick, and this fun and flowy peach dress that inspired me to combine the two fruits to create an easy homemade peach lemonade.
Many recipes call for 1-2 cups of sugar, and for that I cannot stand or create something overly sweet. This recipe uses enough sugar to reduce the tartness of the lemon juice all while maintaining connection to it's peachy-fruit flavor. Simple and sweet, this is the perfect recipe for summer picnics or to enjoy your traditional lemonade with a twist! If you want to reduce the sweetness or dilute it anymore, just add a bit more water closer to four cups in total. Enjoy! 
This Keswick tray + 1980's peach dress and many other vintage items available for purchase on my Etsy shop, The Elizabethan Closet. For more vintage items, let's connect above on the Instagram account!
Homemade Peach Lemonade
Total Time: 10-20 minutes Serves 2 large glasses Ingredients: 1 large peach, sliced 3/4 cup lemon juice ( 2 large lemons) 1/4 cup sugar 3.5-4 cups water Directions: In a pot, bring the peach, 1.5 cups water and sugar to a simmer. Simmer for 5 to 7 minutes. Remove from heat and remove the peach flesh. Use a fine mesh strainer if needed. Let the water cool and then add in, and mix, the lemon juice and 2 to 2.5 cups more water. Serve over ice! This tastes best when cooled entirely as this brings out the fruit flavor. Let's Connect! Check out my other lemonade recipes below.
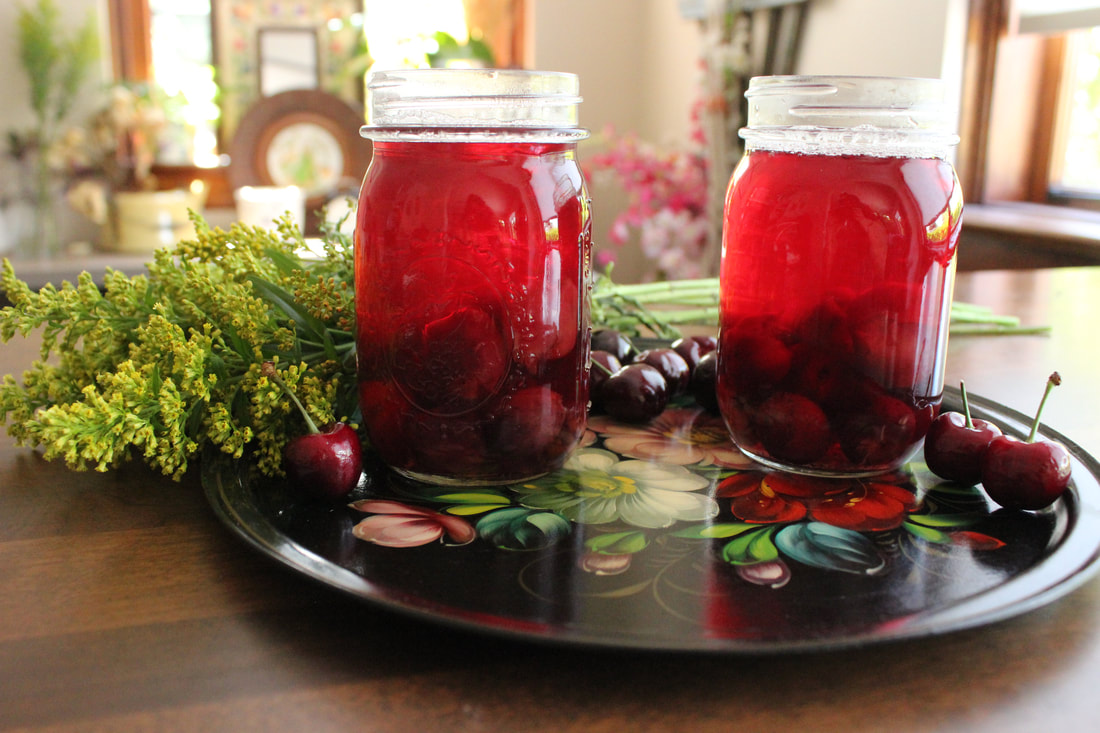
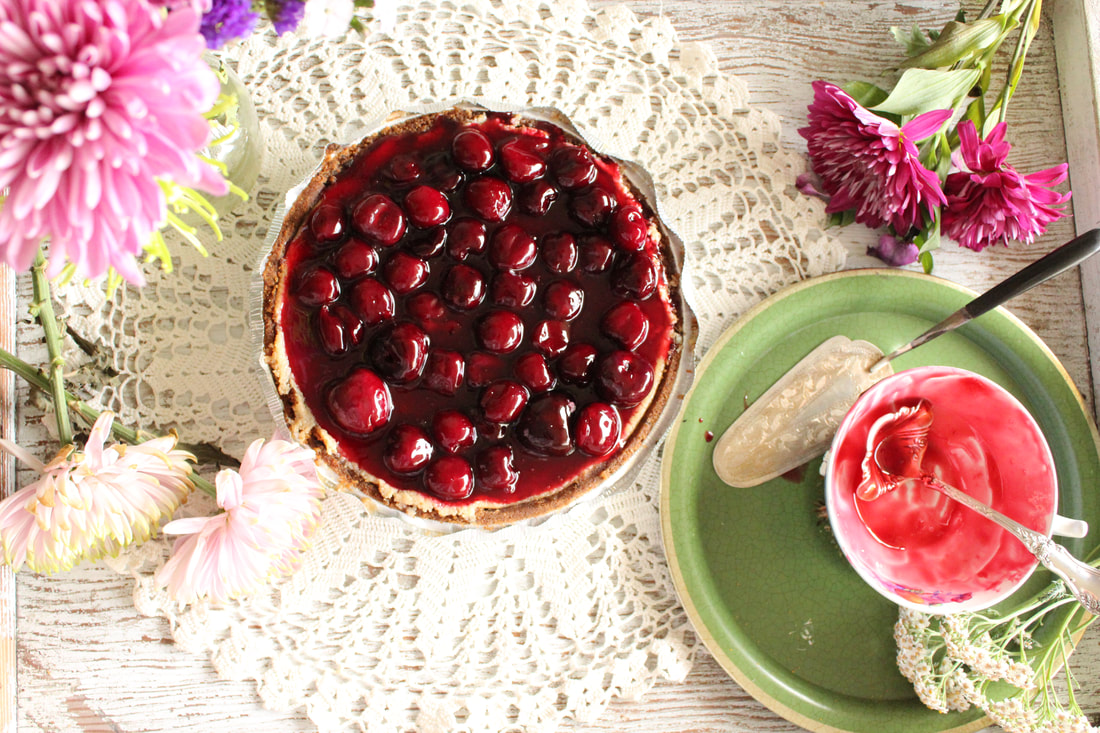
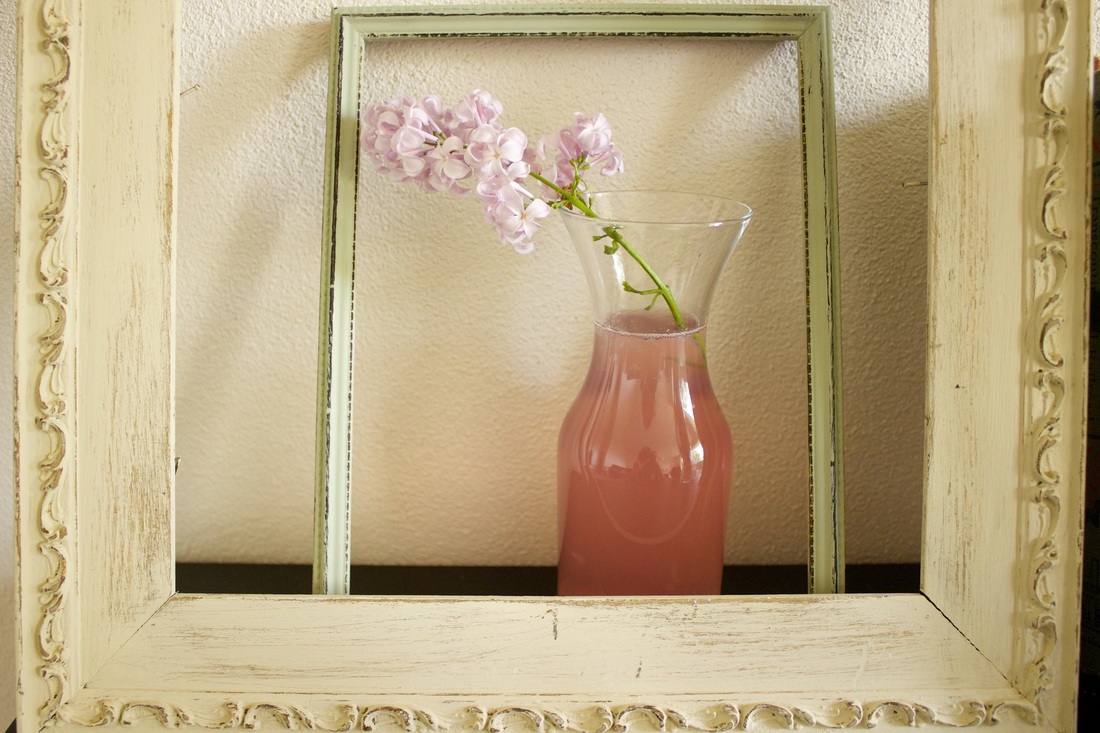
I found this lovely mid-century tea tray that comes from the USSR. Dating back to the 1970's, and painted with vibrant-colored flowers, this toile tray inspired me to make a traditional Russian tea / beverage. Since it is summer, I decided to try something cooling, rather than a warm Russian tea.
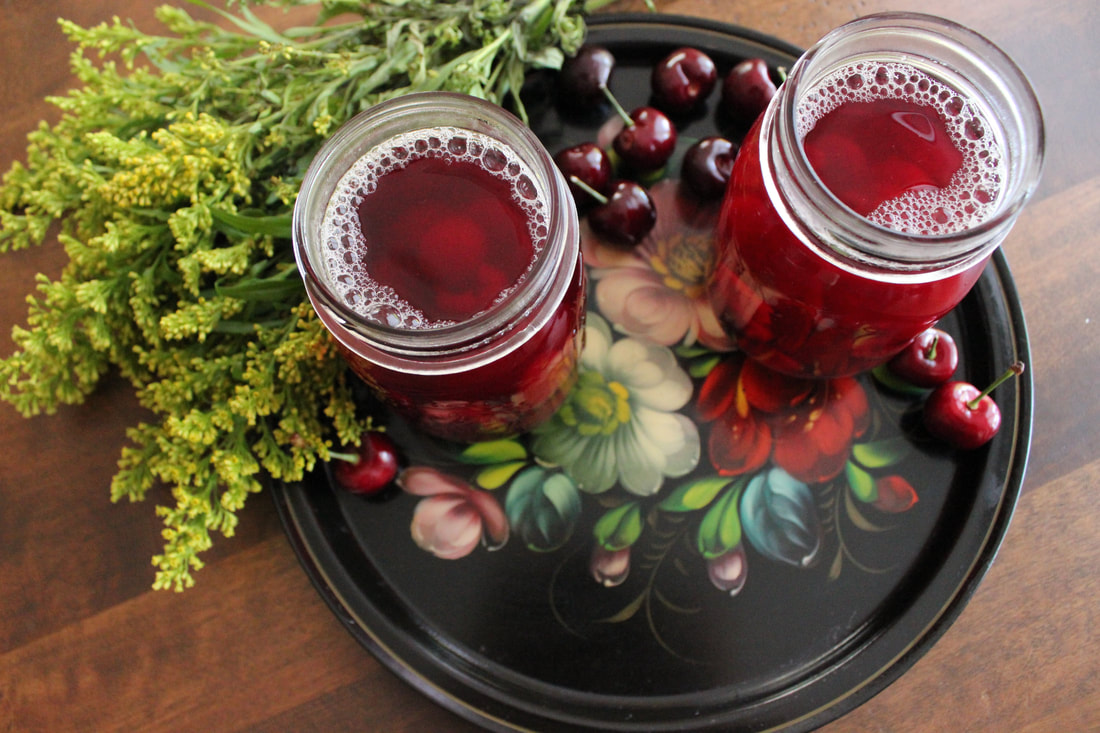
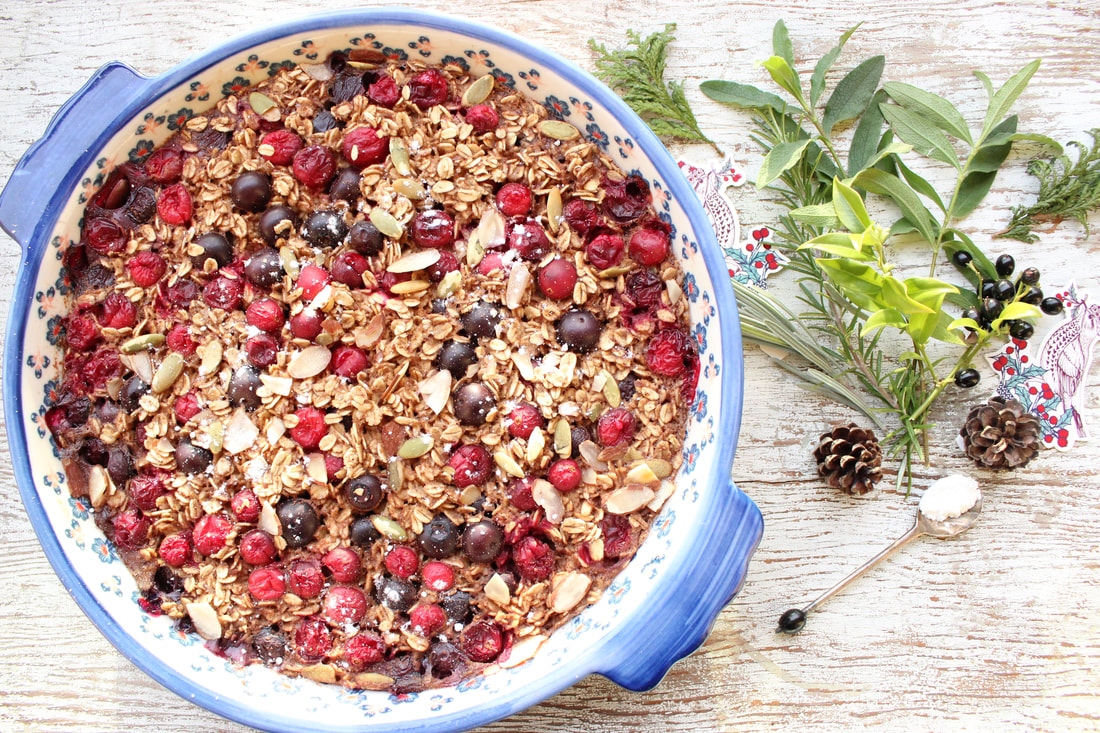
Russian Kompot is a fruit-based juice that has many variations and can be served hot or cold depending on the season. The traditional method uses cherries, but many variations use fresh or dried fruits like apples, berries or apricots.
For the summer, you can use any seasonal berry or fruit, and serve it up cold, or over ice. Many recipes use a large amount of sugar, but I drastically reduced the sugar to make this a healthier and sweeter treat. During the holiday season, kompot makes an excellent warm, seasoned hot beverage. It's a fun recipe to experiment during every season of the year! 
This vintage USSR tea tray + many other vintage items available for purchase on my Etsy shop, The Elizabethan Closet. For more vintage items, let's connect above on the Instagram account!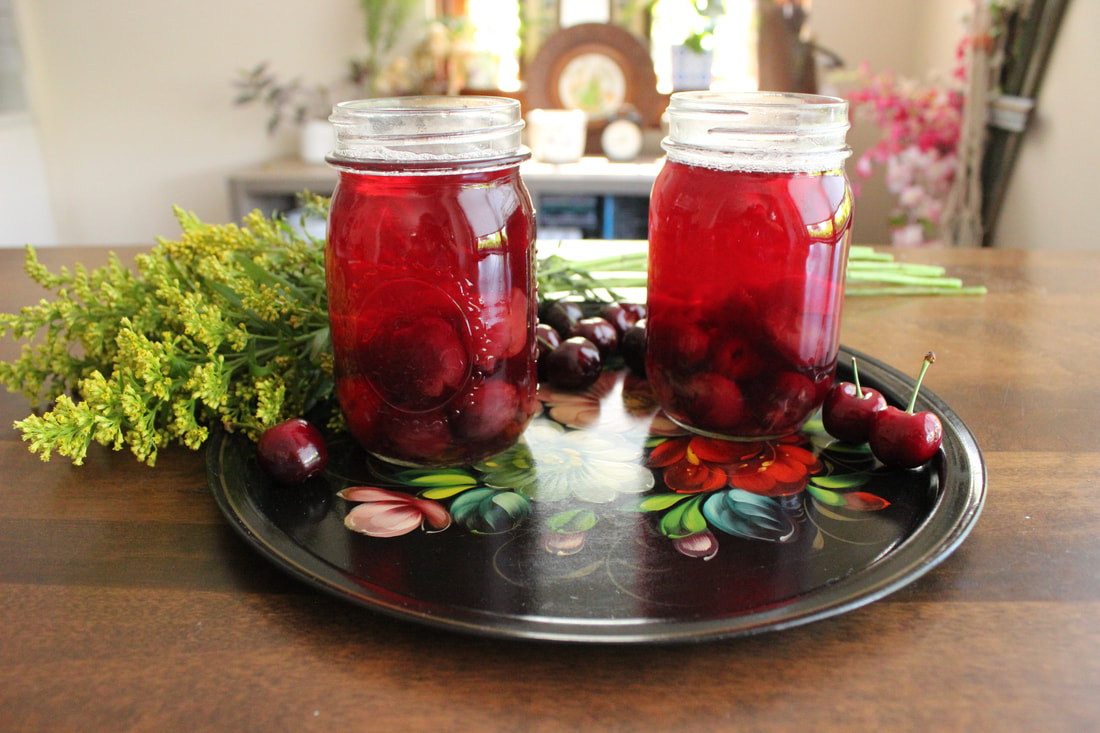
Russian Cherry Kompot Juice
Make Time: 30 minutes Makes approximately 4 cups Ingredients: 4 cups water 1 lb or 1 heaping cup cherries, pitted 2 tbsp sugar Directions: Begin by putting the cherries. Without a cherry pitter, I remove the stems and hold the cherry in my left hand, bottom on a cutting board. I take a hard plastic straw and push the straw from the top to the bottom of the cherry. Slightly, slide the cherry up the straw to get the pit out of the fruit. In a pot, combine the water and sugar and bring to a simmer. Once the sugar dissolves after one minute, add the cherries. Simmer on low heat for 10-15 minutes. Once the cherries lose color, remove from heat and let the juice cool completely. I find it is best enjoyed 12-24 hours after cooling. Immediately drinking the juice will have a more sugary flavor. The cherry flavor really kicks in once the juice cools entirely. The traditional version leaves the cherries in the liquid, but you can also remove it if you'd like. Enjoy cold! Let's Connect! Enjoy my other cherry recipes below!

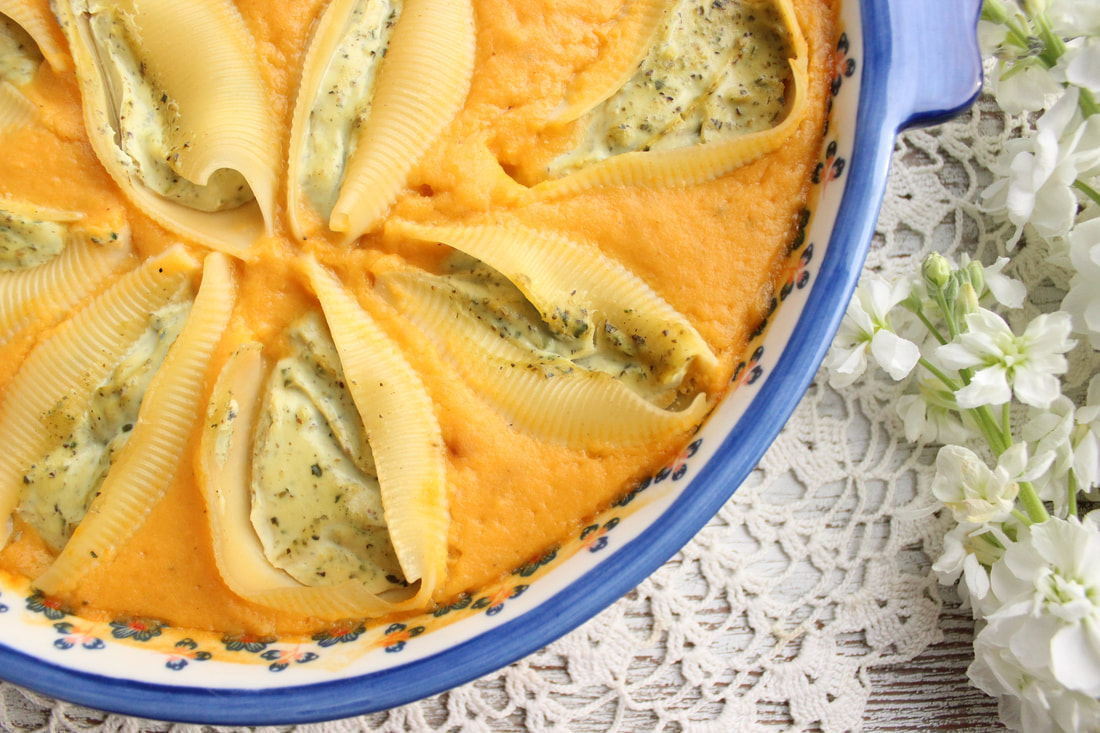
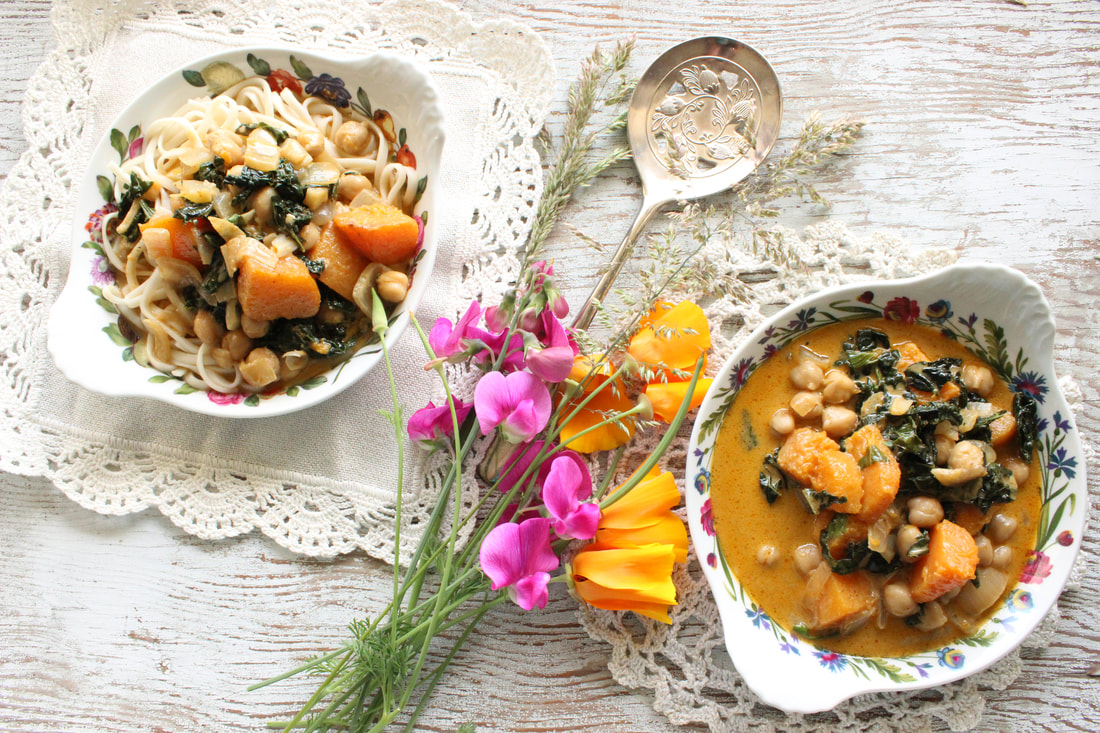
Are you looking for a different type of pasta dish? If so, this one is for you. Healthy, hearty and balanced, this meal balances the macronutrients while packed with nutrients from the butternut squash and kale.
I wanted to make something that was a different type of pasta meal, but unfortunately, this one is slightly time intensive - but super worth it! This is perfect for the winter months, but can be enjoyed year round. I am a bit late on posting this lovely meal.

During this time, it is still very important to ramp up immunity and the more vegetables and bio-diversity in your diet is, will ramp up your health. Butternut squash is like kale and dates - it's almost like a miracle food. It is chocked full of vitamins and nutrients that it can help with the following....
Did you now butternut squash can aide the following?
-prevents asthma -lowers risk of cancer -managing diabetes -improves skin and hair care -aides digestive health -boosts immune function When you know it's health benefits - why would you not want to eat it? 
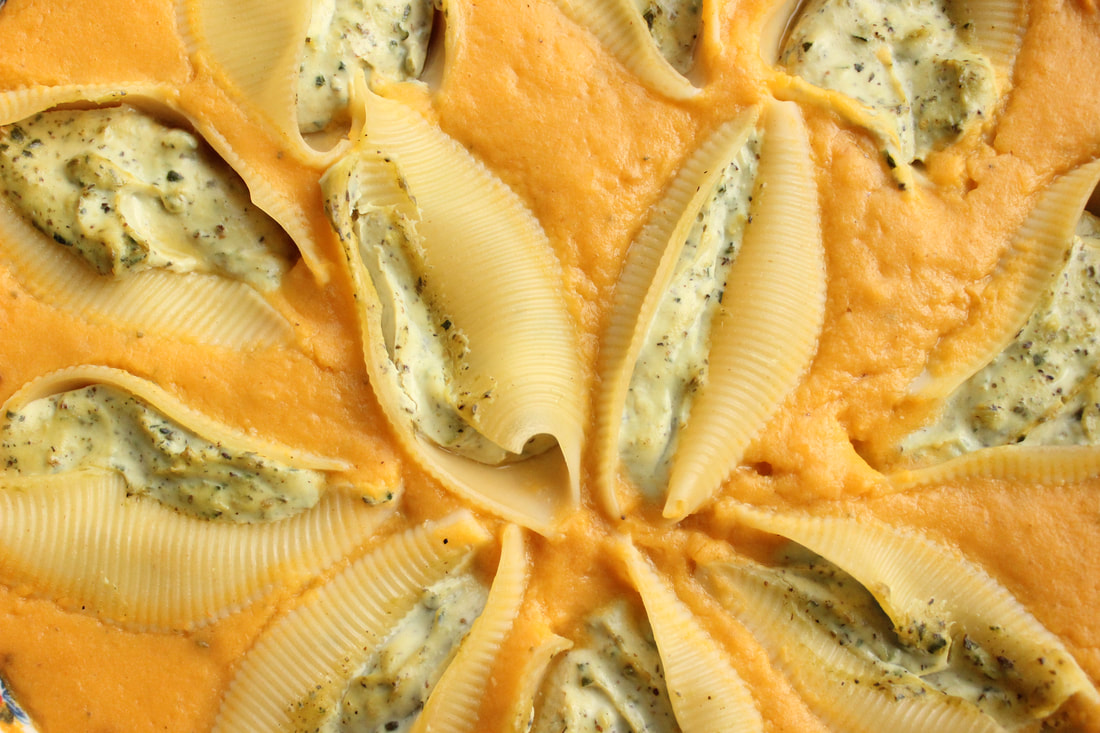
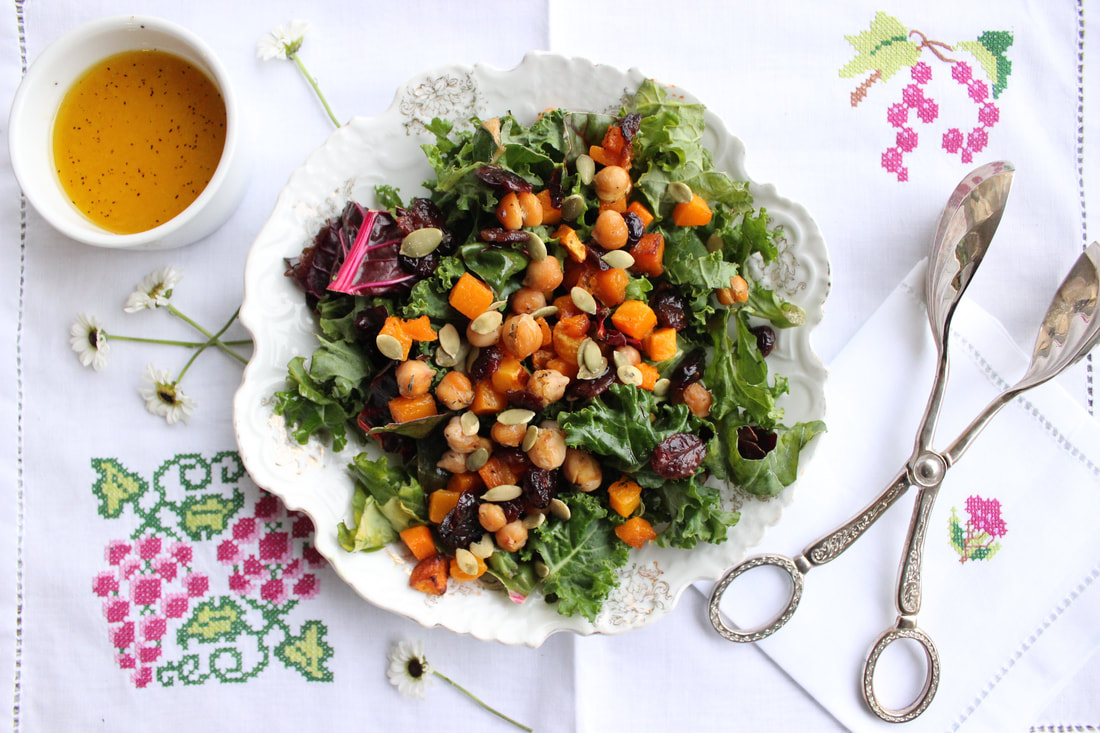
Butternut Squash + Tofu Ricotta Stuffed Shells
Total Time: 1 hr 20 minutes Serves 4 Ingredients: 25 jumbo pasta shells (3/4 of 12 oz. box) 1 herbed tofu ricotta cheese recipe ______________________________________ Butternut Squash Sauce Ingredients: 2-3 tbsp olive oil 2 medium butternut squash, cubed 2 whole garlic cloves (wrapped in foil with 1 tbsp olive oil) 2 cup vegetable broth 1 cup almond milk 1/2 tbsp fresh sage salt + pepper to taste Directions: Preheat oven to 350 degrees. Prep the squash and mix in a bowl with the sage, salt, pepper and olive oil. In a small piece of foil, put 1 tbsp of olive oil with the whole garlic cloves. Wrap the foil at the top. Place the squash and foiled garlic on a large baking sheet. Place in the oven to bake for 40 minutes or until edible. While baking, begin making the shells according to the package directions. Once done, drain the noodles in a strainer. While the noodles cook, make the herbed kale tofu ricotta by blending all of the ingredients into a blender until smooth. Once the squash is baked, place the squash, garlic cloves, almond milk and vegetable broth and blend until smooth. Use a large 9x13 or a couple circular pie pans, and pour the butternut squash mixture into the bottom of the pan. Begin stuffing the cooked shells with the tofu ricotta, and then press the shells into the squash mixture. Place the stuffed shell pan(s) into the oven and bake for another 30 minutes at 350-degrees. Serve warm! Let's Connect! Enjoy my other butternut squash recipes below!

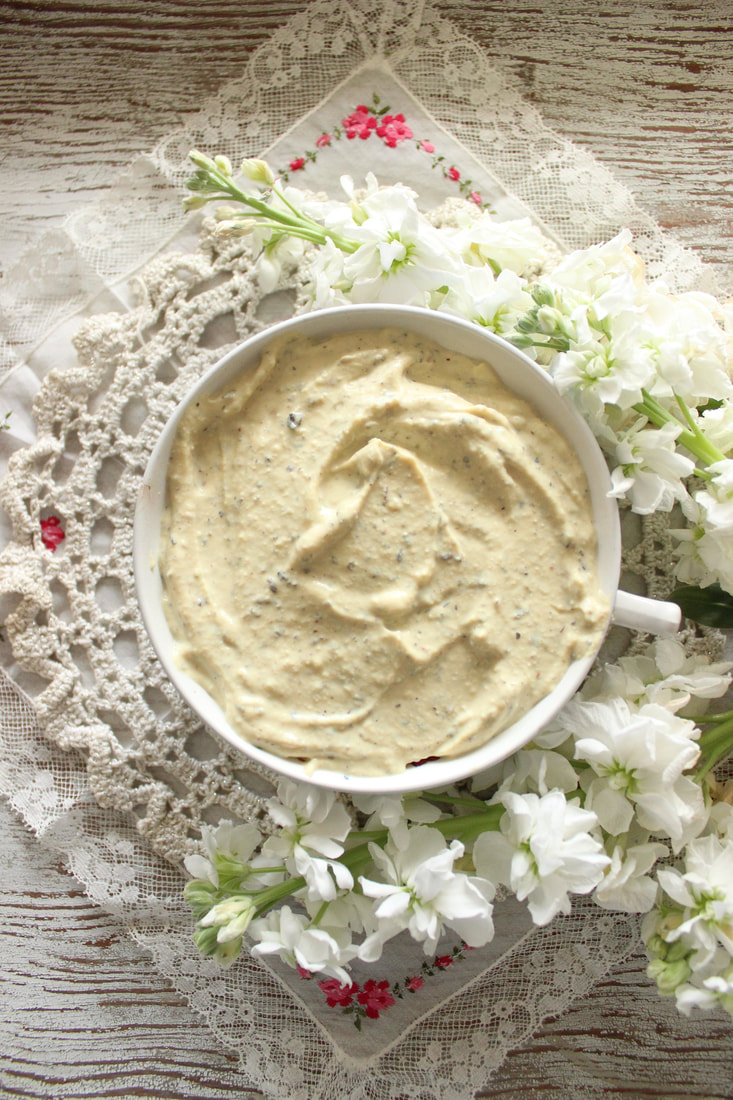
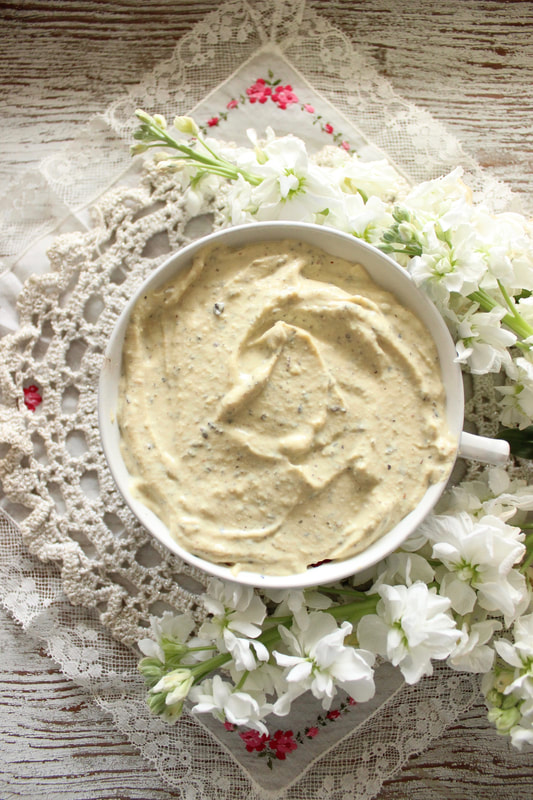
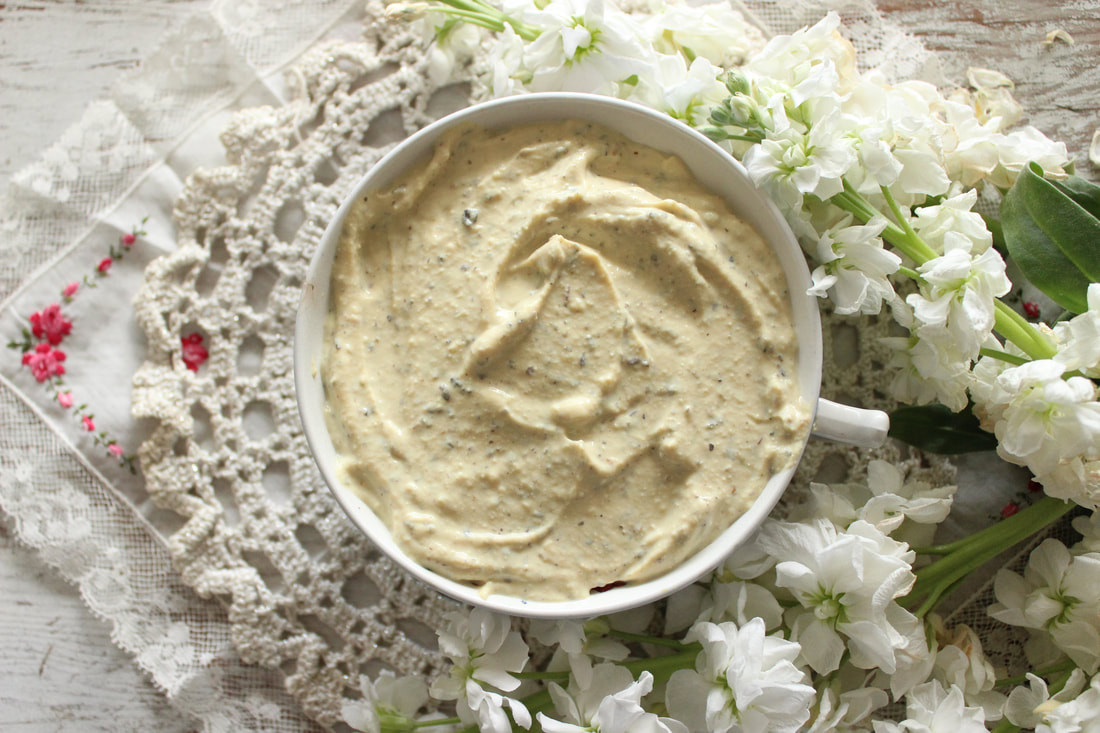
Making a ricotta cheese filling is pretty simple and easy. All you need is a select amount of ingredients, and you can alter the flavor with various amounts of herbs and spices.
In this recipe, I aimed for a more Italian flavor, and sneak in some extra greens for additional nutrients and vitamins. You don't want to over-do the kale because of its bitter flavor, it will drastically alter the flavor and turn super green!
Whatever flavor you want, you can alter it. The basics include tofu, nutritional yeast, salt, garlic and lemon. From there you can alter the flavor and palate as you desire. Want a spicy flavor? Add red chili pepper. Want a more south-of-the-border flavor? Try some taco seasoning.
You can make this filling in anyway that pleases your mind and palate! Enjoy the culinary experiments! 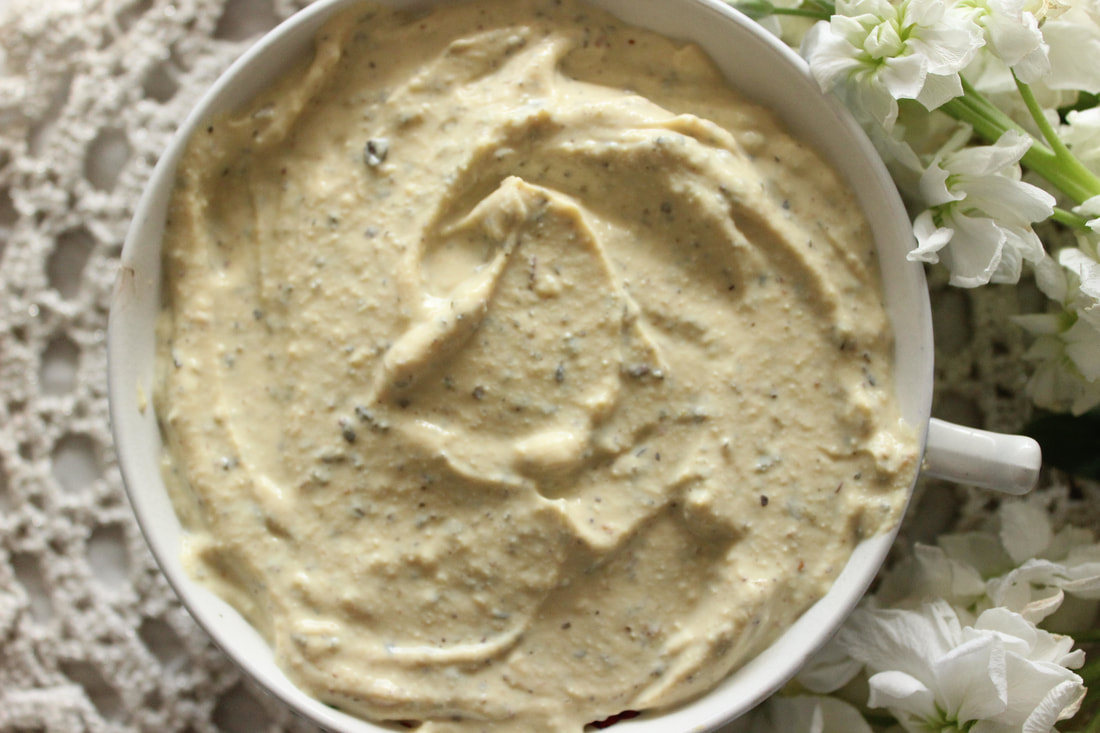
"The mind is like tofu. By itself, it has no taste. Everything depends on the flavor of the marinade it steeps in."
|


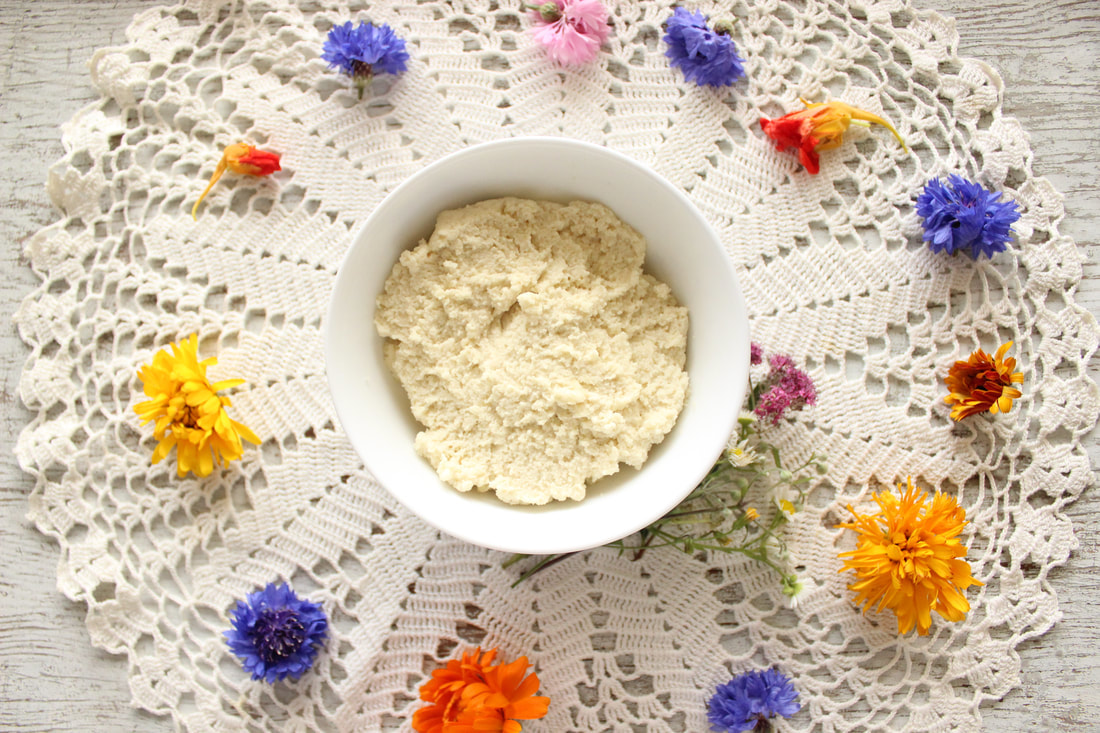
How to Make Nut Cheese Spread
|
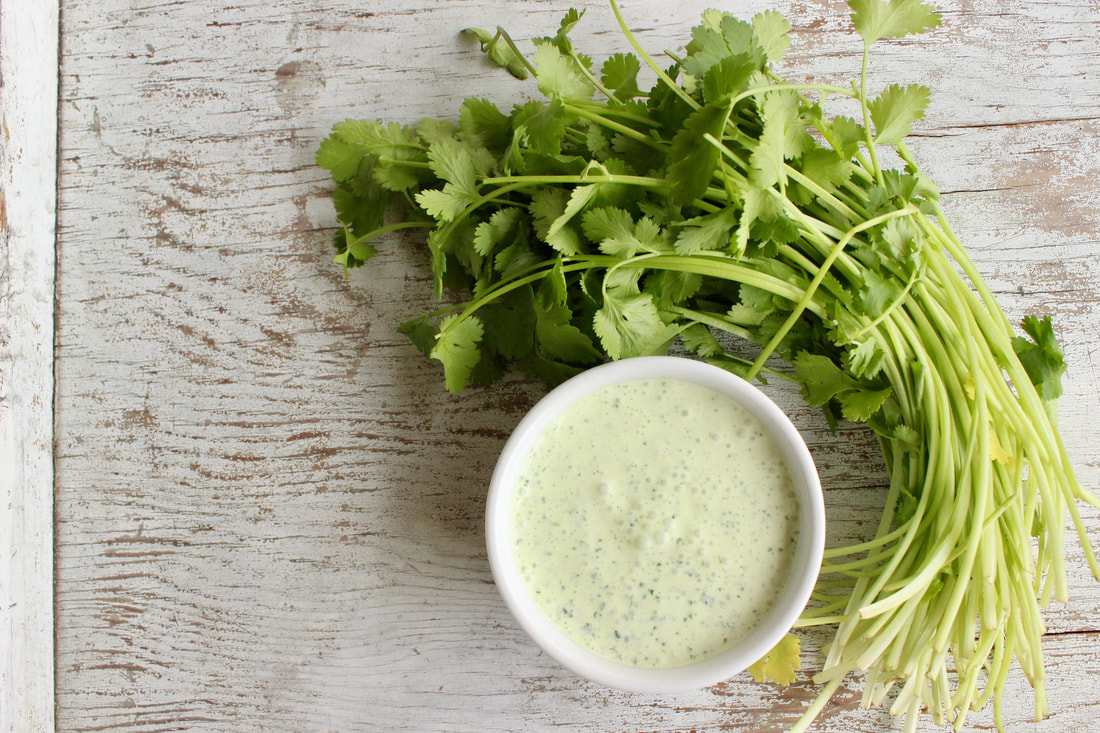
Vegan Cilantro Lime Sour Cream
|
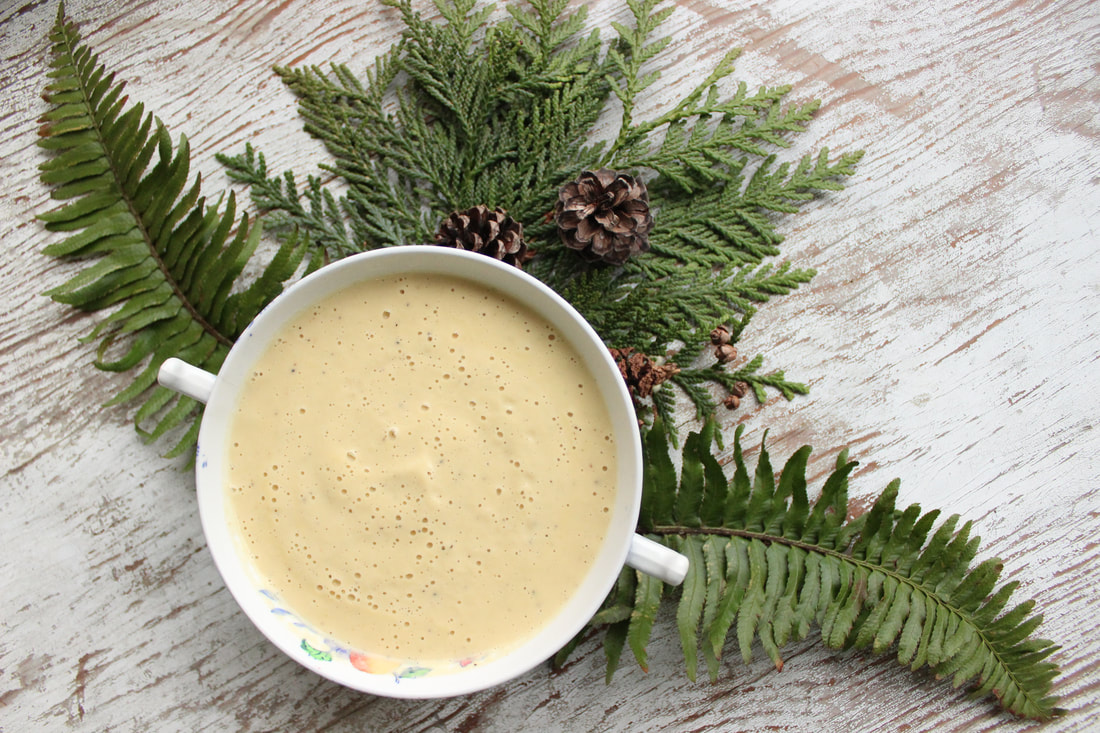
Vegan Garlic Alfredo Sauce
|
Author
Elizabeth Rae Kovar M.A. is Author of her memoir, Finding Om and is a Fitness Trainer, Yogi, Reiki Master, Presenter and Lover of Life. To view her portfolio please visit www.elizabethkovar.com
Follow her travels at: lemontreetravel.com


Categories
All
Body
Food
Metaphysics
Mind
Soul
Sunspiration
Vegan Recipes
Wellness Travel
YouTube
Archives
October 2022
April 2022
February 2022
December 2021
November 2021
October 2021
September 2021
August 2021
July 2021
June 2021
May 2021
April 2021
March 2021
February 2021
January 2021
December 2020
November 2020
October 2020
September 2020
August 2020
July 2020
June 2020
May 2020
April 2020
March 2020
February 2020
January 2020
December 2019
November 2019
October 2019
September 2019
August 2019
July 2019
May 2019
April 2019
March 2019
February 2019
January 2019
December 2018
November 2018
October 2018
September 2018
August 2018
July 2018
June 2018
May 2018
April 2018
March 2018
February 2018
January 2018
December 2017
November 2017
October 2017
September 2017
August 2017
July 2017
June 2017
May 2017
April 2017
March 2017
February 2017
January 2017
December 2016
November 2016
October 2016
September 2016
August 2016
July 2016
June 2016
May 2016
April 2016
March 2016
February 2016
January 2016
December 2015
November 2015
October 2015
September 2015
August 2015
 RSS Feed