As if this year has been not challenging enough, one way for me to cope through difficult times is to channel and transmute any negative or sad energy into a creative project. And for this, inspired by my mother who loved cooking, I decided to make a gingerbread recipe in her honor as part of my culinary creativity.
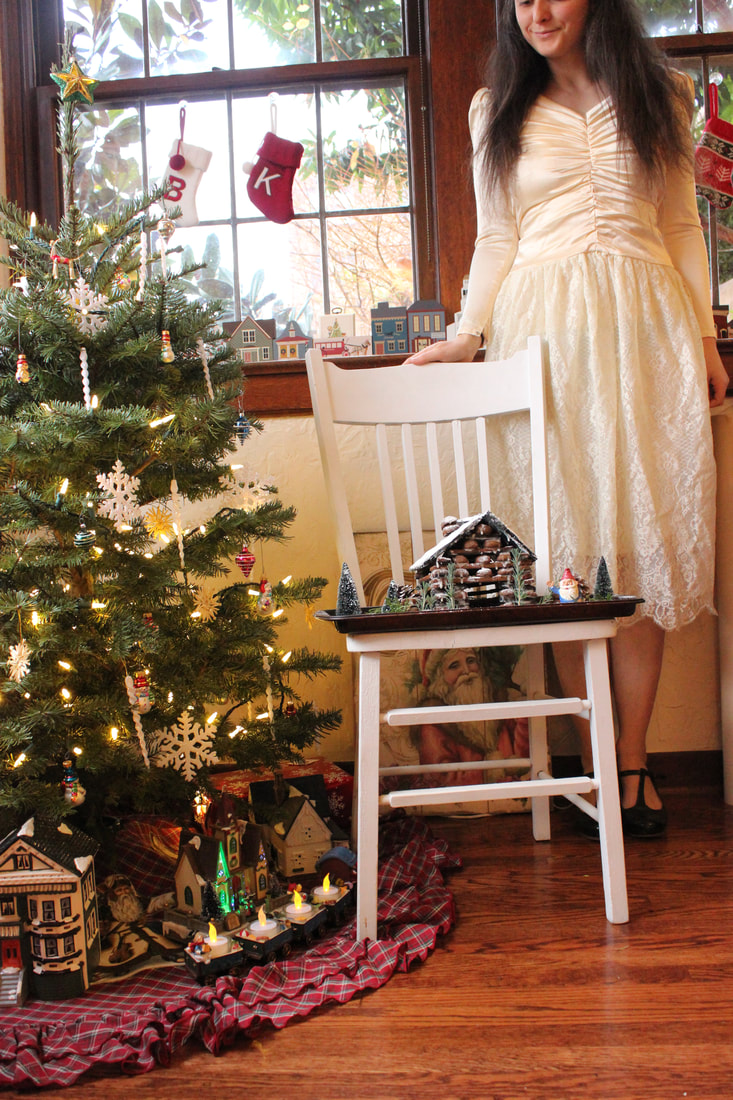
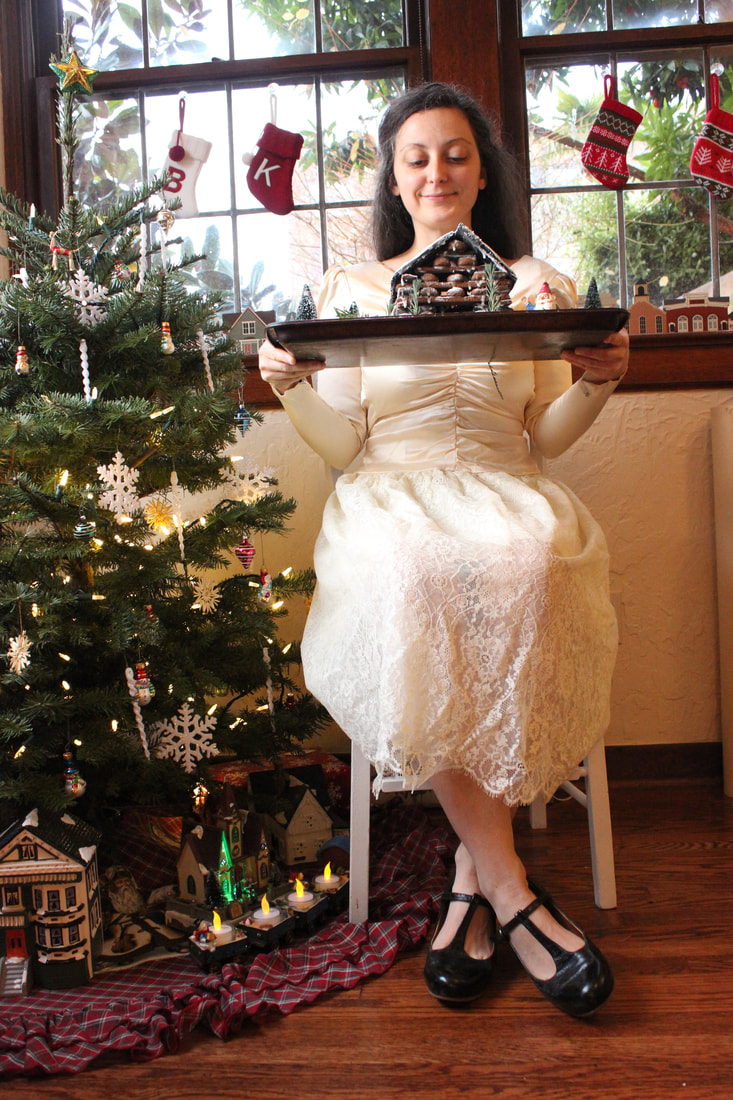
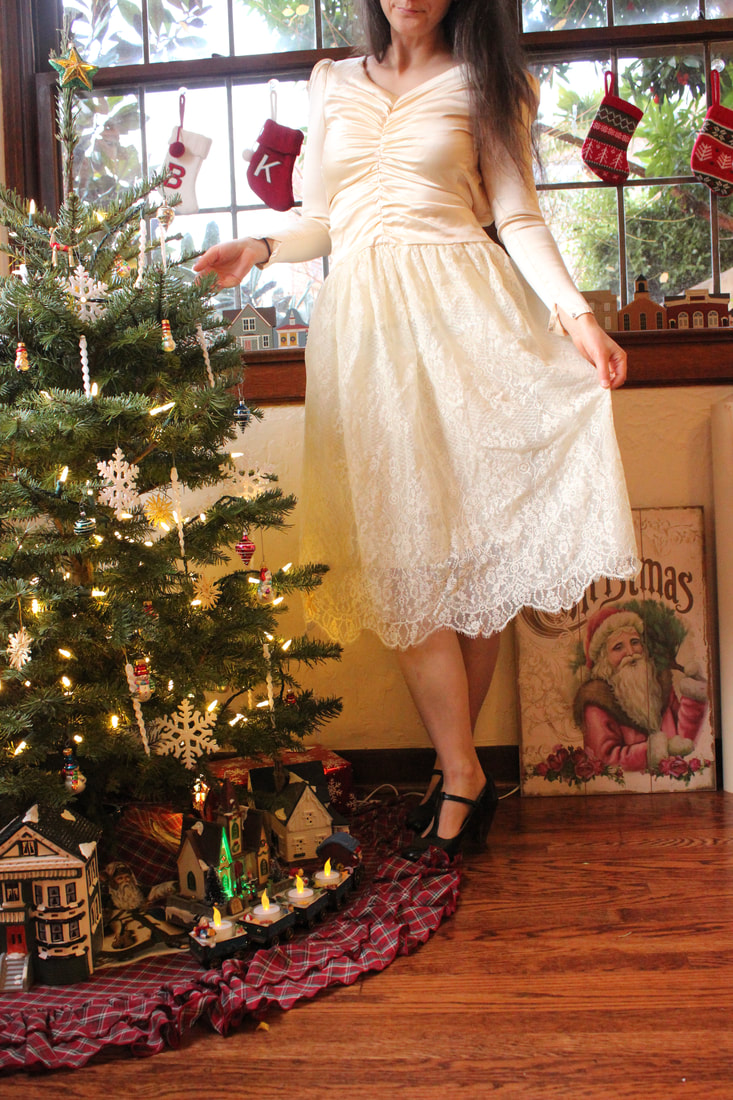
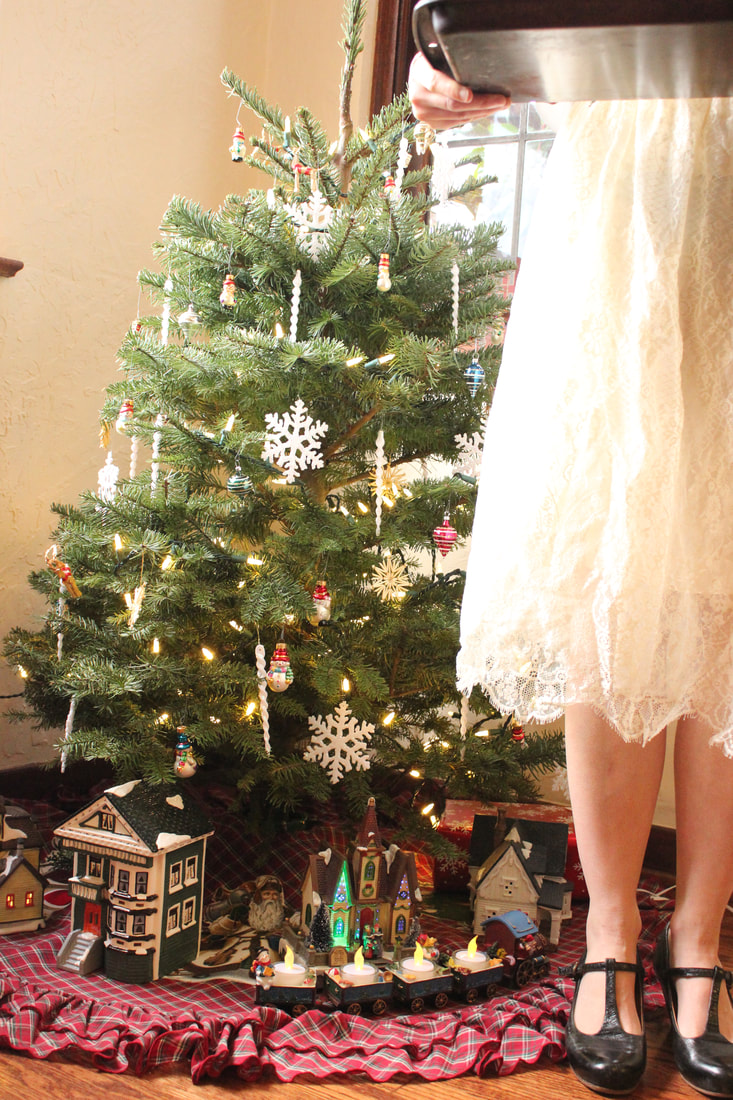
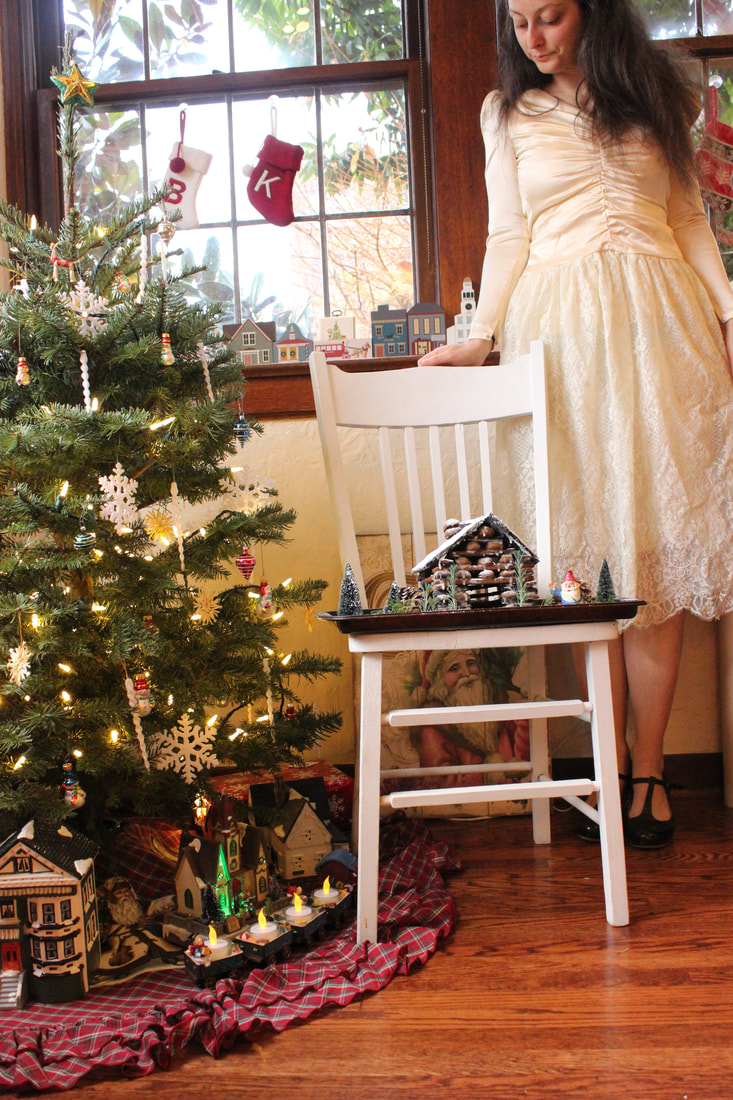
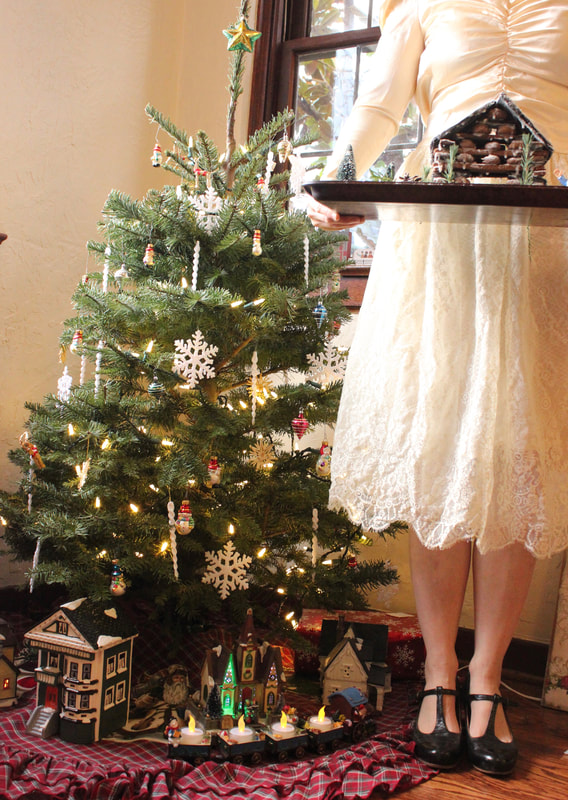
I've recently been inspired by this off-white 1980's vintage dress that seems perfect for a white Christmas (or a white wedding). I also recently obtained a copy of the 1985 Sunset Magazine's Cookie Cookbook, and one of the chapters had holiday recipes.
Excited, I knew this had to be the ultimate authentic recipe. 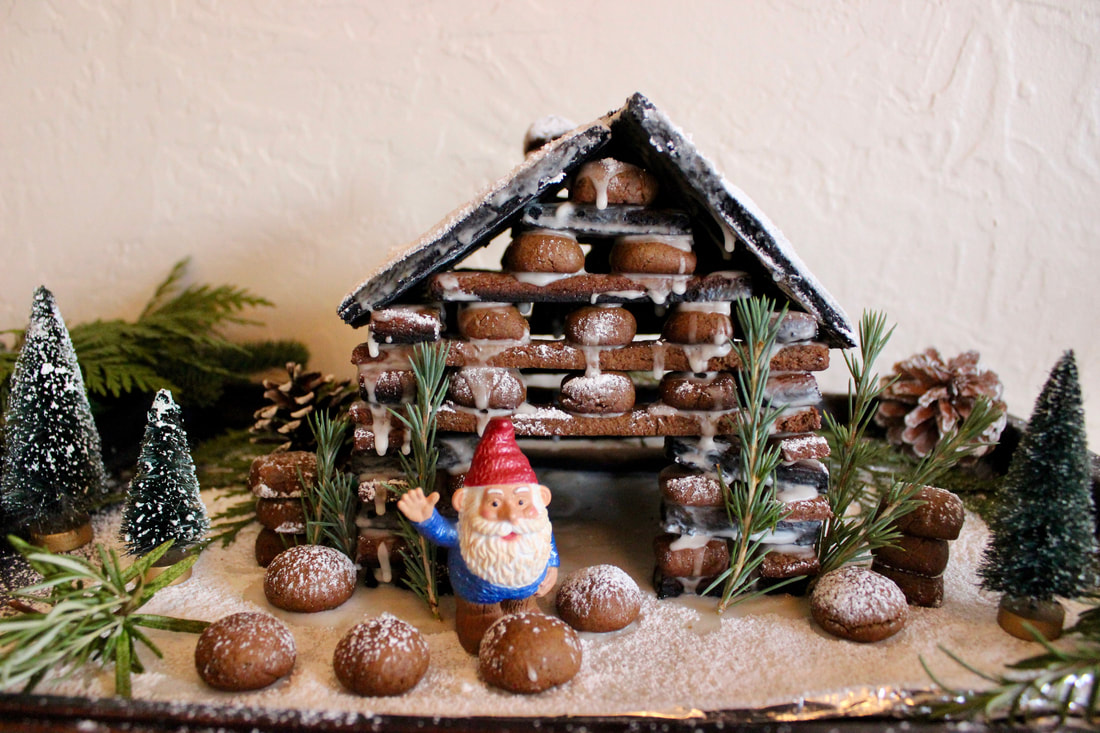
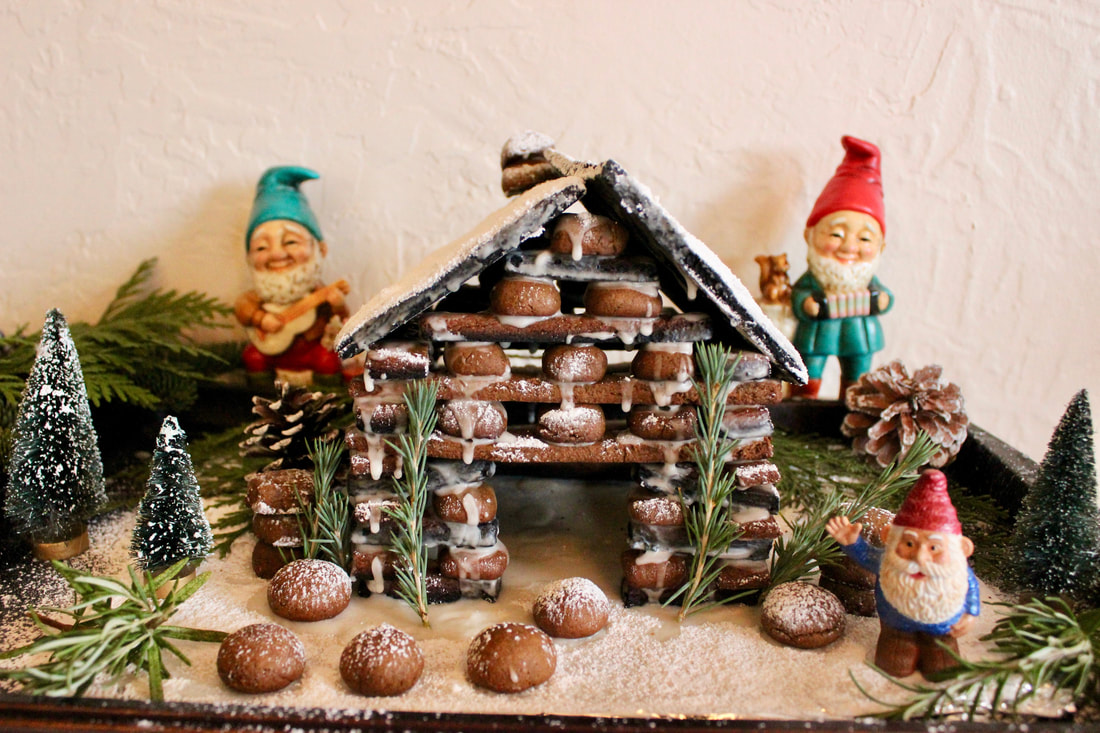
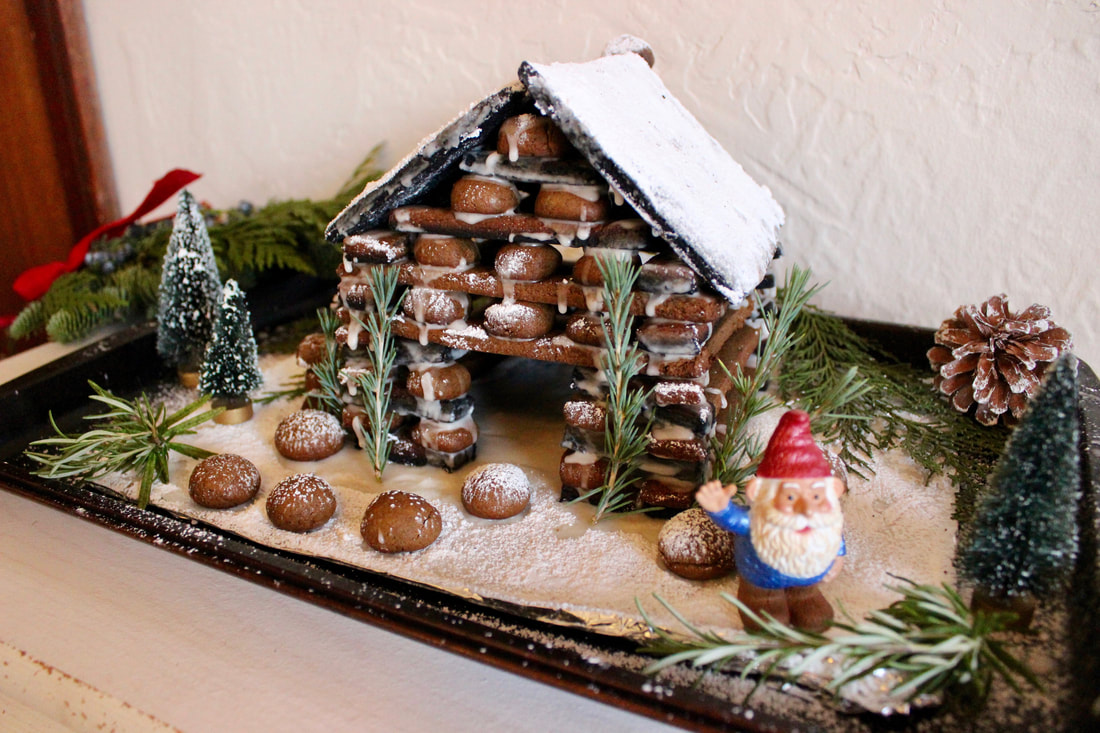
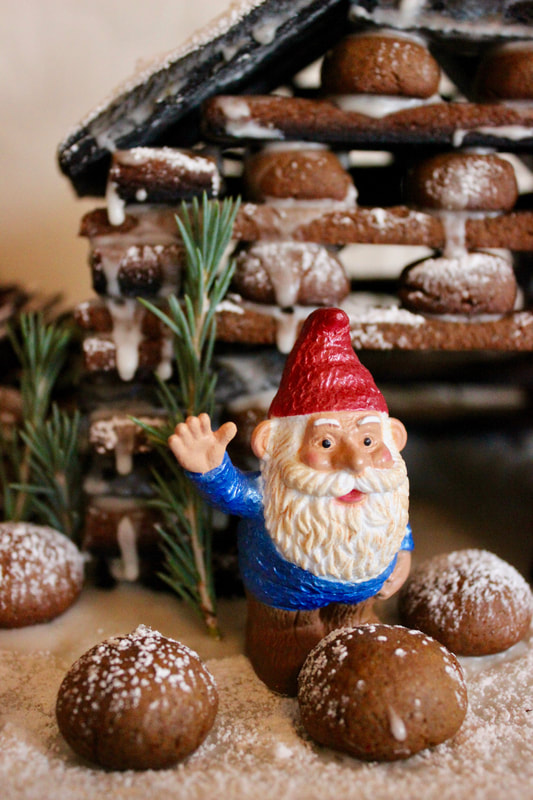
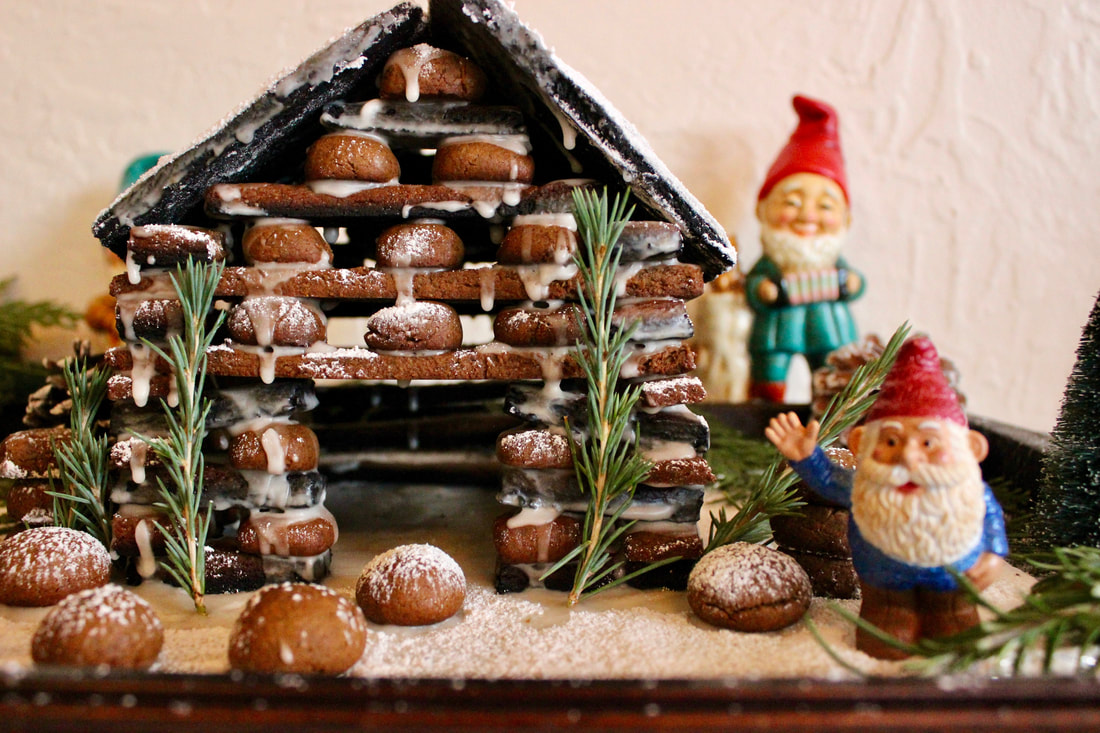
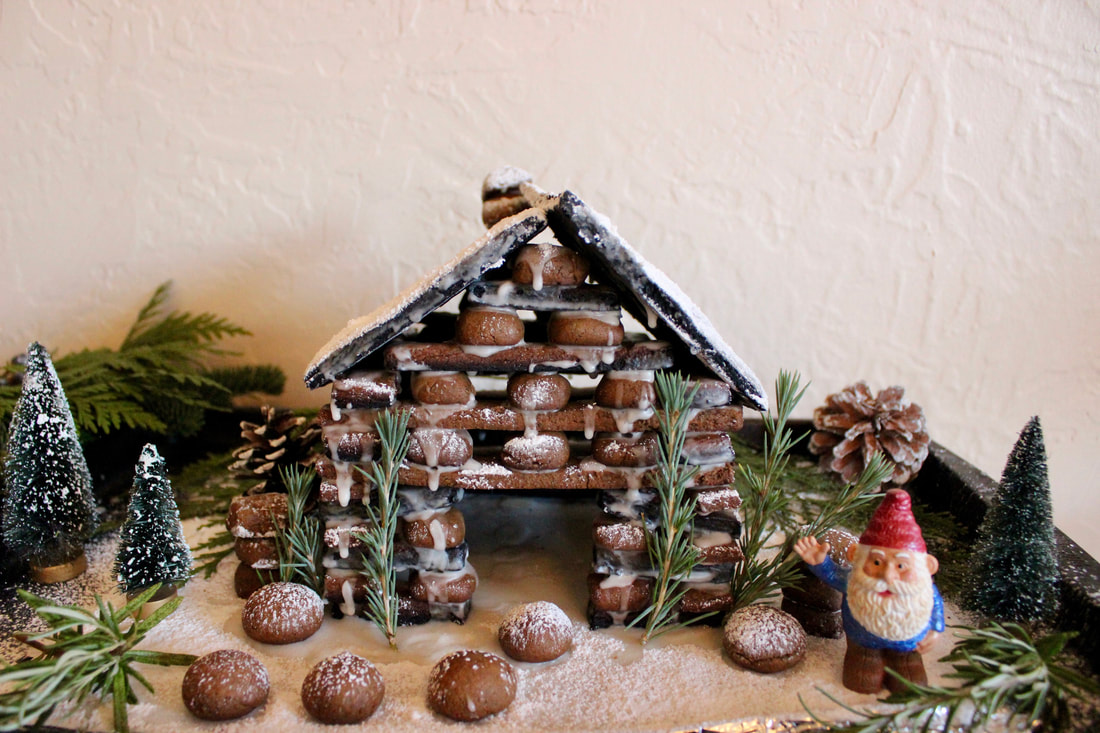
The cookbook offered step-by-step instructions and also used extra dough to create "benches" or tiny little Santa's. Inspired by making a village, and living with a Scandinavian, I decided to create this into a little tiny Gnome village, similar to the Northwest and Norway by using rosemary and various types of pine from the local flora and fauna.
My hope was to ignite a sense of Christmas cheer and spirit during a difficult 2020. It also ignited childhood memories of the cartoon, David the Gnome, where he inspires people to be more in touch with nature.
​My favorite part of the project was designing the little village and sprinkling powder sugar on top to make it look like its snowing in real-time. 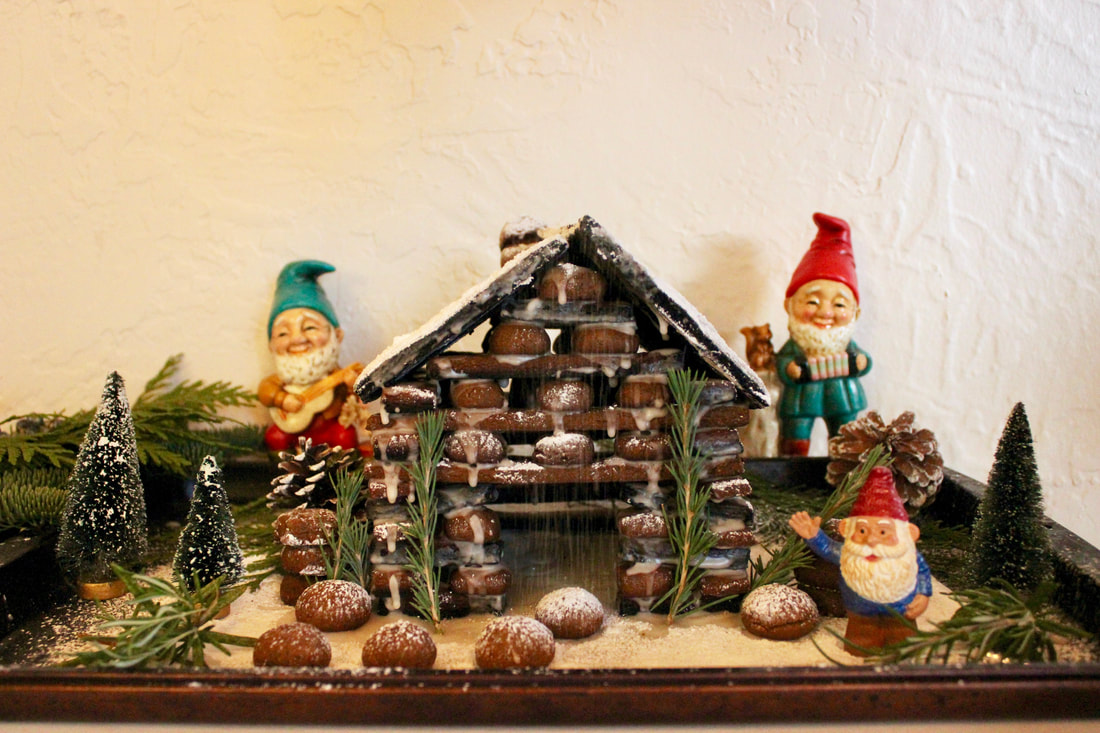
“I will honor Christmas in my heart, and try to
|
|
|
"Winter is the time for comfort, for good food and warmth, for the touch of a friendly hand and for a talk beside the fire: it is time for home."
- Edith Sitwell
Born in 1985, I dedicate this post to my mother who fell ill of COVID this past week. She has always inspired my love for cooking, and the best cook I know. Nothing tastes better than mom's home-cooking. She is the best mom, and while growing up, she was always doing something crafty to bring some fun and cheer into the home.
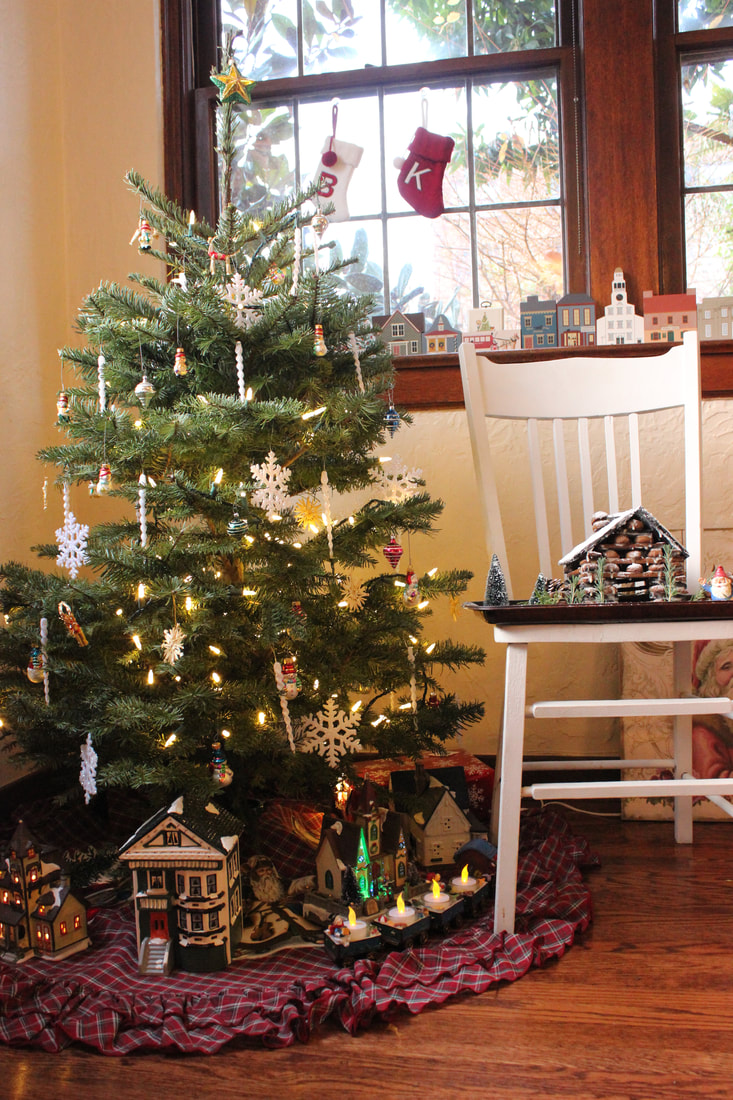
Winter is about the home. It's about spending time with loved ones, and bringing the light and warmth inside. I hope everyone this Christmas gets a chance to have a good meal, a nice conversation and experiences some warmth in the home. Keep bringing the light in, and keep letting the light within you shine.
Winter is about the home. It's about spending time with loved ones, and bringing the light and warmth inside. I hope everyone this Christmas gets a chance to have a good meal, a nice conversation and experiences some warmth in the home. Keep bringing the light in, and keep letting the light within you shine.
|
|

This vintage dress and cookbook and other vintage items are available on my Etsy shop, The Elizabethan Closet.
Vintage 1985 Gingerbread House Recipe - Made Dairy Free!
​Time: Several Hours
​
Ingredients:
3/4 cup vegan buttery stick
3/4 cup cane sugar
3/4 cup molasses
2 tbsp water
3 1/4 cup all purpose flour
1 tsp each ground ginger, salt and baking soda
1/4 tsp nutmeg and all spice
Icing recipe
2 cups powder sugar
1/4 cup water
Directions:
Begin by making the dough. In a mixer or with an egg beaters, beat together the butter and sugar until creamy. Next, beat in the molasses and water.
In a separate bowl, mix together the dry ingredients until well combined. Gradually add the butter mixture and fold until a dough forms, use hands as needed.
​Cover the bowl with a lid or cling wrap and let the dough sit for 2 hours. I made the dough in advance and it sat in the fridge for 48 hours.
​With cardboard make the foundations of the cabin. For the base, cut a 12x12 inch pieces of cardboard and cover with foil. For the roof, cut one 4x6 inch rectangle. For the logs cut one of each size:
-2 inches long and 1/2 inch wide strip
-3.5 inches long and 1/2 inch wide strip
-6 inches long and 1/2 inch wide strip
- 1/2 inch wide square (optional to use hands instead to eyeball it)
On a floured surface, or with a floured rolling pin, take 1/3 of the dough and roll it out to a 1/8 inch depth, and cut out the two roof pieces. Use a spatula if needed to pick up the dough and transfer it to a greased baking sheet.
​Continue to roll out the dough and cut the following at 3/8 inch thickness:
-eight 2 inch logs
-two 3.5 inch logs
​-seventeen 6 inch logs
-30 spacers (1/2 inch squares, I formed by hands)
-Additional shapes as you'd like with the left over dough (I did small flattened balls for stepping stones)
Arrange the pieces on several greased baking trays and bake for 12-15 minutes at 350-degrees.
Once baked, trim one edge on each of the roof pieces to make sure they'll fit and match. Cookies will Harden as they cool. Once cooled, make the icing, and begin assembling the cabin.
​Combine the icing ingredients into a bowl and mix until smooth, no clumps. The icing will be your glue.
​
I placed the cardboard piece on a cookie sheet. With a pastry brush, cover the foil end in icing and then sprinkle/sift powder sugar on top while its drying.
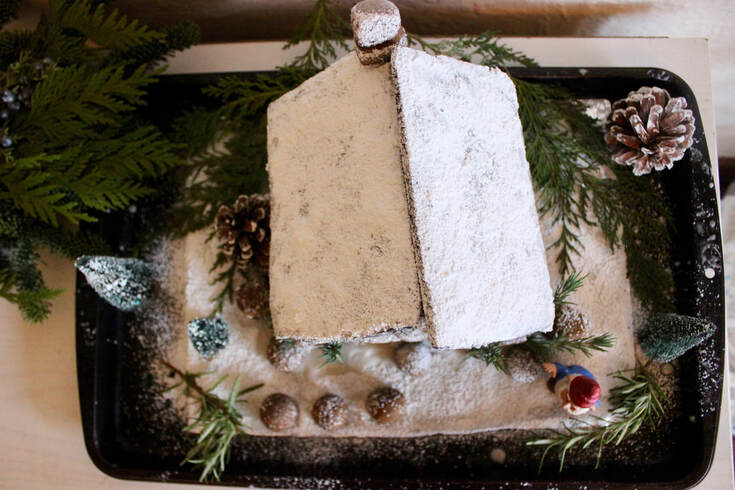
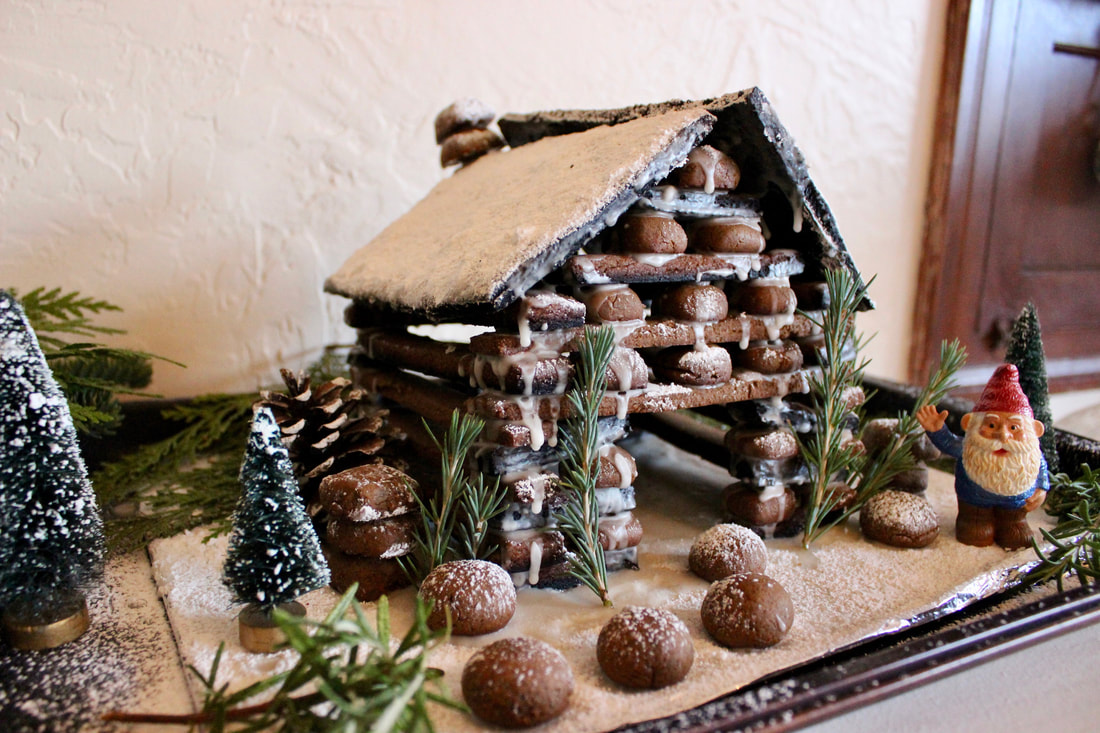
Use the below image to help with the building of the foundation.
Begin by making the foundation with a six in log in the back and two 2-inch logs in the front. Connect the two with a six inch log on each side, and place a spacer on each of the 2 logs (should be inside of the 6-inch logs. Repeat this three more layers.
On the fourth layer, use 6 inch logs in all four directions. The 6 inch log facing the front, place three spacers on top of that, and then place a 6-inch log on top of the 3 spacers. Use a 3.5 inch spacer and 2 inch logs to build gables on the front and back of the cabin. Place a spacer on each gable.
On the top of the roof, ice and powder sugar then. Ice the bottom ends of the roofs on the top and the bottom, and also ice the top gable. Press and place the trimmed edges on the roof together. Hold for 10 seconds until the roofs form.
Use additional spaces or pieces to begin decorating your cabin, or adding a small roof. I used pine and rosemary to create 'bushes' and design how you would like!
​Let's Connect! Enjoy my other holiday-based desserts below!
​Time: Several Hours
​
Ingredients:
3/4 cup vegan buttery stick
3/4 cup cane sugar
3/4 cup molasses
2 tbsp water
3 1/4 cup all purpose flour
1 tsp each ground ginger, salt and baking soda
1/4 tsp nutmeg and all spice
Icing recipe
2 cups powder sugar
1/4 cup water
Directions:
Begin by making the dough. In a mixer or with an egg beaters, beat together the butter and sugar until creamy. Next, beat in the molasses and water.
In a separate bowl, mix together the dry ingredients until well combined. Gradually add the butter mixture and fold until a dough forms, use hands as needed.
​Cover the bowl with a lid or cling wrap and let the dough sit for 2 hours. I made the dough in advance and it sat in the fridge for 48 hours.
​With cardboard make the foundations of the cabin. For the base, cut a 12x12 inch pieces of cardboard and cover with foil. For the roof, cut one 4x6 inch rectangle. For the logs cut one of each size:
-2 inches long and 1/2 inch wide strip
-3.5 inches long and 1/2 inch wide strip
-6 inches long and 1/2 inch wide strip
- 1/2 inch wide square (optional to use hands instead to eyeball it)
On a floured surface, or with a floured rolling pin, take 1/3 of the dough and roll it out to a 1/8 inch depth, and cut out the two roof pieces. Use a spatula if needed to pick up the dough and transfer it to a greased baking sheet.
​Continue to roll out the dough and cut the following at 3/8 inch thickness:
-eight 2 inch logs
-two 3.5 inch logs
​-seventeen 6 inch logs
-30 spacers (1/2 inch squares, I formed by hands)
-Additional shapes as you'd like with the left over dough (I did small flattened balls for stepping stones)
Arrange the pieces on several greased baking trays and bake for 12-15 minutes at 350-degrees.
Once baked, trim one edge on each of the roof pieces to make sure they'll fit and match. Cookies will Harden as they cool. Once cooled, make the icing, and begin assembling the cabin.
​Combine the icing ingredients into a bowl and mix until smooth, no clumps. The icing will be your glue.
​
I placed the cardboard piece on a cookie sheet. With a pastry brush, cover the foil end in icing and then sprinkle/sift powder sugar on top while its drying.
Use the below image to help with the building of the foundation.
Begin by making the foundation with a six in log in the back and two 2-inch logs in the front. Connect the two with a six inch log on each side, and place a spacer on each of the 2 logs (should be inside of the 6-inch logs. Repeat this three more layers.
On the fourth layer, use 6 inch logs in all four directions. The 6 inch log facing the front, place three spacers on top of that, and then place a 6-inch log on top of the 3 spacers. Use a 3.5 inch spacer and 2 inch logs to build gables on the front and back of the cabin. Place a spacer on each gable.
On the top of the roof, ice and powder sugar then. Ice the bottom ends of the roofs on the top and the bottom, and also ice the top gable. Press and place the trimmed edges on the roof together. Hold for 10 seconds until the roofs form.
Use additional spaces or pieces to begin decorating your cabin, or adding a small roof. I used pine and rosemary to create 'bushes' and design how you would like!
​Let's Connect! Enjoy my other holiday-based desserts below!
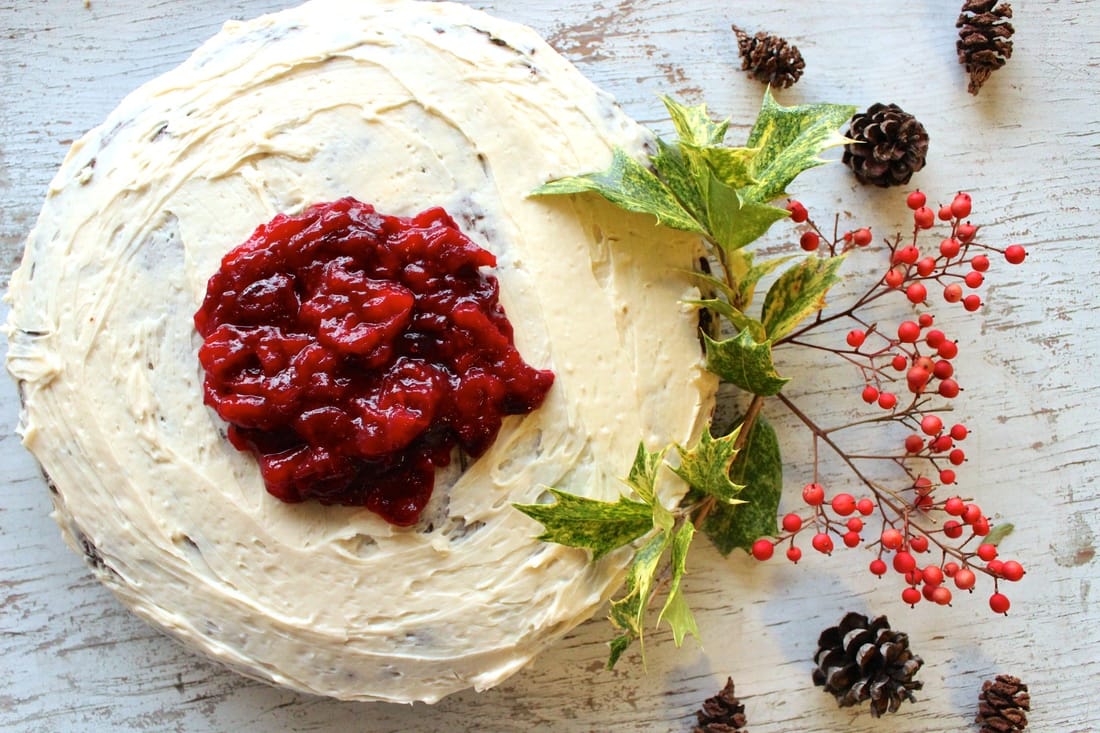
Gingerbread Cake w. Vanilla Frosting & Cranberry-Orange Compote
|
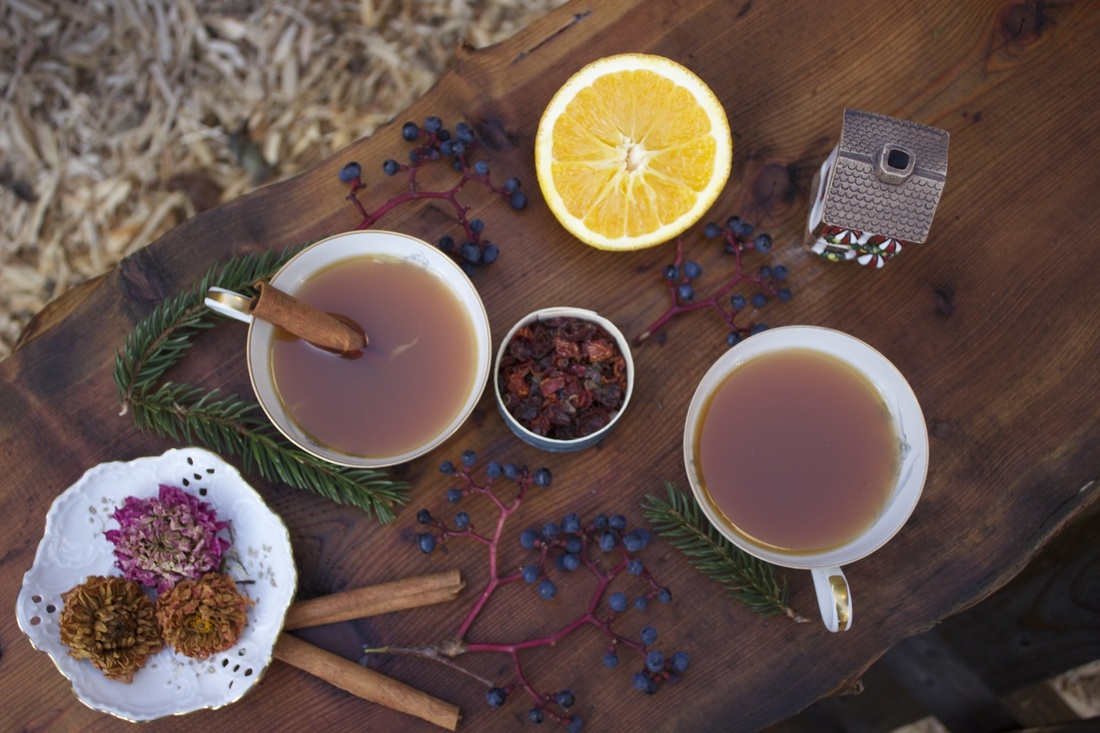
Sugar Free & All Natural Christmas Punch
|
Vegan Vanilla Cranberry Torte
|
23 Comments
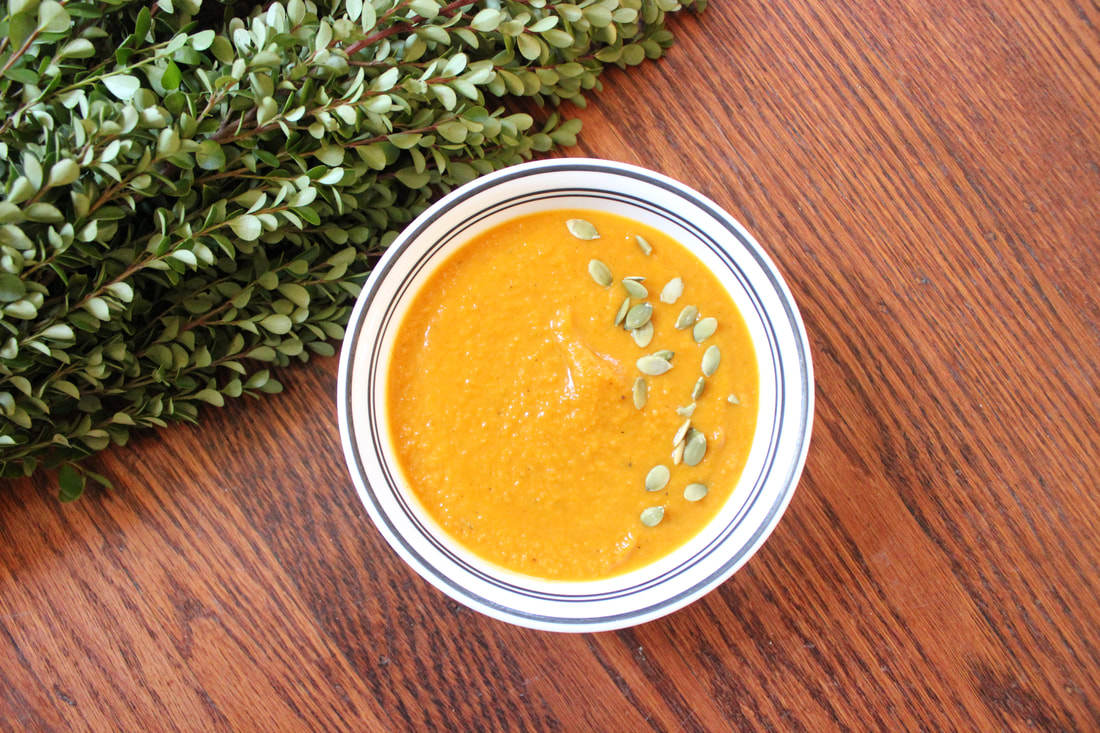
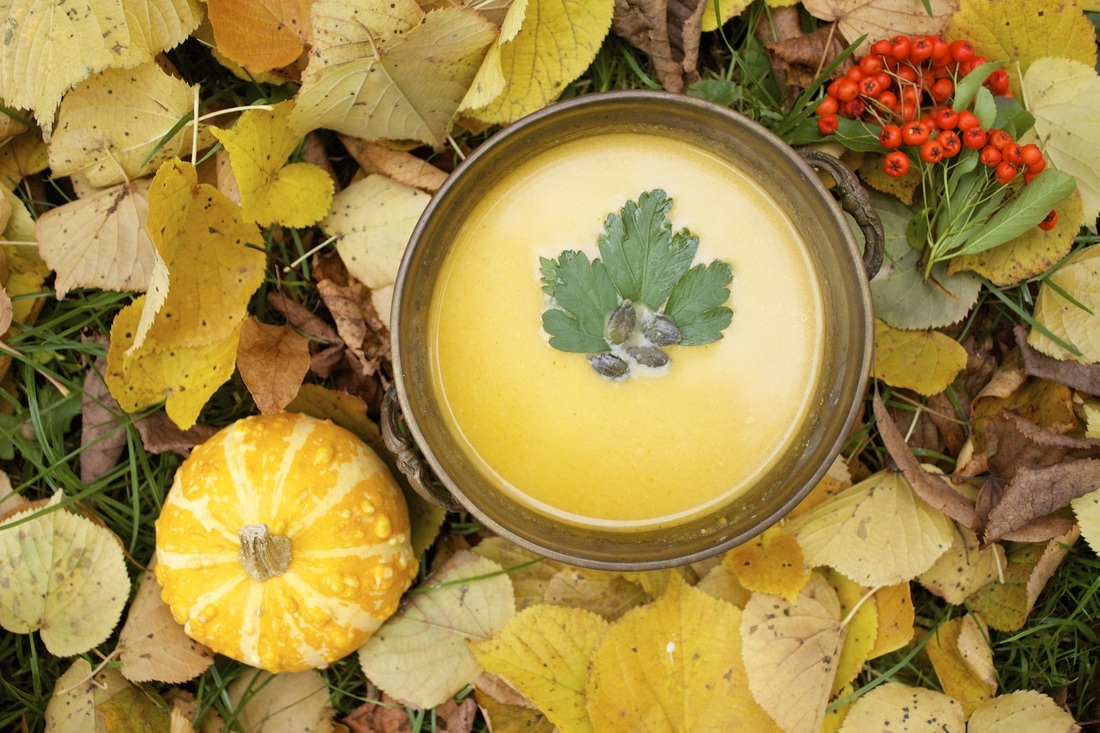
Do you have leftover cans of pumpkin from Thanksgiving? If so, don't let them sit on your shelf until next year, try this easy pumpkin soup recipe that is done in 30 minutes or less.
Canned pumpkin cannot replace the real deal of the "flesh" coming directly from the source, as word on the street has it that somecan producers use other squash remains and blend it together with pumpkin to "fill up" space. It's almost like the vegan version of a hotdog, which are the scraps of animal remains.
Canned pumpkin cannot replace the real deal of the "flesh" coming directly from the source, as word on the street has it that somecan producers use other squash remains and blend it together with pumpkin to "fill up" space. It's almost like the vegan version of a hotdog, which are the scraps of animal remains.
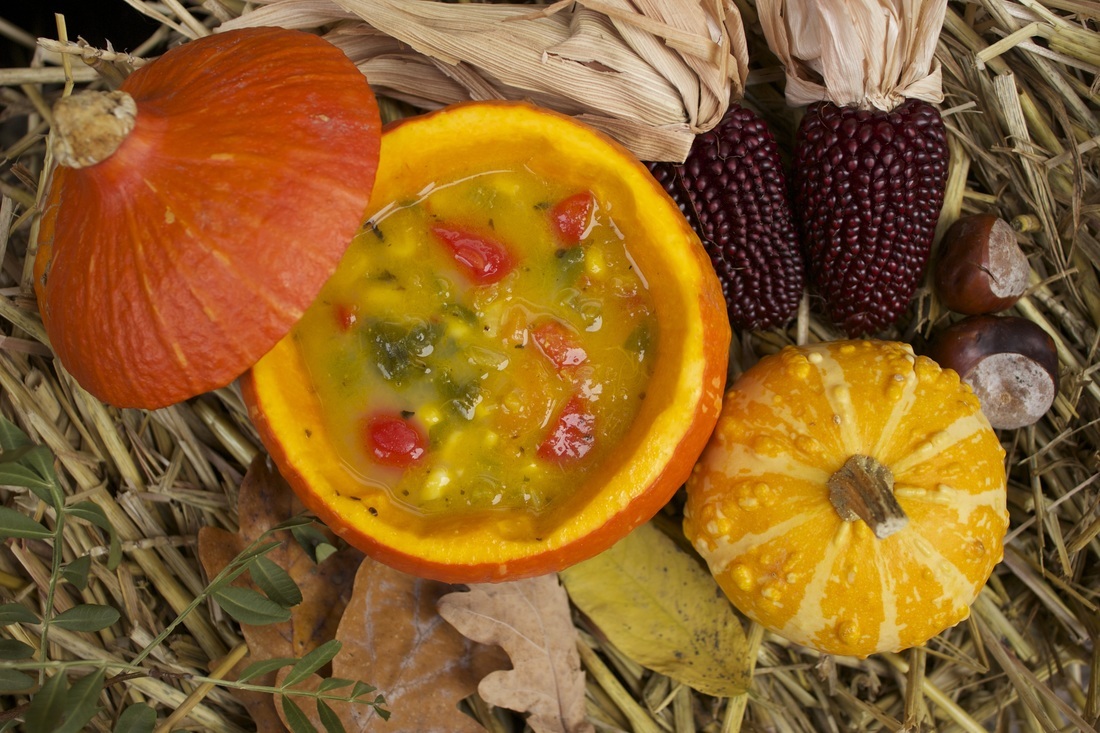
Regardless of the pumpkin's source, these yellow-orange squashes are packed with Vitamin A + C and beta carotene.
If you're not familiar with Vitamin A, this vitamin helps the body fight infections, vrisues and infectious and fungal diseases.
Alongside with fresh herbs that promotes additional wellbeing, this soup is a win-win for health and taste and reducing food waste. Enjoy!
If you're not familiar with Vitamin A, this vitamin helps the body fight infections, vrisues and infectious and fungal diseases.
Alongside with fresh herbs that promotes additional wellbeing, this soup is a win-win for health and taste and reducing food waste. Enjoy!
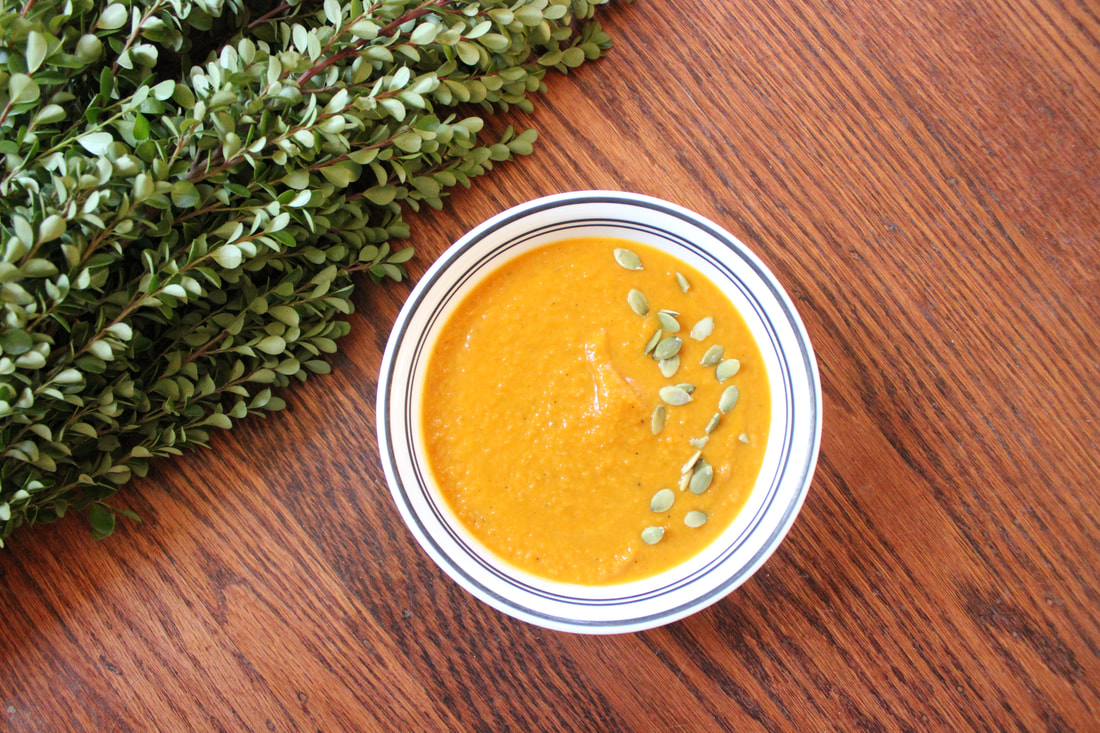
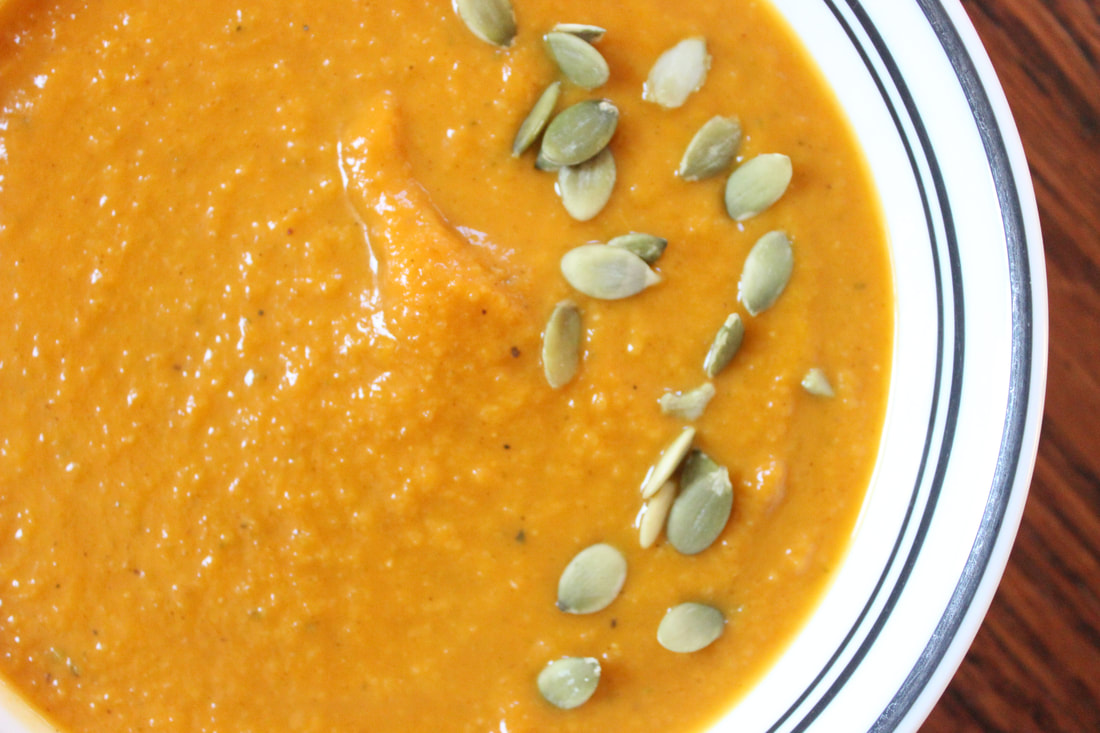
Super Simple Savory Vegan "Cream" of Pumpkin Soup
Serves 4-6
Time: 30 minutes
Ingredients
2-3 tbsp vegan butter
2 onions, chopped
4 garlic cloves, minced
1 28 oz can of pumpkin (or 2 14 oz cans)
1 32 oz. container of vegetable broth
1 cup coconut milk from a can**
10-12 sprigs of thyme, (leaves removed from the stem)
1/2 tsp each of nutmeg, cinnamon + salt
pepper to taste
optional: 1 tsp of cane sugar
Directions:
in a large pot, sauté the onions and garlic in butter for about 5 minutes. Next, add the spices and sauté for another 1 minute. Add the pumpkin, sugar and vegetable broth, mix and simmer for another 3-5 minutes.
Next, with either a blender or hand immersion blender, blend the soup together with the coconut milk. Pour back into the pot and simmer on low heat for another 5 minutes. Adjust the spices as needed and when it is flavorful to your palate, remove from heat and serve warm!
**Note: If you desire a thicker creaminess, add up to the entire can of coconut milk.**
Let's Connect! Check out my other pumpkin recipes below!
Vegan Pumpkin Corn Chowder
|
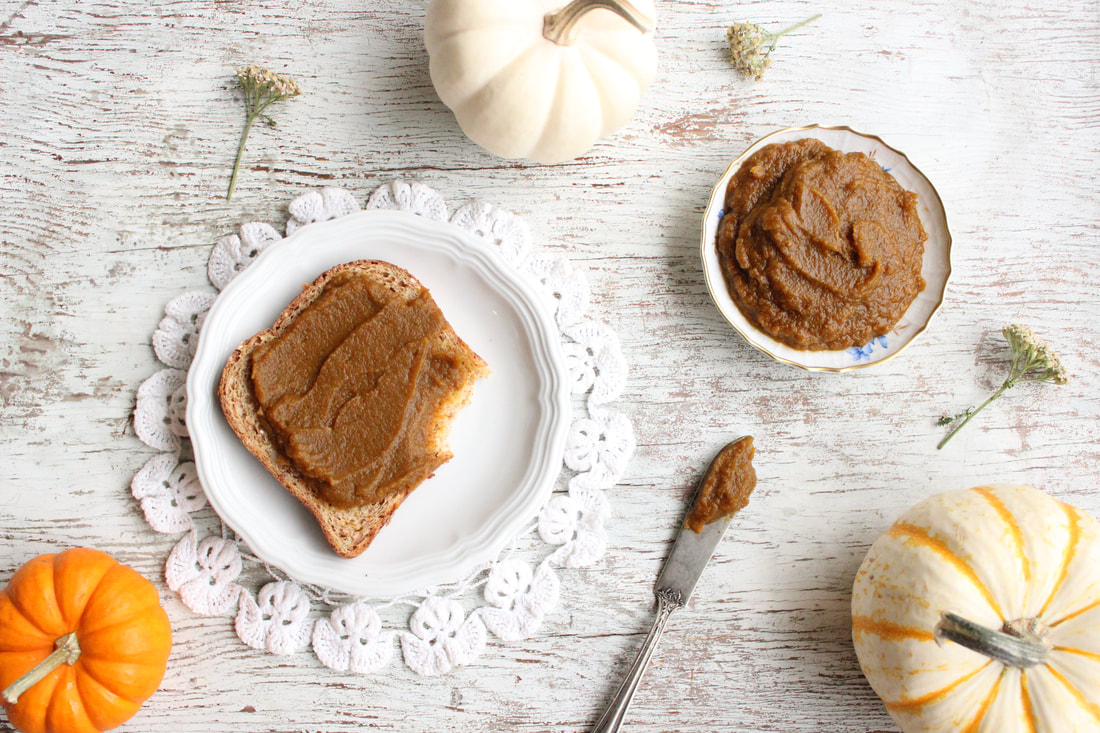
How to Make Homemade Pumpkin Butter
|
Vegan Pumpkin Curry Soup
|
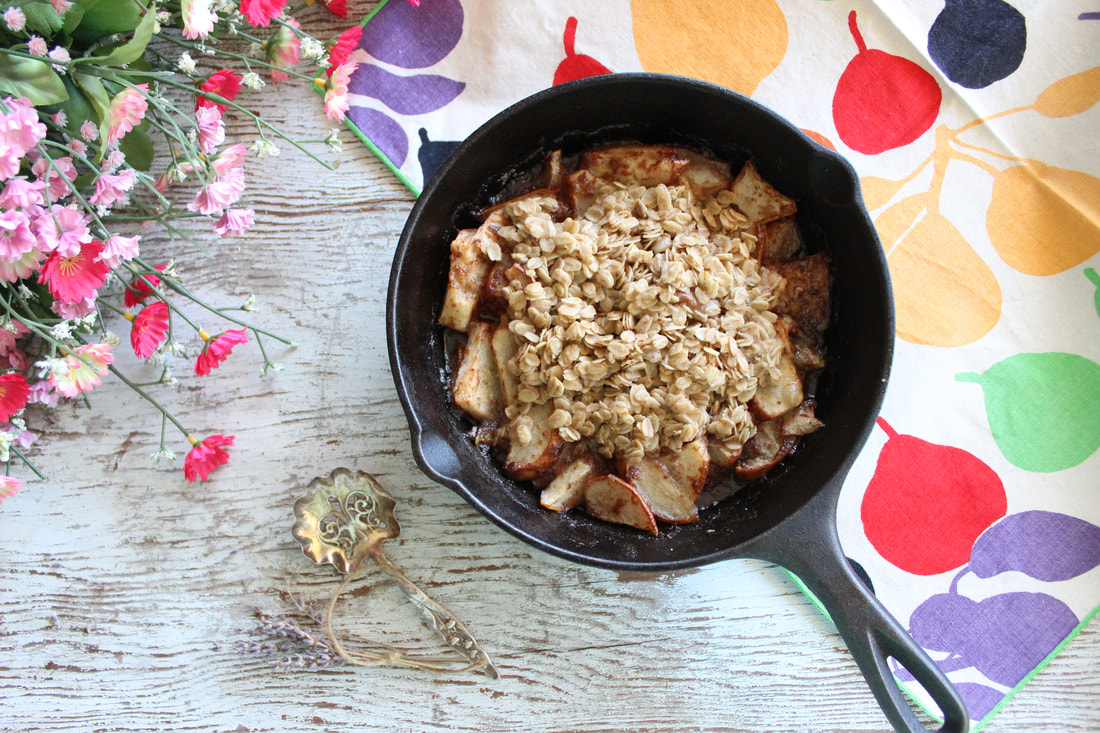
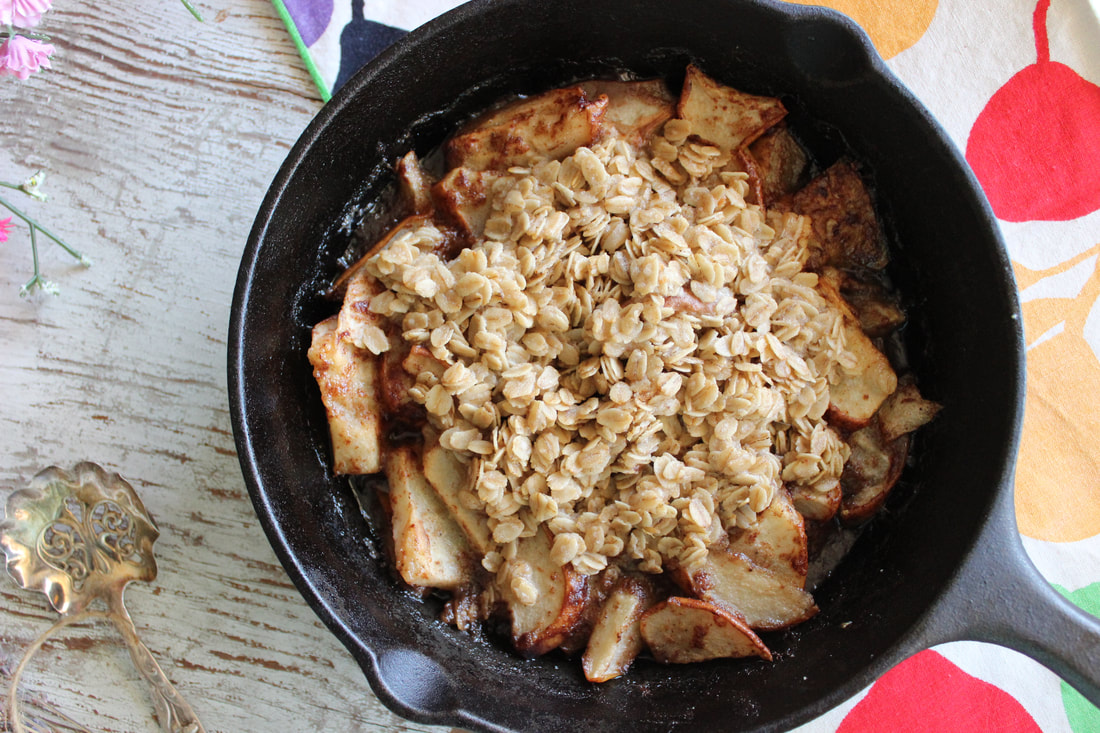
Pears and apples are good anytime of year, but during the holidays a bit of spice flavors them like no other season. Baking these fall-harvest fruits makes for some of the best breakfast and desserts year round. There is something so familiar about these spices during the holiday season. It ignites the kitchen's aroma and brings a bit of heart and hearth into the home.
|
|
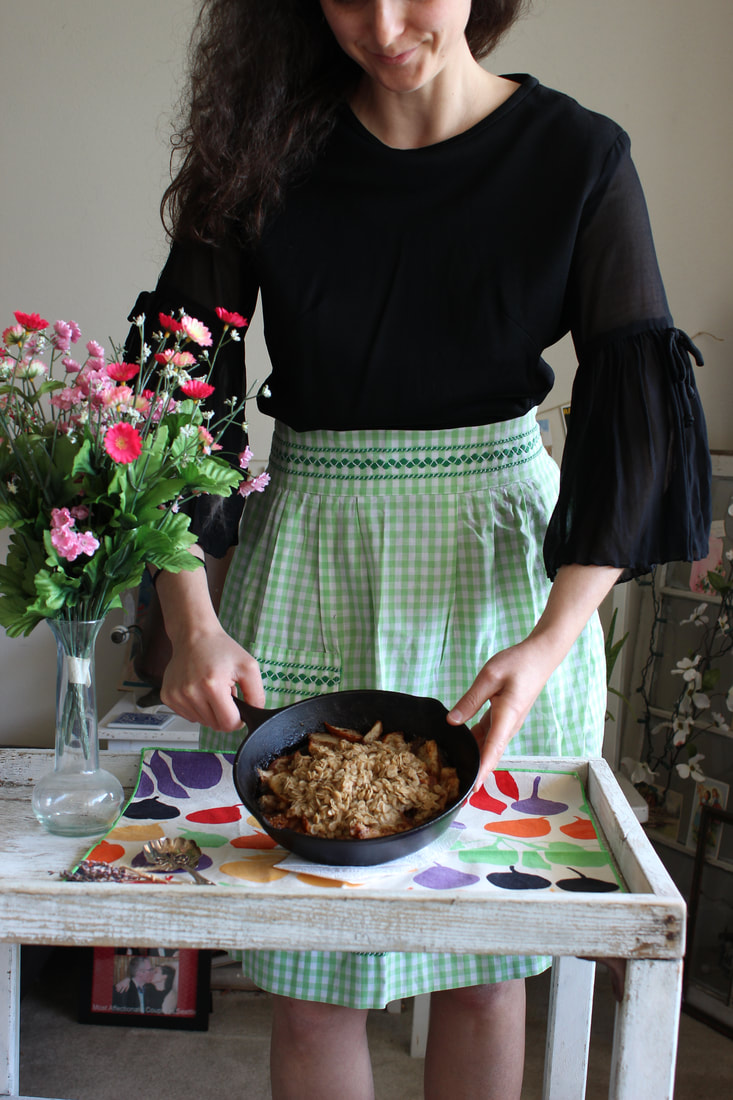
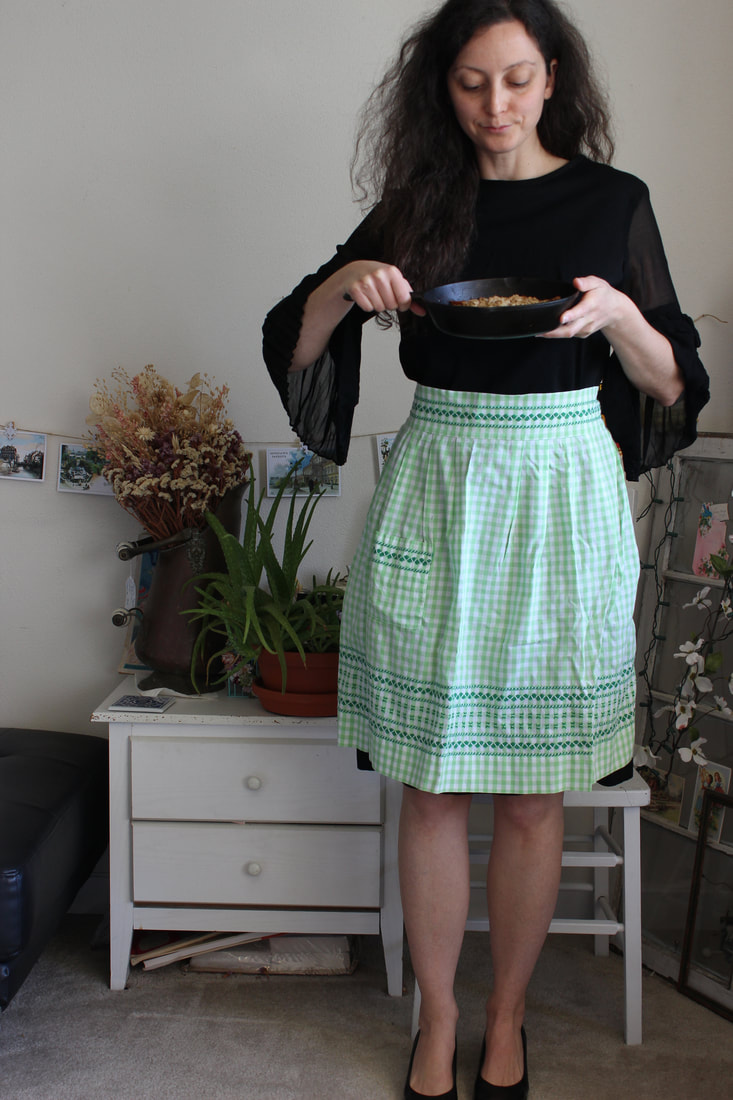
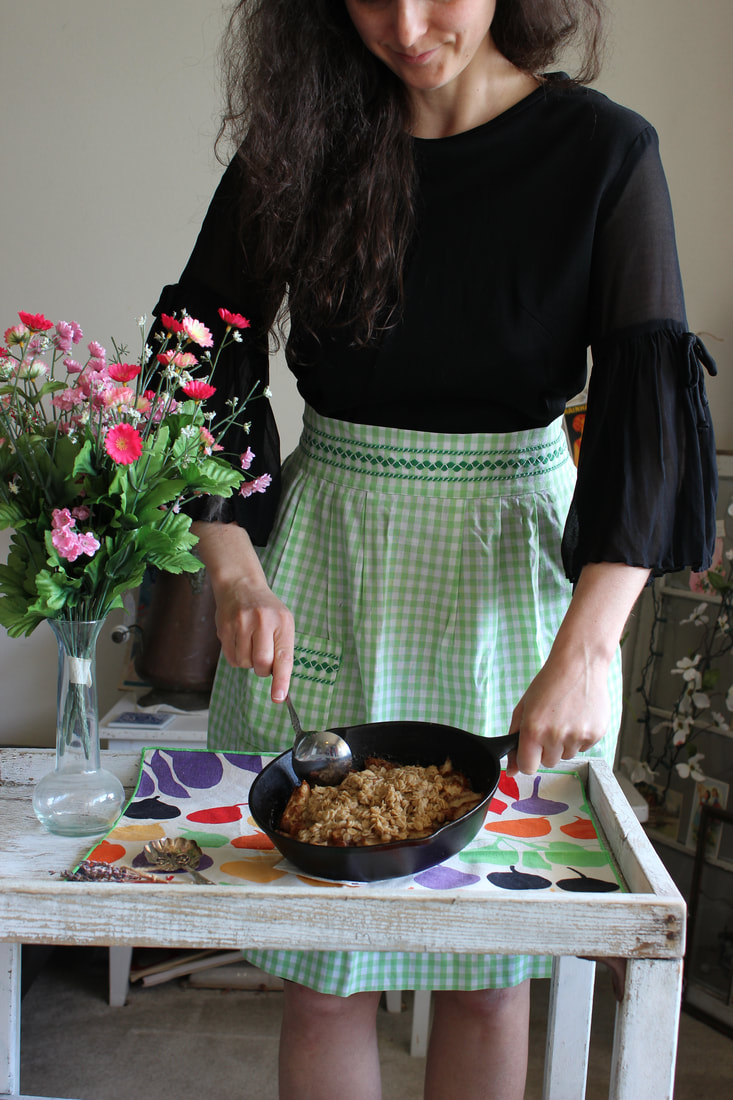
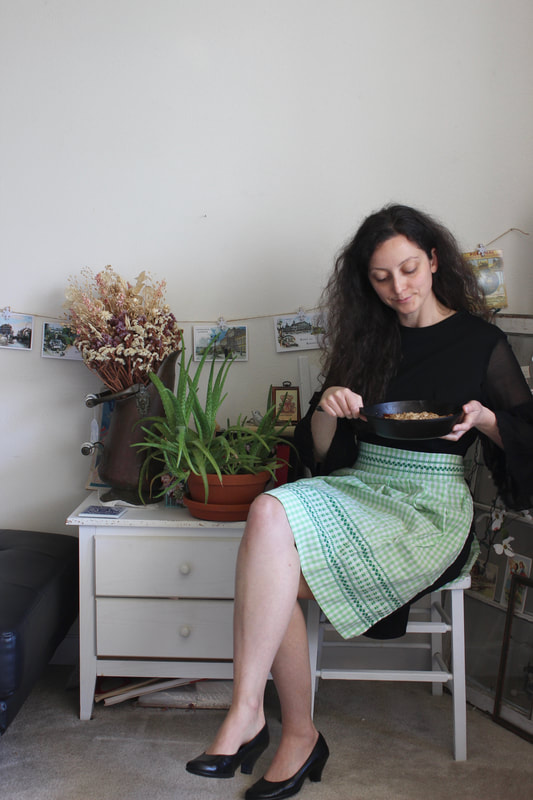
I found these handmade gingham aprons made for adults and children. The green apron is lively and as green as a Bartlett. Alongside some retro 1970's napkins, pears were the inspiration for something easy yet tasty.
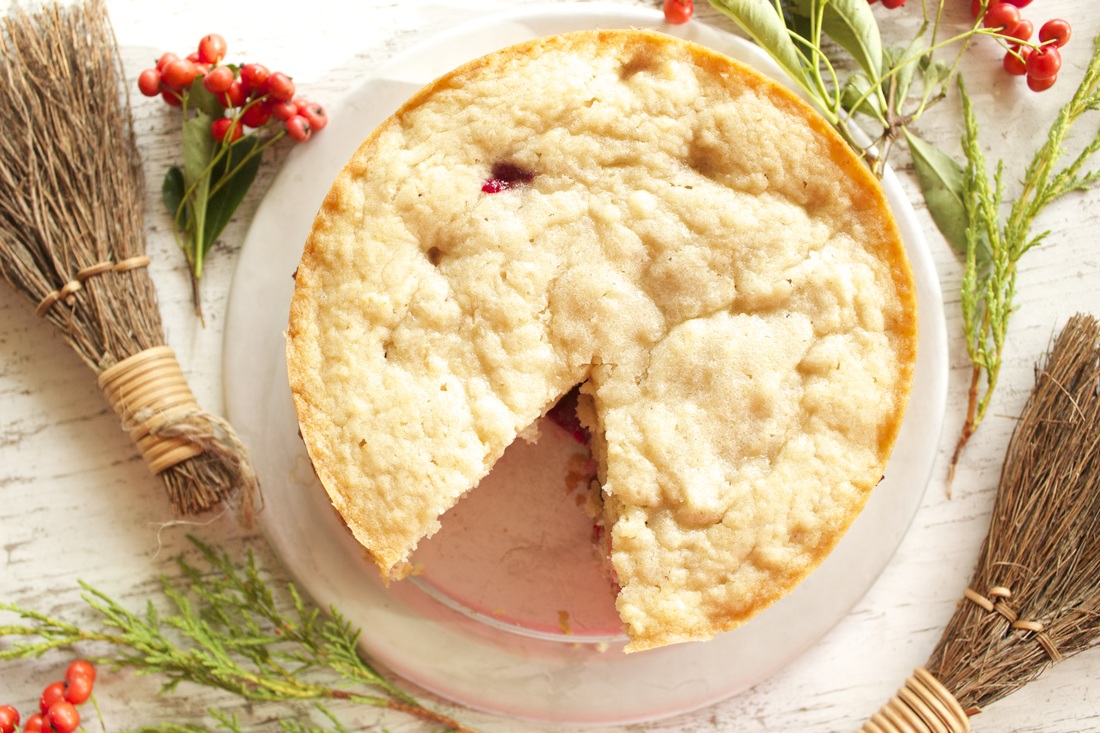
I've been introduced to cast iron skillets over the last year. I cannot believe it took me this long to discover them, but after the first use I love cooking with cast irons. I decided to try my first baking spree with a cast iron by making a pear crisp. I used the sugar and spice combination that I used in my Gluten Free & Vegan Cardamom-Spiced Pear Crostata recipe.
Simple and easy, I hope you enjoy a crisp baked in a different way!
"Love is a fruit in season at all times, and within reach of every hand."
-Mother Teresa
|
|
This vintage apron and other vintage items are available on my Etsy shop, The Elizabethan Closet.
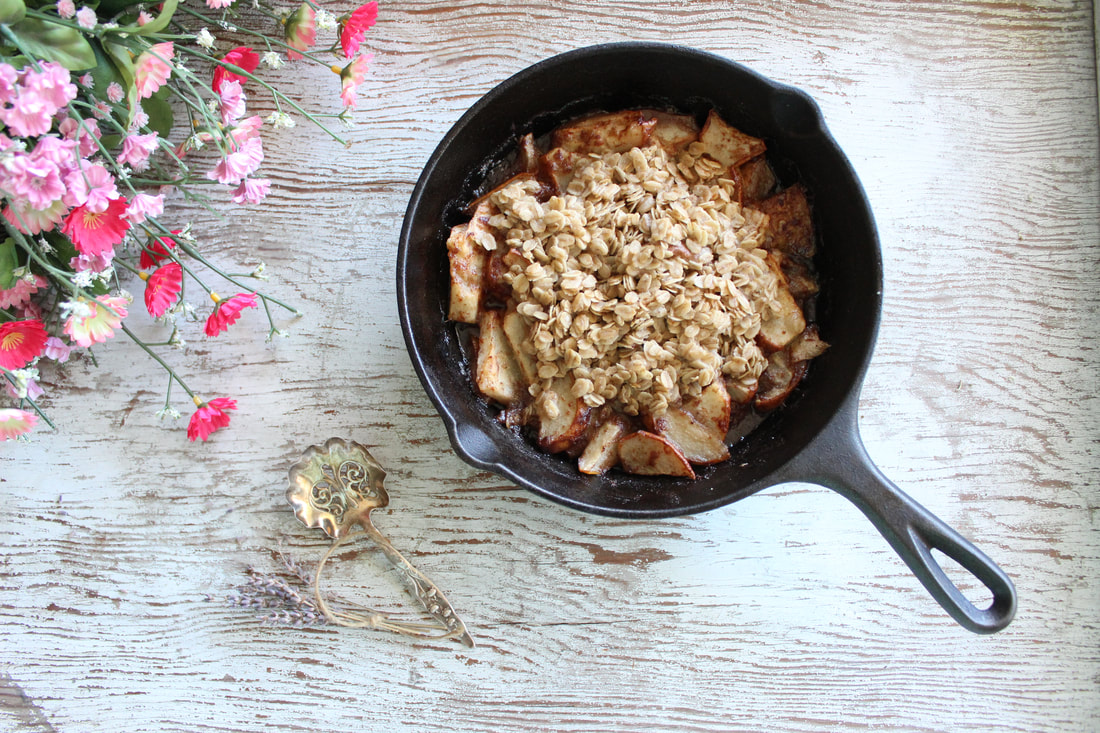
Holiday Spiced Cast Iron Skillet Pear Crisp
Prep: 10 minutes
Baking: 25-32 min.
Serves 2-4
Equipment - 8 in cast iron skillet
Filling Ingredients:
4 small pears, sliced
1 tbsp vegan butter melted
1 tbsp almond milk
2 tbsp sugar
½ tsp cinnamon
1/8 tsp nutmeg
1/8 tsp cardamom
Pinch of clove
1 tsp corn starch
Topping:
1/2 cup rolled oats
1 tbsp sugar
2 tbsp flour
3 tbsp canola oil
1/4 tsp cinnamon
pinch of ginger powder
**If you want a thick crust topping, double the topping recipe.**
Directions:
Preheat oven to 350 degrees.
Slice the pears and mix all of the filling ingredients together in a bowl. Pour the filling into an 8 inch cast iron skillet that has been sprayed or greased.
In a separate bowl, mix together the dry ingredients of the topping until well mixed. Next, add the wet ingredients and mix until the mixture is "wet" and there is no loose flour. Pour on top of the pear filling.
Bake in the oven between 25-32 minutes. Every oven varies so the crust should be golden brown and the crisp should be fragrant. Serve warm!
Let's Connect! Enjoy my other pear recipes posted below!
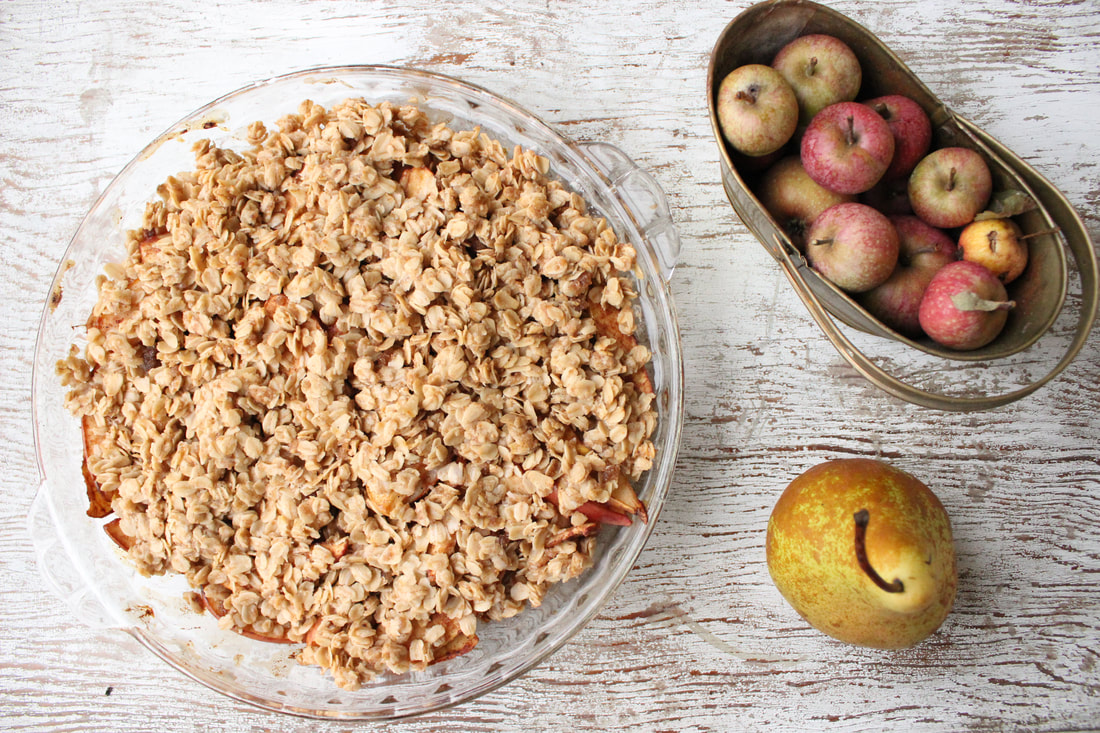
Brown Sugar Apple + Pear Crisp
|
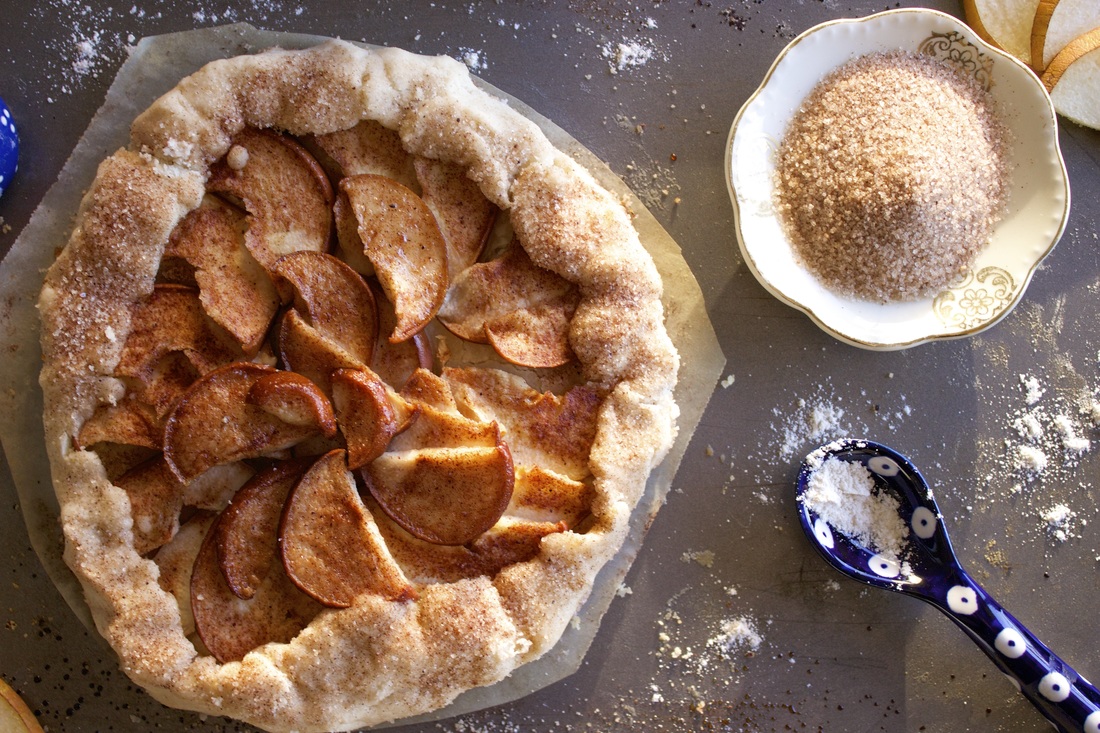
Gluten Free & Vegan Cardamom-Spiced Pear Crostata
|
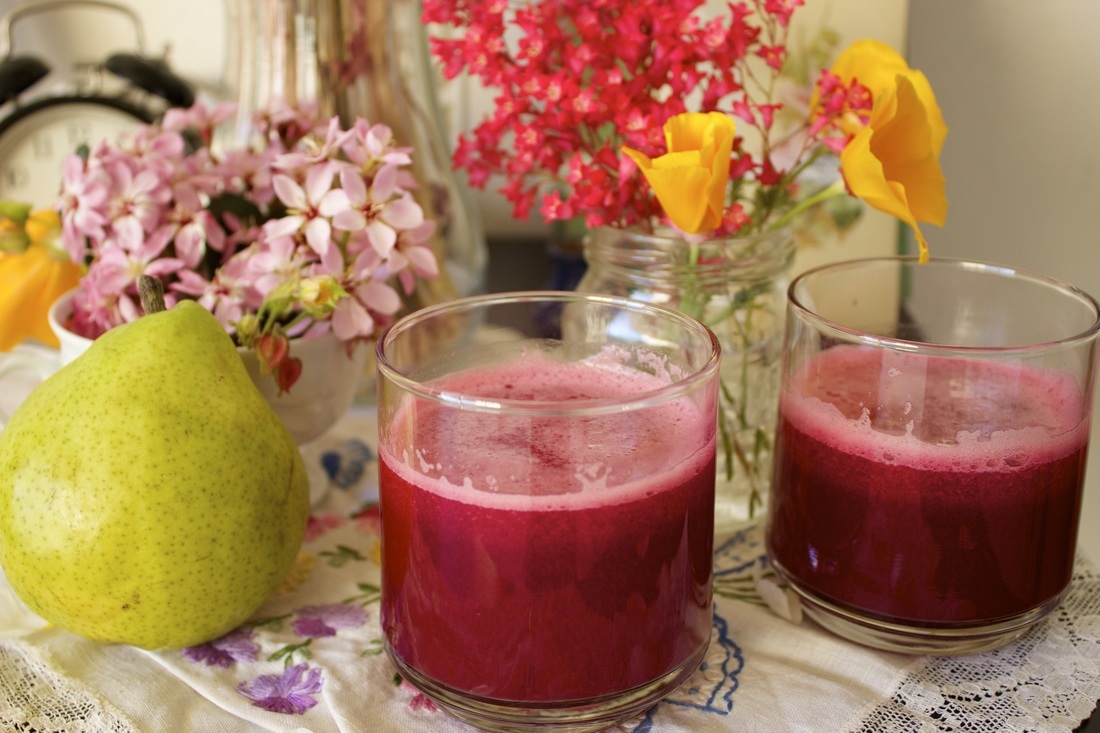
Apple Pear & Beet Juice
|
Author
Elizabeth Rae Kovar M.A. is Author of her memoir, Finding Om and is a Fitness Trainer, Yogi, Reiki Master, Presenter and Lover of Life. To view her portfolio please visit www.elizabethkovar.com
Follow her travels at: lemontreetravel.com


Categories
All
Body
Food
Metaphysics
Mind
Soul
Sunspiration
Vegan Recipes
Wellness Travel
YouTube
Archives
October 2022
April 2022
February 2022
December 2021
November 2021
October 2021
September 2021
August 2021
July 2021
June 2021
May 2021
April 2021
March 2021
February 2021
January 2021
December 2020
November 2020
October 2020
September 2020
August 2020
July 2020
June 2020
May 2020
April 2020
March 2020
February 2020
January 2020
December 2019
November 2019
October 2019
September 2019
August 2019
July 2019
May 2019
April 2019
March 2019
February 2019
January 2019
December 2018
November 2018
October 2018
September 2018
August 2018
July 2018
June 2018
May 2018
April 2018
March 2018
February 2018
January 2018
December 2017
November 2017
October 2017
September 2017
August 2017
July 2017
June 2017
May 2017
April 2017
March 2017
February 2017
January 2017
December 2016
November 2016
October 2016
September 2016
August 2016
July 2016
June 2016
May 2016
April 2016
March 2016
February 2016
January 2016
December 2015
November 2015
October 2015
September 2015
August 2015
 RSS Feed